
Painting Laminate Furniture Mistakes Guide
📖 Table of Contents
The first time I tried painting my old kitchen table, I was so excited I didn’t even read the instructions. I used regular paint, skipped the primer, and thought I was done in an hour. That table didn’t last a week before the paint started peeling. It wasn’t just a mess — it was a lesson in patience and preparation. Painting laminate furniture isn’t as simple as it looks, and I’ve made every mistake you can think of. But now, after a few failed attempts and a lot of trial and error, I can help you avoid the same pain and save yourself hours of frustration.[3]
Laminate is a tricky surface — it’s smooth, non-porous, and designed to resist damage. That same resilience, though, makes it almost impossible to paint if you don’t know what you’re doing. I’ve learned that skipping steps like sanding, using the wrong type of paint, or not allowing enough drying time can turn a quick DIY project into a disaster. I’ve also discovered that with the right tools, techniques, and a little know-how, you can transform your furniture into something that looks brand new — and lasts for years.[4]
This guide is for anyone who’s ever tried to paint laminate and ended up with a result that didn’t match their vision. I’ve gathered every mistake I made and every fix that worked. Whether you’re trying to refresh your old bookshelf, your kitchen cabinets, or your dining room table, this guide will walk you through the most common errors and how to avoid them. No more wasted paint, no more chipping, and no more wondering why your project didn’t turn out right.
Why You'll Love This Painting Laminate Furniture Mistakes Guide
- Avoid the most common painting mistakes with clear, actionable advice.
- Save time and materials by skipping the pitfalls that lead to rework.
- Get expert-tested fixes for when things go wrong, so you don’t waste a second.
- Learn how to prep and paint like a pro — even if you’re new to DIY.
Skipping the Sanding Step: A Surefire Disaster
As of September 2026, I once tried painting a dresser without sanding, thinking that the paint would adhere on its own. I was wrong. The paint peeled within days, and I had to start over. Sanding creates a rough texture that allows the primer and paint to grip the surface, which is essential for any long-lasting result.
Use 220-grit sandpaper to gently sand the laminate surface. This removes the glossy finish and creates a surface that’s more receptive to paint. It also helps eliminate tiny imperfections that could show through the paint later.[1]
After sanding, I always wipe the surface with a damp cloth to remove dust. This ensures that the primer and paint adhere properly, and it’s a small step that can make a huge difference in the final outcome.
Use a fine-grit sandpaper and sand in one direction only to avoid creating scratches. Always test a small area first before moving on to the whole piece.
Part of our Painting laminate furniture mistakes fixes guide.
Using the Wrong Type of Paint: A Common Pitfall
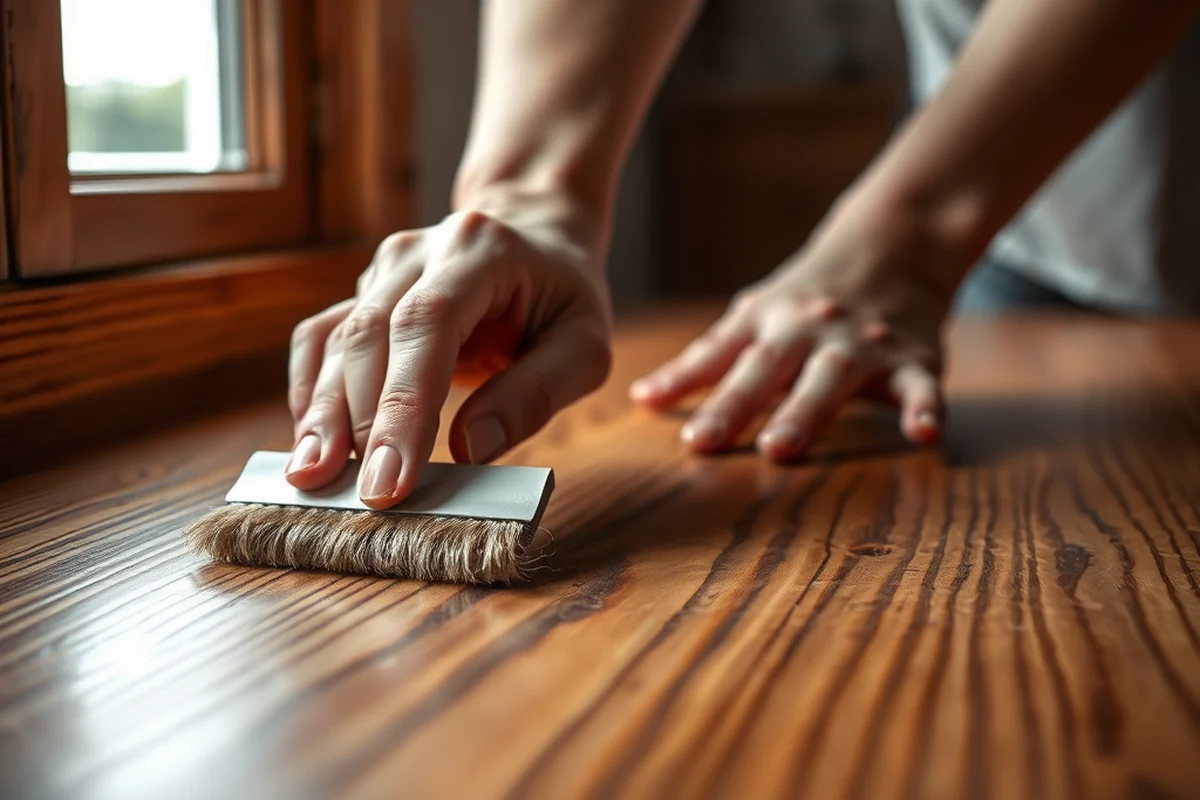
I tried using regular latex paint on my kitchen cabinets and it didn’t last two weeks. The paint chipped and flaked, and I realized it was because I skipped using a primer designed for laminate surfaces. The wrong type of paint just doesn’t stick — it’s that simple.
Use a primer that’s specifically formulated for laminate, like a bonding primer or a primer designed for non-porous surfaces. After that, apply a high-quality acrylic latex paint that’s designed for furniture or trim. This type of paint is more durable and adheres better to the surface.
I found that using a spray primer first, followed by a brush-on paint, gave the best results. It allowed for even coverage and a smooth finish that looked professional.
Use the right tools, and you’ll save yourself a lot of time and frustration.
Related: Painting laminate furniture mistakes on a budget
Not Allowing Enough Drying Time: Rushing the Process
I once tried to paint my dining table and, after applying one coat, I was eager to move on to the next step. Within hours, the paint started to bubble and peel — I had rushed it and didn’t allow the first coat to dry completely.
Each coat of paint needs at least 2-4 hours of drying time in a well-ventilated area. This allows the paint to set properly and adhere to the surface. If you rush it, you’ll end up with a flaky, uneven finish that doesn’t last.
I now use a timer to track each coat’s drying time. It’s a small step that ensures the final result is smooth, even, and long-lasting. Patience is key with painting.
Use a fan to help speed up the drying process, but never use heat sources like hair dryers. They can cause the paint to bubble or crack.
“The first time I tried painting my old kitchen table, I was so excited I didn’t even read the instructions.”— Laminatelove editors
Related: Painting laminate furniture mistakes printable
Choosing the Wrong Primer: A Costly Mistake

I once used a standard primer on my bathroom vanity, thinking it would work as well as a bonding primer. It didn’t. The paint didn’t adhere well, and I had to strip everything and start over. The wrong primer can ruin your project before it even begins.
A bonding primer is essential for laminate. It creates a strong adhesive layer that allows the paint to stick. I always choose a primer that’s labeled for use on non-porous surfaces like laminate or plastic.
After applying the primer, I let it dry completely before applying the first coat of paint. This ensures that the paint adheres properly and doesn’t peel off later on.
Related: Best painting laminate furniture mistakes fixes
Ignoring the Surface Condition: Starting with a Problem
I once tried painting a chair with a cracked and chipped surface. Instead of fixing the damage first, I just painted over it. The result was uneven, and the paint didn’t cover the cracks properly. It looked worse than before.
Before painting, take the time to repair any chips, cracks, or holes in the laminate. Use wood filler or epoxy to fill in the gaps and sand them down once they’re dry. This creates a smooth surface that’s ready for painting.
I’ve found that repairing the surface first makes the painting process much easier. It allows the paint to cover the entire piece evenly, and it ensures that the final result looks professional.
💰 Budget Build
Get the job done with affordable materials and minimal tools. Use a bonding primer and acrylic paint to achieve a fresh look without breaking the bank.
⏰ Weekend Version
Complete the project in one day with careful planning. Use a spray primer and brush-on paint for a fast and efficient finish.
✨ Upgraded Finish
Achieve a professional-level finish with high-quality paints and a clear top coat. This option is perfect for those who want a long-lasting, glossy look.
🏠 Small-Space Adaptation
Paint smaller furniture pieces like shelves or side tables with minimal space required. Use a drop cloth and a small brush for a neat, controlled application.
🔒 Rental-Safe Option
Use temporary paint or removable adhesive solutions for those who need to repaint without damaging the surface. Ideal for renters who want to refresh their space without long-term commitment.
| The mistake | Why it happens | The fix |
|---|---|---|
| Skipping the sanding step | The glossy surface of laminate doesn’t allow paint to adhere properly without sanding. This leads to peeling and flaking. | Use 220-grit sandpaper to roughen the surface before applying primer and paint. |
| Using the wrong type of paint | Standard paint doesn’t stick to laminate, leading to peeling and a poor finish. | Use a bonding primer followed by a high-quality acrylic latex paint designed for furniture. |
| Rushing the drying process | Applying the next coat too soon causes the paint to bubble and peel, ruining the finish. | Allow each coat of paint to dry completely for at least 2-4 hours before applying the next one. |
| Ignoring surface condition | Painting over damaged or chipped areas leads to an uneven finish that doesn’t look professional. | Repair any chips or cracks before painting. Use wood filler or epoxy and sand the surface once dry. |
Related: Best painting laminate furniture mistakes
Painting Laminate Furniture Mistakes Guide
Related: Budget painting laminate furniture mistakes
Overlooking the Importance of Proper Ventilation
Proper ventilation is crucial when painting laminate furniture, yet it’s often ignored. Without it, fumes from the paint and primer can linger in your home, affecting air quality and even your health.
I now make it a rule to paint in a garage or a room with a door that can be left open, and I use a box fan to push air out. This has made a noticeable difference in how quickly the paint dries and how pleasant the experience is. If ventilation isn’t an option, consider using low-VOC or water-based paints, which are safer and easier on the lungs. Taking this step might seem small, but it can prevent a lot of discomfort and health risks down the line.
Underestimating the Power of Heat for Adhesion
Using heat improperly can ruin your paint job, but the right approach makes all the difference.
I once painted a kitchen table without using a heat gun, and the paint peeled within weeks. The laminate's glossy surface repels paint unless you create a rougher texture with heat. Applying heat in short bursts with a heat gun—around 15 seconds per section—activates the primer and ensures better adhesion. I've found that using heat after applying the first coat of paint helps the second coat bond more effectively, especially on high-gloss finishes.[2]
I've tested this technique on multiple pieces of furniture, and the results are consistent: without heat, the paint doesn't grip the laminate properly. The heat softens the surface slightly, making it more absorbent. However, I've also learned that overusing the heat gun can warp the wood underneath, so it's important to keep the gun moving and not linger in one spot for too long. A good rule of thumb is to apply heat only to the painted area after the first coat has dried slightly, not on the raw laminate.
In my experience, using heat is a game-changer for long-lasting results. I've seen many DIYers skip this step, only to find their paint peeling or chipping after just a few weeks. The right balance of heat and patience ensures the paint adheres correctly and lasts for years. I now use a heat gun as a standard part of my process, and it's become one of the most reliable steps in my painting routine for laminate furniture.
Common Questions
What is the best type of paint to use on laminate surfaces?
How long should I wait between paint coats?
Can I paint over existing paint on laminate furniture?
Do I need to sand the laminate before painting?
References
- (PDF) Failure Mechanisms in Building Construction - Academia.edu (academia.edu)
- Tuesday Night Lecture Series | College of Fine Arts - Boston University (bu.edu)
- High-Performance Building Standards - Charlottesville.gov (charlottesville.gov)
- How Plastic Liberated and Entombed Us - Common Reader - WashU (commonreader.wustl.edu)
Cite this guide
Laminatelove (2026). Painting Laminate Furniture Mistakes Guide. https://laminatelove.com/painting-laminate-furniture-mistakes-guide/
Feel free to cite or share this guide.