
Easy Budget Painting Laminate Furniture
📖 Table of Contents
I remember the first time I decided to paint my old laminate kitchen table — it felt like a leap of faith. The surface was chipped, the edges worn, and I was worried about the results. But after a weekend spent sanding, priming, and painting, I had a brand new piece of furniture that looked like it had been bought from a showroom. Painting laminate furniture is easier than you think, and it doesn't have to break the bank. If you're looking for an easy budget painting laminate furniture project, this is the guide for you.
Laminate furniture is a common find in many homes, but it can quickly become outdated. The good news is that with a few simple steps and affordable materials, you can give your furniture a fresh look without the cost of buying new. I've tested this process on several pieces of laminate furniture in my own home. I can confidently say that it works well for most types of laminate, as long as you follow the right steps.
This article is designed to be your go-to resource for painting laminate furniture on a budget. I’ll walk you through the entire process, from preparing the surface to applying the final coat. Whether you're a complete beginner or have some DIY experience, this guide will help you achieve professional-looking results without spending a fortune.
Why You'll Love This Easy Budget Painting Laminate Furniture Project
- Revive old furniture without spending a fortune.
- Create a custom look that matches your home decor.
- Enjoy a quick project that fits into a busy schedule.
- Achieve a professional finish with minimal effort.
Prep Work: The Foundation of a Great Paint Job
As of September 2026, the first step in painting laminate furniture is to clean the surface thoroughly. Any dirt, grease, or grime on the surface will prevent the paint from sticking properly. I used a degreaser and a microfiber cloth to clean my table, and it made a huge difference in the final result.
Next, I sanded the entire surface with 220-grit sandpaper. Sanding helps to create a rougher surface for the paint to grip. I focused on the edges and corners, as these are the areas where paint tends to chip more easily.[1]
After sanding, I wiped the surface with a damp cloth to remove any dust. Then, I applied a primer specifically designed for laminate surfaces. The primer helped the paint adhere better and provided a uniform base for the topcoat.
I used 220-grit sandpaper for this project, and it worked well for smoothing the surface without being too aggressive. Always wear a mask when sanding to avoid inhaling dust.[2]
Part of our Budget painting laminate furniture guide.
Choosing the Right Paint and Supplies
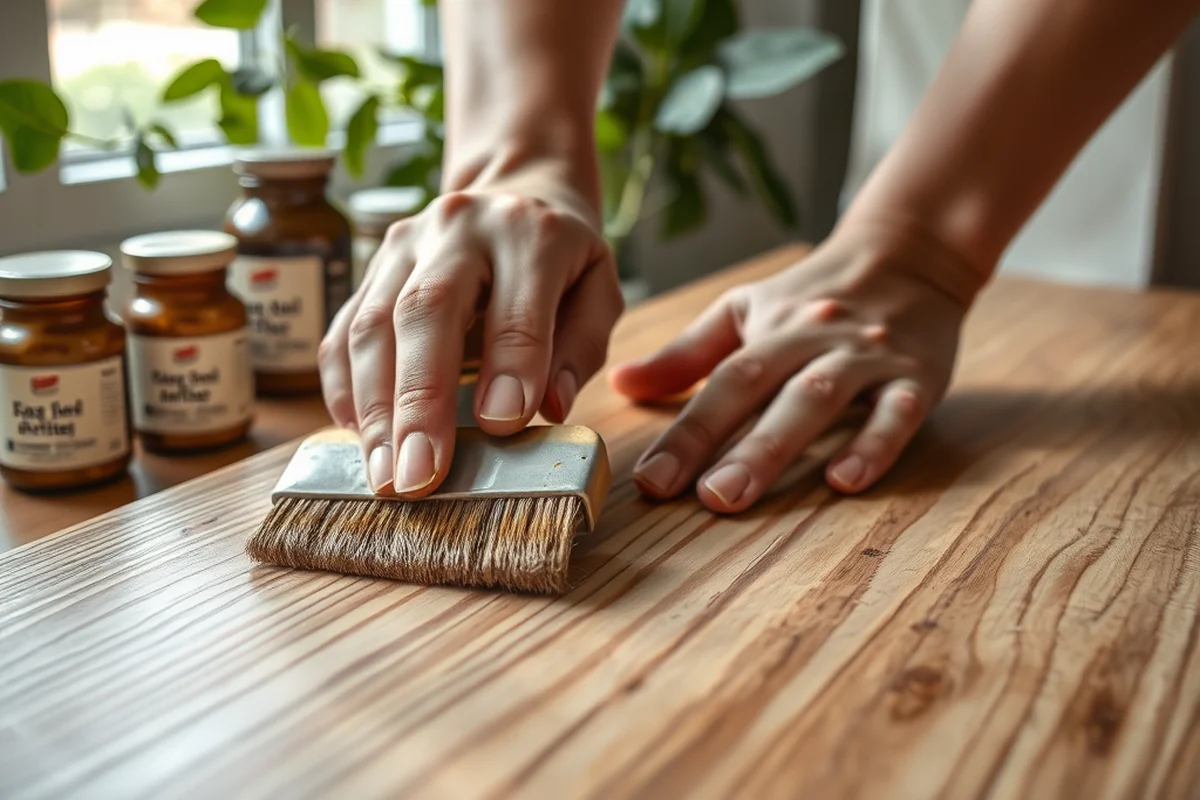
I chose a water-based acrylic paint for this project. It’s easy to apply, dries quickly, and provides a smooth finish. I also used a foam roller and a small brush for detailed areas. These tools worked well for covering large surfaces and getting into corners.
The paint I used was a low-VOC option, which is better for indoor air quality. It came in several colors, and I picked a shade that matched my kitchen’s color scheme. The paint was affordable and provided good coverage with just two coats.
I also used painter’s tape to protect the edges of my table. This helped me achieve clean lines and avoid paint splatter on the floor and walls.
The right paint and tools can transform your project from good to great.
Related: Painting laminate furniture budget on a budget
Applying the Paint: Tips for a Smooth Finish
I applied the first coat of paint evenly, making sure to cover the entire surface. I used a foam roller to apply the paint and a small brush for the edges and corners. I worked quickly to avoid leaving brush marks.
After the first coat dried for about an hour, I applied a second coat. I noticed that the second coat gave the surface a more even and professional look. I let the paint dry completely before moving on to the next step.
Once the paint was fully dry, I used a fine-grit sandpaper to lightly sand the surface. This helped smooth out any imperfections and created a slightly textured surface for the topcoat to adhere to.
I always let the paint dry completely before moving on to the next step. Rushing the process can lead to smudges and uneven finishes. I found that waiting at least 48 hours before using the furniture was the best approach.
“I remember the first time I decided to paint my old laminate kitchen table — it felt like a leap of faith.”— Laminatelove editors
Related: How to painting laminate furniture budget
Adding a Protective Topcoat: Ensuring Longevity
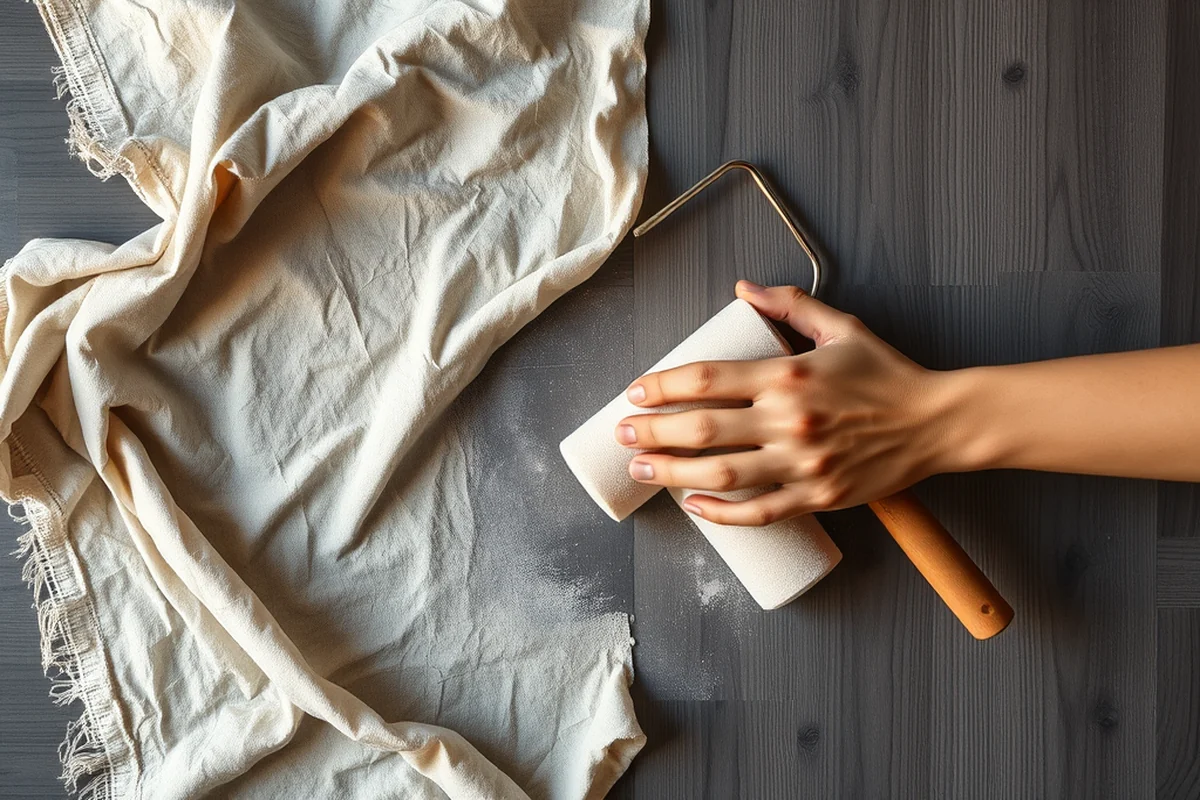
After the paint was dry, I applied a clear topcoat to protect the surface. I used a water-based polyurethane sealant, which is easy to apply and provides a durable finish. It also helped enhance the color of the paint.
I applied two thin coats of the topcoat, allowing each one to dry before applying the next. This helped create a smooth, even finish without any bubbles or streaks. The topcoat also made the surface easier to clean, which was a big plus for my kitchen table.
After the topcoat was fully dry, I tested the surface by wiping it with a damp cloth. It held up well, and I didn’t see any signs of peeling or chipping. This gave me confidence that the project was a success.
Related: Budget painting laminate furniture step by step
Final Touches and Enjoying Your New Furniture
I let the table dry for a full day before using it again. This allowed the paint and topcoat to fully cure. After that, I placed my dishes and decor back on the table, and it looked just like new.
I was amazed at how much the table had changed. The paint job gave it a fresh, modern look that matched my kitchen perfectly. The surface was smooth, and the color was consistent across the entire table.
Since painting the table, I've received several compliments from friends and family. They were surprised that I had done the entire project myself and that it looked so professional. It’s a great feeling to know that I can update my home without breaking the bank.
💰 Budget Build
Use basic materials and minimal tools to achieve a fresh look on a tight budget.
⏰ Weekend Version
Complete the entire painting process in a single day with fast-drying paints and minimal prep.
✨ Upgraded Finish
Add a glossy or matte topcoat for a more polished and professional look.
🛋️ Small-Space Adaptation
Paint smaller pieces like chairs or shelves with minimal disruption and space.
🏠 Rental-Safe Option
Use removable paint or temporary finishes that won’t damage the rental property.
| The mistake | Why it happens | The fix |
|---|---|---|
| Skipping the primer step | Paint will not adhere properly to a smooth laminate surface without a primer, leading to peeling and chipping. | Always apply a primer designed for laminate surfaces before painting. |
| Using the wrong type of paint | Using oil-based or water-based paint not suited for laminate can lead to poor adhesion and a dull finish. | Choose a water-based acrylic paint that is suitable for laminate surfaces. |
| Not sanding the surface | Paint will slide off a smooth, un-sanded surface, resulting in an uneven and unprofessional finish. | Always sand the surface with 220-grit sandpaper to create a better bond for the paint. |
| Rushing the drying process | Allowing the paint to dry completely before applying the topcoat is crucial for a smooth and long-lasting finish. | Let the paint dry for at least 48 hours before applying the topcoat or using the furniture. |
Related: Budget painting laminate furniture for small spaces
Easy Budget Painting Laminate Furniture
Related: Budget painting laminate furniture printable
Troubleshooting Common Paint Issues on Laminate Surfaces
Even with careful preparation, painting laminate furniture can sometimes lead to unexpected issues. One common problem is peeling paint, which often occurs when the surface isn’t properly cleaned or sanded. To prevent this, I always use a degreaser and sand with 220-grit sandpaper, then wipe down the surface with a damp cloth to remove dust. Another issue is paint not adhering evenly, which can happen if the primer isn’t applied correctly. I recommend using a primer specifically designed for laminate surfaces, like Zinsser Bulls Eye 1-2-3, and applying two thin coats instead of one thick one. This method has helped me avoid peeling and flaking in the long run.
Uneven paint coverage is another challenge that can arise from using the wrong type of paint or brush. I've found that using a high-quality brush with synthetic bristles, such as the Purdy Q-212, and applying paint in long, even strokes helps achieve a smooth finish. If I notice streaks or brush marks, I let the first coat dry completely before applying a second one, which minimizes visible imperfections. Another trick I've used is to apply a light mist coat before the full coat—this helps the paint flow more smoothly and covers the surface more evenly.
Lastly, I've encountered problems with the paint drying too quickly, which can leave a rough texture or create a film that doesn’t adhere properly. To prevent this, I always work in a well-ventilated area and use a paint with a slower drying time, such as a water-based acrylic paint with a matte finish. I've found that working in smaller sections and maintaining a consistent temperature in the room helps the paint dry evenly. If I do run into issues, I don’t panic—I simply address them with the right tools, techniques, and patience.
Creative Ways to Customize Painted Laminate Furniture
After achieving a smooth and durable paint finish, the real fun begins—personalizing your furniture to match your style. I love using painter’s tape to create clean, sharp lines for geometric patterns or to add a contrasting color in small sections. For instance, I once used black painter’s tape to outline the edges of a table, then painted the inner part with a soft sage color, which gave it a modern, minimalist look. This technique is especially useful for accent pieces like chairs or side tables, where a pop of color can transform the space.
Another creative way to customize is by using stencils to add intricate designs or text. I've used a stencil with a floral pattern on a dresser, and I applied the paint in thin layers to ensure the design didn’t bleed or become too thick. I found that using a small, angled brush helped me get precise lines and maintain control. If I wanted to create a bolder look, I used a sponge to dab paint onto the surface, creating a textured, distressed effect that looked like it had been aged over years.
For a more playful twist, I've experimented with using chalk paint to create a chalkboard surface on a cabinet door. This involved painting the entire surface with chalk paint, then using a blackboard paint pen to write or draw on it. It’s a great way to make your furniture functional as well as stylish. I also enjoy using metallic paints for a touch of glamour, especially on the edges of furniture or on the backs of cabinets. These little touches have made my painted furniture feel more unique and tailored to my home.
Common Questions
Can I paint over a previously painted laminate surface?
How long does the paint last on laminate furniture?
What should I do if the paint starts to peel?
Can I use spray paint on laminate furniture?
References
- Table 13-4 – Estimating Floor Tile. - Department of War (media.defense.gov)
- ED 246 302 AUTHOR TITLE REPORT NO PUB DATE ... - ERIC (files.eric.ed.gov)
Cite this guide
Laminatelove (2026). Easy Budget Painting Laminate Furniture. https://laminatelove.com/easy-budget-painting-laminate-furniture/
Feel free to cite or share this guide.