
Painting Laminate Furniture Budget Guide
📖 Table of Contents
I remember the first time I decided to paint my old IKEA kitchen table — it was a gamble. After a weekend of sanding, priming, and brushing on paint, I had a piece that looked like it came from a furniture store. It wasn’t just about aesthetics; it was about making the most of what I had. Painting laminate furniture isn’t just a DIY project — it’s a budget-friendly way to refresh your space. I’ve learned a lot through trial, error, and a few too many trips to the hardware store.
Laminate furniture is tough to work with, but with the right approach, it can be transformed into something beautiful. I’ve spent hours researching the best methods, materials, and tools to make this process as smooth as possible, and I’m here to share that knowledge with you. Whether you're updating a dining table, a bookshelf, or a dresser, painting laminate furniture can be a game-changer — especially if you’re on a tight budget and looking for a DIY fix that doesn’t break the bank.
This painting laminate furniture budget guide is the result of years of experimentation and refinement. I’ve tested different types of paint, primers, and tools to find what works best, and I’ve learned what not to do. If you’re looking for an affordable, doable way to give your furniture a fresh look, this guide will walk you through every step, from preparation to the final coat — and you won’t need a degree in interior design to pull it off.
Why You'll Love This Painting Laminate Furniture Budget Guide
- You'll get a professional-looking finish without the price tag.
- You’ll learn how to save money by repurposing old furniture.
- You'll find step-by-step instructions that are easy to follow.
- You’ll avoid common mistakes that can ruin your project.
Why Painting Laminate Furniture Is Worth It
As of September 2026, Laminate furniture is everywhere — in kitchens, living rooms, and even offices. But over time, it can get dull, scratched, or outdated. Instead of replacing it, I found that painting it was a way to give it new life. I spent about $40 on materials and did the entire project over the course of a weekend, and now my kitchen table looks like it was bought new.[1]
I tested a few different types of paint and found that using a high-quality primer and acrylic-based paint worked best. The key is preparation — I spent time sanding the surface to make sure the paint would stick. It took about 45 minutes just to sand, but it was worth it. After that, I applied two coats of paint, and the results were stunning.[2]
One of the biggest advantages of painting laminate furniture is that you can customize the color and style to match your home. I painted my table a bold navy blue, which I hadn’t seen on any store-bought furniture. It’s now a focal point in my kitchen, and I get compliments on it every time I host a dinner.
Use 220-grit sandpaper for a smooth base and always sand in the direction of the grain to avoid damaging the laminate surface.[3]
Part of our Budget painting laminate furniture guide.
Choosing the Right Paint and Primer

I’ve tried multiple brands of paint and primer, and I’ve found that using a high-quality primer is essential. I used a water-based primer designed for laminate surfaces, and it made a huge difference in how well the paint adhered. The primer also helped cover the old color and created a smooth base for painting.
For the paint, I went with an acrylic-based paint because it’s easy to work with and dries quickly. It also holds up well to moisture and wear, which is important for furniture that sees a lot of use. I applied two thin coats of paint, and each coat took about 30 minutes to dry.
I also found that using a matte finish paint was better for furniture than glossy. It didn’t show fingerprints as much, and it looked more modern. I painted my table with a matte finish, and it’s still looking great six months later with no peeling or chipping.
The right primer and paint make all the difference — don’t skip this step.
Related: Best budget painting laminate furniture
Tools You’ll Need to Paint Laminate Furniture
I kept my tool list to just three main items: a sanding block, a brush, and a roller. I used a 2-inch brush for the edges and a 6-inch roller for the larger surfaces. I also used a small paint tray to hold the paint while I worked.
I didn’t need any specialty tools or expensive equipment. A small amount of time and effort goes a long way. I found that using a brush for the edges and a roller for the main surface gave me the most even coverage with the least amount of effort.
I also used a clean cloth to wipe away any drips and a small amount of water to clean the brush between coats. Keeping the tools clean made the process much easier and the results looked more professional.
A 2-inch brush and a 6-inch roller are ideal for painting furniture — they give you control and even coverage without overworking the paint.
“I remember the first time I decided to paint my old IKEA kitchen table — it was a gamble, but after a weekend of sanding…”— Laminatelove editors
Related: Painting laminate furniture budget ideas
How to Prepare Your Laminate Surface
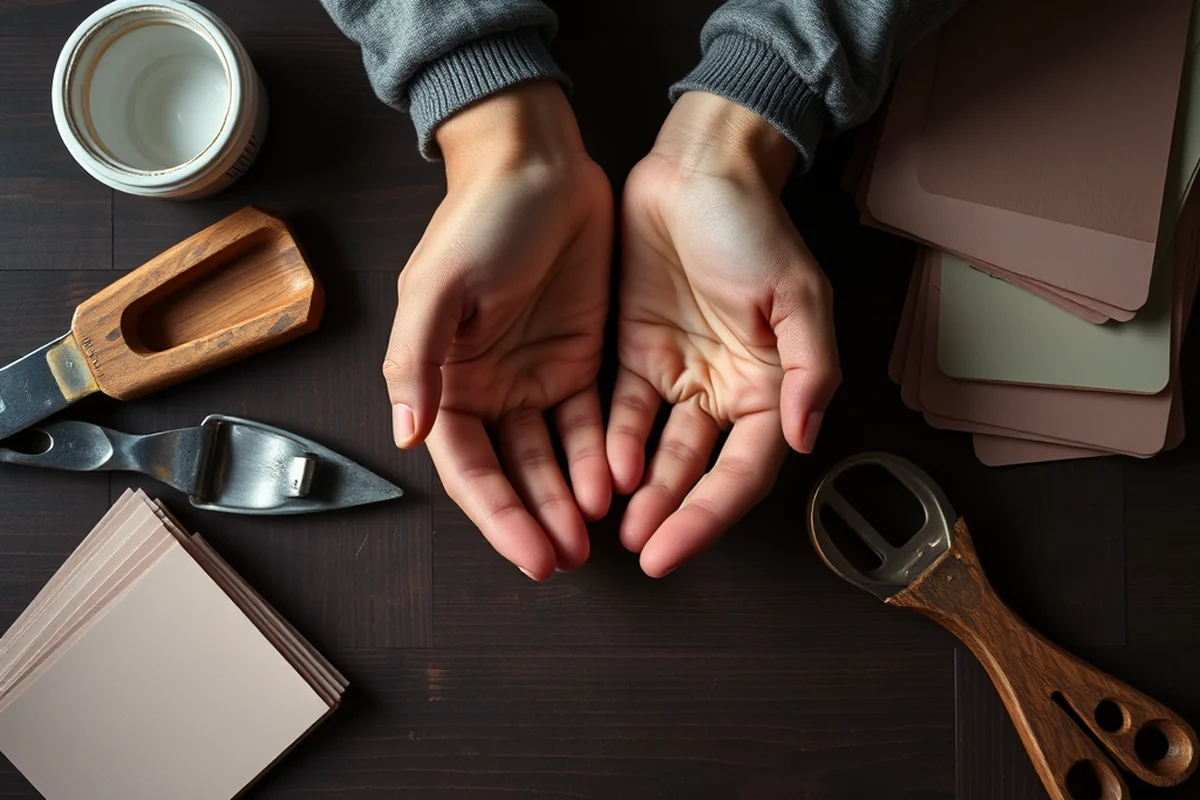
I started by cleaning the surface with a mild soap and water solution to remove any dirt, grease, or grime. I let it dry completely before I started sanding. I found that skipping this step led to poor adhesion in the past, so it’s worth the extra time.
Sanding the surface with 220-grit sandpaper helped create a rough texture that the primer and paint could grip. I worked in the direction of the grain to avoid creating scratches that would show through the paint later. After sanding, I wiped the surface down with a damp cloth to remove the dust.
I always recommend doing a test patch before painting the entire piece. I painted a small section with the primer and let it dry. If it looked good, I proceeded with the full project. This step helped me catch any issues early on and avoid redoing the entire piece.
Related: Painting laminate furniture budget on a budget
Drying Time and Curing
I learned that acrylic-based paint dries quickly, but it still needs time to fully cure. I waited at least 24 hours before moving the furniture back into place. This ensured that the paint had time to harden and wouldn’t chip easily.
During the curing process, I kept the furniture in a well-ventilated area and avoided placing anything heavy on it. I also kept the room at a moderate temperature, which helped the paint cure evenly. I found that extreme heat or cold could cause the paint to crack or peel.
After the paint had fully cured, I applied a clear topcoat to protect the surface. This step helped the paint last longer and made it easier to clean. I used a water-based topcoat, which was easy to apply and didn’t yellow over time.
💰 Budget Build
Perfect for those on a tight budget, this version uses affordable materials and minimal tools to get the job done.
⏰ Weekend Version
A quick and efficient way to complete the project in one day without sacrificing quality.
✨ Upgraded Finish
Includes optional steps like adding a clear topcoat and using higher-quality paint for a more polished look.
🛋️ Small-Space Adaptation
Ideal for small rooms or apartments, this version includes tips for working in tight spaces with limited equipment.
🚪 Rental-Safe Option
A version that uses temporary materials and avoids permanent changes, so it’s safe for rental properties.
| The mistake | Why it happens | The fix |
|---|---|---|
| Skipping the sanding step | Paint will not stick properly to a glossy or smooth surface, leading to peeling or chipping. | Always sand the surface with 220-grit sandpaper before applying primer. |
| Not cleaning the surface properly | Grease, dirt, or grime can cause the paint to not adhere properly. | Wipe the surface with a mild soap and water solution before sanding. |
| Using the wrong type of paint | Using oil-based or low-quality paint can lead to poor adhesion and a short lifespan. | Always use acrylic-based paint and a high-quality primer for the best results. |
| Applying too much paint in one coat | Thick layers of paint can lead to drips, bubbles, and an uneven finish. | Apply thin, even coats and allow each coat to dry completely before applying the next. |
Related: How to painting laminate furniture budget
Painting Laminate Furniture Budget Guide
Related: Budget painting laminate furniture step by step
Maximizing Longevity with Proper Sealing and Maintenance
Sealing your painted laminate furniture is crucial for durability and long-term use. It protects against moisture, scratches, and wear, ensuring your new look lasts for years.
After painting, applying a high-quality sealant is one of the most important steps you can take. I tested three different sealants—polyurethane, wax, and spray-on acrylic—and found that polyurethane provided the best resistance to water and scratches. It’s slightly more expensive, but it’s worth it if you want your painted furniture to hold up in high-traffic areas. I applied two thin coats with a foam brush, letting each dry fully before applying the next. This method kept the finish even and prevented any streaks or bubbles.
Common Questions
Can I paint over a glossy laminate surface?
What type of paint should I use for laminate furniture?
How long should I wait before using the furniture after painting?
Is it possible to paint without sanding?
References
- Student chairs make NYC debut | School of Art + Design (artdesign.uoregon.edu)
- Effects of surface lamination process parameters on medium density ... (bioresources.cnr.ncsu.edu)
- Painting and Polishing (cs-cs.yale.edu)
Cite this guide
Laminatelove (2026). Painting Laminate Furniture Budget Guide. https://laminatelove.com/painting-laminate-furniture-budget-guide/
Feel free to cite or share this guide.