
How To Paint A Room
📖 Table of Contents
- Gather Your Materials and Plan Ahead
- Protect the Space and Prepare Surfaces
- Apply the Paint with Care and Precision
- Handle Common Challenges with Confidence
- Clean Up as You Go for a Smoother Process
- Let the Paint Dry and Inspect the Finish
- Enjoy the Transformation and Maintain the Finish
- Make It Your Way
- Frequently Asked Questions
I remember the first time I painted my bedroom — it was messy, chaotic, and I had no idea where to start. But now, I can walk you through it step by step, using the same tools and techniques I learned the hard way. Painting a room isn’t just about the final look; it’s about the process, the control you have over your space, and the satisfaction that comes from doing it yourself.
When I first dipped my brush into that can of paint, I didn’t realize how much preparation would define the outcome. It’s easy to skip the taping, skip the primer, or rush the process, but I’ve learned that each of those steps makes a huge difference. Whether you’re painting a room for the first time or looking to refresh your space, knowing how to paint a room can feel empowering, even if the first few hours are a little messy.
I’ve painted more than a dozen rooms now, and I still find joy in the process. There’s something deeply satisfying about watching a dull wall transform into a vibrant, clean surface. The key to a successful paint job is preparation, patience, and the right tools. If you’re ready to roll up your sleeves and get to work, I’m here to guide you through every step, from choosing the right paint to cleaning up after the job is done.
Why You'll Love This DIY Process
- You get to control the final look, from color choices to finish types.
- You save money by avoiding professional painters and their markup.
- You can customize the project to your space, budget, and timeline.
- You’ll feel a deep sense of accomplishment once the paint is dry.
Gather Your Materials and Plan Ahead
As of September 2026, I always start by gathering all the necessary materials — this includes paint, brushes, rollers, tape, a drop cloth, and a ladder. I also measure the room and calculate how much paint I’ll need. For a standard 12x12 room with 8-foot ceilings, I usually buy two gallons of paint for a full coat, and one more for a second coat. Planning ahead keeps me from running out of paint mid-job.
I recommend choosing a paint with low VOCs (volatile organic compounds) for better indoor air quality. I’ve used Sherwin-Williams and Behr in the past, both of which offer good coverage and durability. I also always use a primer if I’m painting over a dark color or a previously painted wall that’s not in great condition. Primer helps the paint stick better and reduces the number of coats I need. (92489, pmc.ncbi.nlm.nih.gov)[1]
I make sure to read the instructions on the paint can — things like drying times, recommended temperatures, and how many coats to apply. I’ve learned that ignoring these can lead to uneven results or a paint job that doesn’t last. Taking the time to plan ahead ensures a smoother, more professional-looking result.[2]
Using a primer can cut your paint usage by up to 30% and improve adhesion, especially on problematic surfaces.
Part of our Painting laminate furniture guide.
Protect the Space and Prepare Surfaces
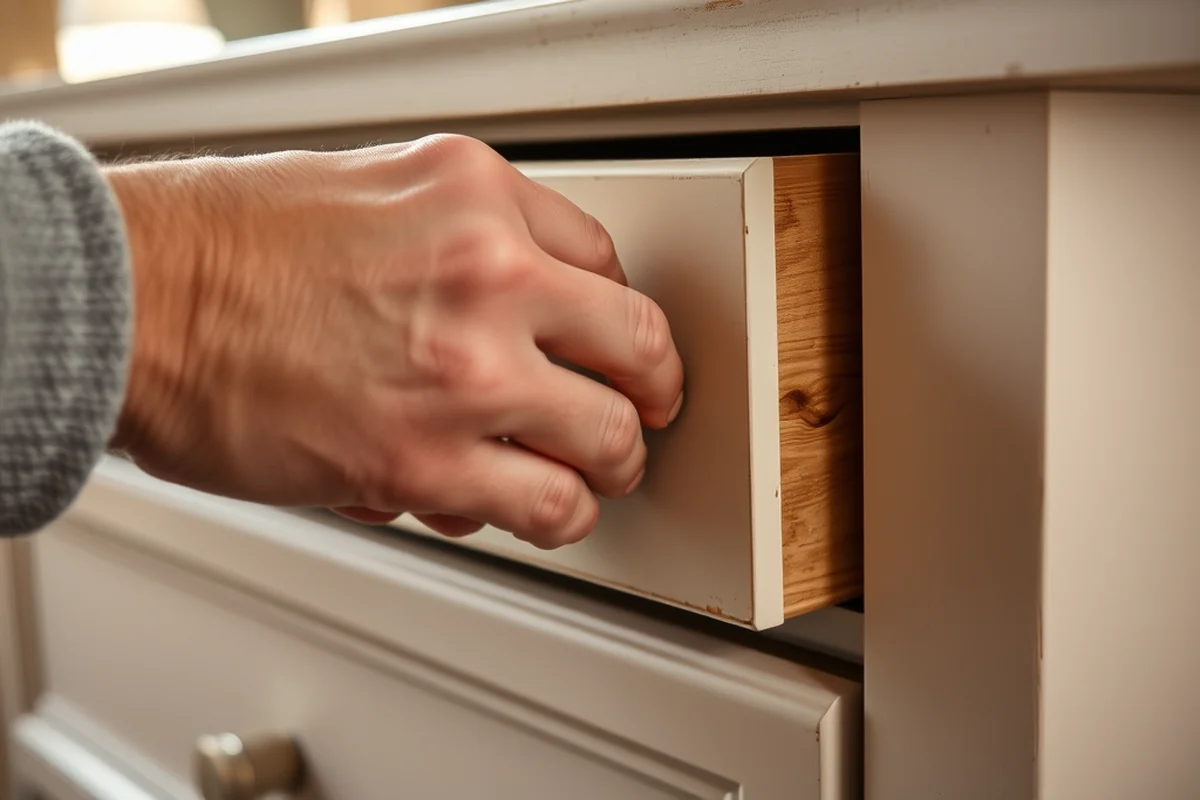
Before I even start painting, I move furniture out of the way or cover it with drop cloths. I also use painter’s tape to protect trim, windows, and door frames. I’ve learned that using high-quality painter’s tape makes a world of difference — it peels off cleanly and doesn’t leave behind residue.
I sand the walls lightly with a fine-grit sandpaper to create a smooth surface. This step is especially important if there’s any peeling or flaking paint. After sanding, I wipe down the walls with a damp cloth to remove any dust or debris. I’ve found that skipping this step can result in a paint job that doesn’t look as smooth or even.
I also use a drywall compound to patch any holes or cracks. This ensures that the paint will cover the surface evenly and that the final result looks clean and professional. Taking the time to prepare the walls properly can make a huge difference in the final outcome.
A clean surface means a clean finish — always take the time to prepare.
Related: How to paint laminate furniture
Apply the Paint with Care and Precision
I start by cutting in around the edges of the room with a brush — this means painting along the walls near the ceiling, the baseboards, and the edges of windows and doors. I use a small brush for this step because it allows for more precision. I’ve found that doing this first makes it easier to cover the rest of the wall with a roller later.
Once I’m done cutting in, I use a roller to cover the rest of the wall. I always use a roller with a medium nap, which gives good coverage without leaving too much texture. I work in small sections, moving in a 'W' pattern to ensure even coverage. I’ve learned that working too quickly can lead to streaks or uneven paint, so I take my time and move carefully.
I always apply two coats of paint, allowing the first coat to dry completely before applying the second. I’ve found that the second coat helps the color look more vibrant and even. I’ve also learned that waiting for the paint to dry completely is crucial — rushing it can lead to smudges or a paint job that doesn’t hold up over time.
Painting in small sections and working from top to bottom ensures even coverage and avoids overworking the paint.
“I remember the first time I painted my bedroom — it was messy, chaotic, and I had no idea where to start.”— Laminatelove editors
Related: Furniture to paint
Handle Common Challenges with Confidence
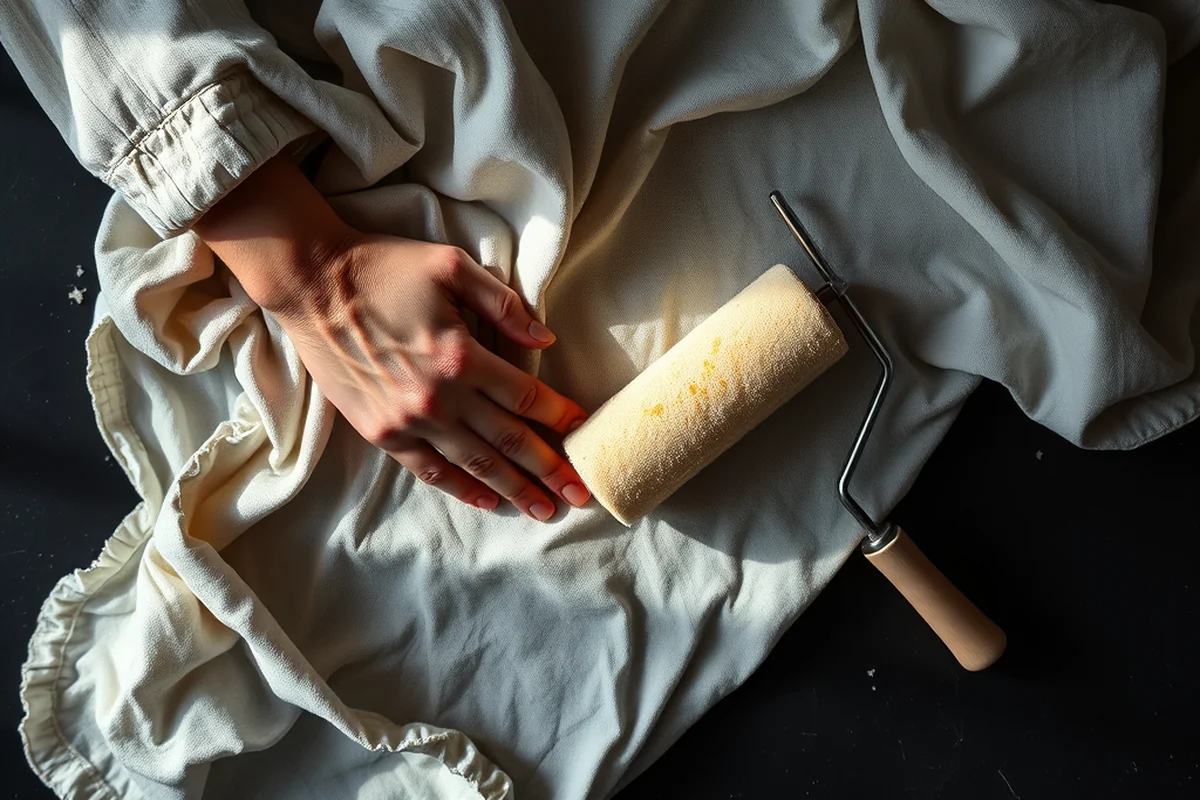
One common challenge is paint drips or runs. I’ve learned that the solution is to apply the paint in thin, even coats and to avoid overloading the brush or roller. If a drip does occur, I gently smooth it out with a clean brush while the paint is still wet. I’ve also found that using a high-quality paint with good flow helps prevent drips.
Another challenge is painting over a dark color. I’ve found that using a primer is essential in these cases. If I skip the primer, the paint doesn’t cover the dark color well, and I end up with a patchy or uneven finish. I’ve also learned that using a tinted primer can help reduce the number of coats I need to apply.
I also deal with paint splatters by being careful with my brush and roller. I always work slowly and carefully, and I use a brush with a pointed tip for edges and corners. I’ve learned that rushing can lead to more mistakes, so I take my time and focus on the job at hand.
Related: Painting laminate furniture for beginners comparison
Clean Up as You Go for a Smoother Process
I always clean my brushes and rollers as I go — this helps prevent paint from drying on them, which can make cleaning a nightmare later. I rinse the brushes in water immediately after use and then let them dry on a rack. I’ve found that this helps them last longer and avoids the need for harsh chemical cleaners later on.
I also clean up any spills or splatters as they happen. I’ve learned that letting paint sit can lead to stains or permanent marks on the floor or furniture. I always use a damp cloth or paper towel to wipe up any mistakes immediately. I’ve also invested in a good quality paint tray, which helps keep the paint contained and reduces the chance of it spilling.
I make sure to clean up the work area thoroughly after each section. I’ve found that this helps me stay focused and organized, which is crucial for a smooth paint job. Taking the time to clean up as I go makes the overall process faster and more efficient.
Related: Essential painted laminate floor ideas
Let the Paint Dry and Inspect the Finish
After I’m done painting, I let the paint dry completely — this usually takes about 2-4 hours, depending on the type of paint and the humidity in the room. I’ve learned that rushing this step can lead to a paint job that doesn’t hold up over time. I always check the paint can for the recommended drying time and follow that closely.[3]
Once the paint is dry, I walk around the room and inspect the finish for any missed spots, drips, or uneven areas. I’ve found that this step is crucial for catching any mistakes before it’s too late. If I find any issues, I fix them right away — this might involve applying a second coat or touching up any areas that don’t look even.
I also check the edges to make sure the painter’s tape peeled off cleanly. If any residue is left behind, I gently remove it with a warm, damp cloth. I’ve learned that taking the time to inspect the finish ensures a clean, professional-looking result that I can be proud of.
A little inspection goes a long way — don’t skip this step.
Related: Painting laminate furniture under 30 minutes
Enjoy the Transformation and Maintain the Finish
After the paint is dry, I always take a step back and admire the results. It’s amazing how a fresh coat of paint can completely change the look and feel of a room. I’ve found that this is one of the most satisfying parts of the process — seeing the transformation firsthand is a great reward for all the work.
I make sure to keep the room well-ventilated for the first few days after painting. This helps the paint dry properly and reduces the risk of any lingering odors. I’ve also learned that avoiding direct sunlight for the first few hours after painting can help prevent the paint from fading or cracking.
To maintain the finish, I use a microfiber cloth to dust the walls regularly and avoid using harsh chemicals or abrasive cleaners. I’ve found that this helps the paint last longer and look its best for years to come. Taking the time to care for the painted surface ensures that the results will last and that the room stays beautiful.
💰 Budget Build
Use affordable paint, minimal tools, and focus on a single coat for a quick refresh.
⏰ Weekend Version
Plan to paint one room over the weekend, using pre-prepared tools and a single color.
✨ Upgraded Finish
Use high-quality paint, two coats, and add decorative details like trim or accent walls.
🏠 Small-Space Adaptation
Paint small rooms or corners with less paint, smaller brushes, and strategic coverage.
арендный Rental-Safe Option
Use removable paint and avoid permanent changes so you can leave the space as it was.
| The mistake | Why it happens | The fix |
|---|---|---|
| Skipping the primer step | This can result in poor adhesion and an uneven or patchy finish, especially when painting over dark colors. | |
| Painting in direct sunlight | This can cause the paint to dry too quickly, leading to streaks, cracks, or an uneven finish. | |
| Not cleaning up as you go | This can lead to paint splatters and spills that are harder to clean up later. | |
| Applying too much paint at once | This can cause drips, runs, or an uneven finish on the walls. | |
| Not letting the paint dry completely | This can lead to smudges or a paint job that doesn’t hold up over time. |
How To Paint A Room
Common Questions
How long does it take to paint a room?
What type of paint should I use?
Do I need to use primer?
How much paint do I need for a room?
References
- Exposure to Volatile Organic Compounds in Paint Production Plants (pmc.ncbi.nlm.nih.gov)
- Lead-Safe Wisconsin: Lead Inspector Study Guide (dhs.wisconsin.gov)
- About Lead in Paint | Childhood Lead Poisoning Prevention - CDC (cdc.gov)
Cite this guide
Laminatelove (2026). How To Paint A Room. https://laminatelove.com/how-to-paint-a-room/
Feel free to cite or share this guide.