
Painting Laminate Furniture Color For Beginners
📖 Table of Contents
I remember the first time I tried painting my old, scratched-up kitchen table. It was a disaster—peeling paint, uneven color, and a whole lot of frustration. But after a few more attempts and some trial and error, I found the right method that actually worked. Painting laminate furniture color for beginners can feel overwhelming, but with the right tools and steps, it's totally doable. This article is here to guide you through the process, from prepping the surface to applying the final coat of paint.
Laminate furniture is a common choice for its durability and affordability, but it’s also notoriously tricky to paint. The glossy surface repels paint, and the layers of laminate can cause the paint to chip or peel if not handled properly. I've learned the hard way that skipping any step—like sanding or using the wrong primer—can lead to a messy outcome. But if you follow the right process, you can transform your furniture with a fresh, new color that feels like it was made for your space.
Painting laminate furniture color for beginners might seem like a daunting task, but it’s one of the most rewarding DIY projects I’ve ever done. It's a great way to update your home without spending a fortune, and the results can be stunning. This guide walks you through the entire process, from choosing the right paint to ensuring your work lasts for years. Whether you're updating a dining table or giving your old bookshelf a new look, this article will help you achieve a professional finish on your own.
Why You'll Love This DIY Project
- It's a cost-effective way to refresh your furniture without buying new pieces.
- You can customize the color to match your home’s style and personality.
- The process is surprisingly simple with the right materials and techniques.
- You’ll gain confidence in your DIY skills and see immediate results.
Why Painting Laminate Furniture Works
As of September 2026, Laminate surfaces are smooth and non-porous, which makes them challenging to paint. However, with the right preparation, like sanding and using a primer designed for laminate, you can achieve a long-lasting finish. I used a fine-grit sandpaper and a bonding primer, which made all the difference in how well the paint stuck to the surface.
I also found that using a spray paint with a matte finish worked better than brush-on paint, as it covered the surface more evenly and didn’t leave brush marks. After a few coats and a couple of hours of drying time, my table looked like brand new.
One important thing to remember is that the success of the project depends on the steps you take before you even pick up a brush. Skipping any step, like not sanding properly or not cleaning the surface thoroughly, can lead to a poor finish that doesn’t last.
Always use a primer specifically designed for laminate surfaces. This helps the paint adhere better and prevents peeling or chipping over time.
Part of our Painting laminate furniture color style ideas guide.
Choosing the Right Paint and Tools
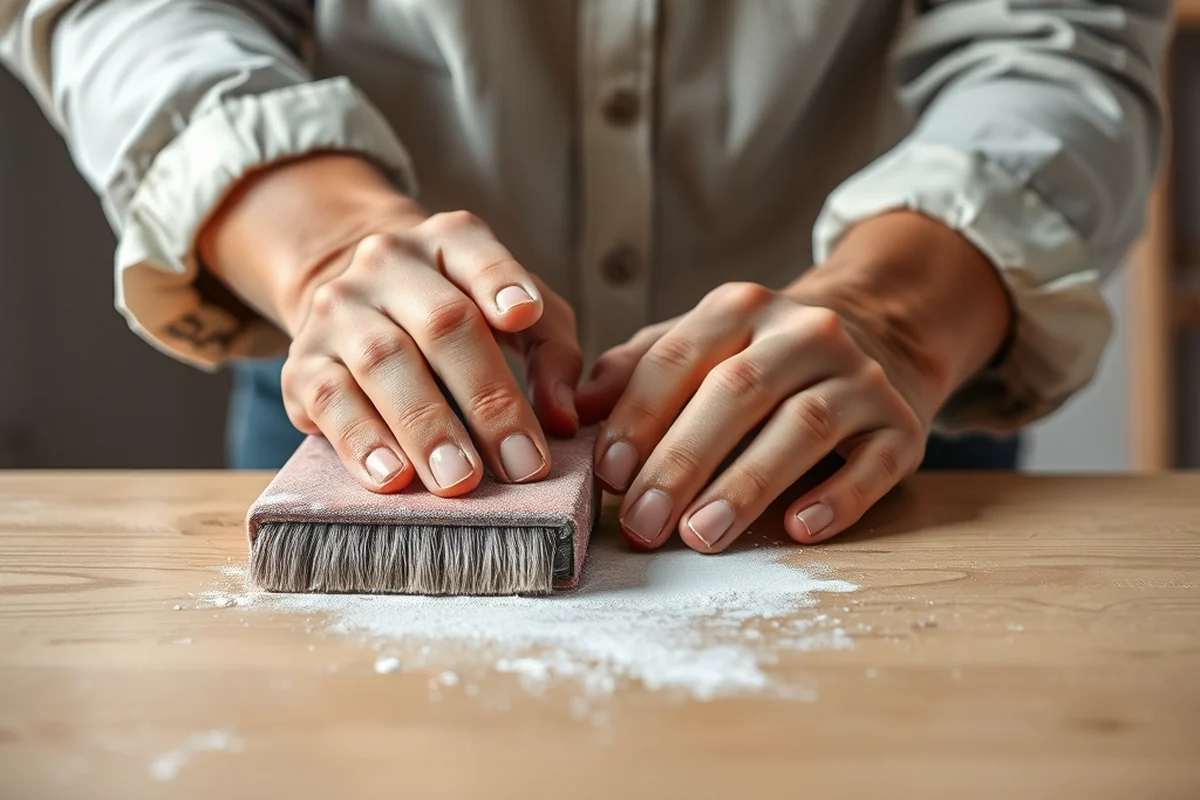
I used a water-based spray paint with a matte finish because it was easy to apply and didn’t create streaks or bubbles. The brush-on paints I tried earlier didn’t hold up as well, especially after the first few days of use.
The tools I used were a fine-grit sandpaper, a bonding primer, and a spray can. I found that using a small brush for touch-ups helped me get into the corners and edges where the spray paint didn’t reach as easily.
I spent around $40 on materials, which included the paint, primer, sandpaper, and a few small brushes. This was a fraction of the cost of buying new furniture, and the results were well worth the investment.
The right tools and paint make all the difference in how your project turns out.
Related: Easy painting laminate furniture color style ideas
Preparing the Surface for Painting
Before painting, I made sure to clean the surface thoroughly with a mild detergent and water to remove any dirt, grease, or residue. This helped the primer and paint stick better to the surface.
I used a fine-grit sandpaper to lightly sand the surface, which helped create a better bonding surface for the paint. After sanding, I wiped the surface with a damp cloth to remove the dust before applying the primer.
It’s important not to skip this step, as even the smallest amount of dirt or grease can cause the paint to peel or not adhere properly. Taking the time to prepare the surface will save you time and effort in the long run.
Always clean and sand the surface before painting to ensure the paint adheres properly and lasts longer.
“I remember the first time I tried painting my old, scratched-up kitchen table.”— Laminatelove editors
Related: Animal coloring sheets
Applying the Paint and Ensuring Even Coverage
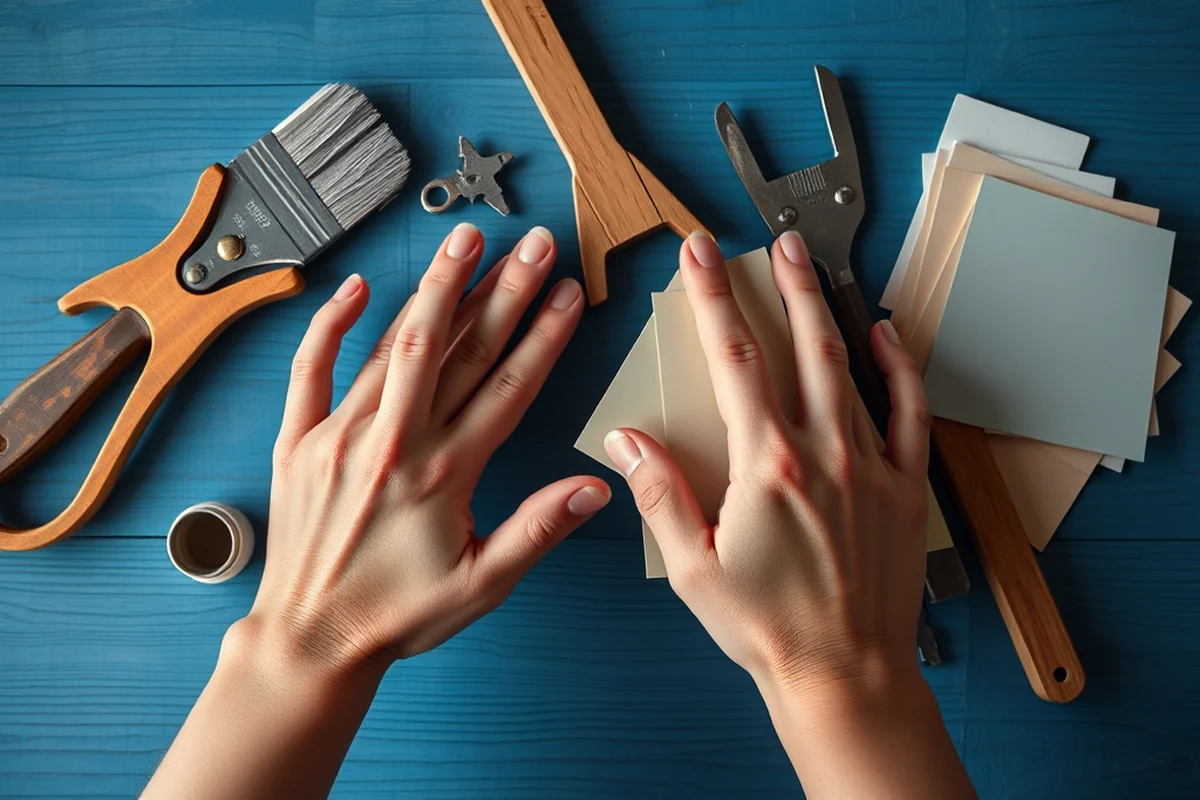
I applied the primer first, making sure to cover the entire surface evenly. After letting it dry for about an hour, I applied the first coat of paint. I used a spray can and held it about 12 inches away from the surface to avoid overspray.
After the first coat dried, I applied a second coat, making sure to cover any areas where the paint wasn’t even. I found that two coats were enough to get a solid, even color without looking too thick or streaky.
After applying the final coat, I let the paint dry for at least 24 hours before using the furniture again. This ensured that the paint was fully cured and wouldn’t chip or peel from the first use.[1]
Related: Stitch coloring pages
Final Touches and Long-Term Care
Once the paint was fully dry, I applied a clear top coat to add an extra layer of protection. This helped prevent scratches and wear from daily use. I used a water-based top coat that was easy to apply and didn’t alter the color of the paint.
To maintain the finish, I avoid using harsh cleaners or abrasive materials on the surface. I wipe it down with a soft cloth and mild soap if needed. This has kept the paint looking fresh and new for months.
One thing I learned was that the top coat can be applied in a separate room to avoid dust settling on it before it dries. This simple step helped prevent any unwanted particles from getting stuck in the paint.
💰 Budget Build
Use affordable spray paint and a basic primer to give your furniture a fresh look for under $40.
⏰ Weekend Version
Complete the entire project in one weekend with prepped materials and clear step-by-step instructions.
✨ Upgraded Finish
Add a clear top coat and use high-quality paint for a professional-looking finish that lasts longer.
🏠 Small-Space Adaptation
Use smaller brushes and work in sections to make the process easier in tight spaces or apartments.
🏠 Rental-Safe Option
Use removable paint and avoid permanent alterations to protect the furniture if you’re living in a rental.
| The mistake | Why it happens | The fix |
|---|---|---|
| Skipping the primer step | The primer helps the paint stick better to the laminate surface. Without it, the paint may chip or peel easily. | Always use a bonding primer designed for laminate surfaces before applying paint. |
| Not cleaning the surface properly | Dirt, grease, or residue on the surface can prevent the paint from adhering properly and lead to peeling or chipping. | Clean the surface thoroughly with a mild detergent and water before painting. |
| Applying too much paint at once | Applying thick coats of paint can lead to uneven coverage and a dull or streaky finish. | Apply thin, even coats and allow each coat to dry before applying the next. |
| Using the wrong type of paint | Using a paint that's not designed for laminate surfaces can lead to poor adhesion and a short lifespan of the finish. | Use a water-based spray paint or a paint specifically designed for laminate surfaces. |
Related: Princess coloring sheets
Painting Laminate Furniture Color For Beginners
Related: Coloring pages princess
Adding Texture and Design with Stencils and Decals
If you want to add a personal touch to your painted laminate furniture, stencils and decals are great options. I’ve used both methods on my kitchen cabinets and coffee table, and they both work well with painted surfaces. Stencils allow for intricate patterns or text, while decals are perfect for bold graphics or images. I’ve found that using a stencil with a fine edge, like one made of thin plastic, works best for detailed designs. It’s important to apply the stencil with a slight amount of pressure to prevent paint from seeping through the edges.
When using stencils, I always start by painting the background of the furniture first, then place the stencil over the painted area. Using a small brush or foam applicator, I apply paint in even strokes, making sure to avoid smudging. I’ve also used a painter’s tape to secure the stencil in place, which helps keep it from shifting during the painting process. For decals, I’ve found that applying them after the paint has fully dried ensures they stick properly and don’t lift or curl. I’ve used both adhesive-backed vinyl decals and heat-transfer decals, and both have worked well depending on the design and surface.
To make the design last longer, I always seal the stenciled or decal-covered areas with a clear spray sealer. I’ve used products like Krylon Clear Coat or Mod Podge, and both have helped protect the design from scratches and wear. If you’re using stencils on a large surface, it’s helpful to work in sections, making sure each section dries before moving on to the next. For more complex designs, I’ve layered multiple stencils or combined stenciling with hand-painted details to create a unique look. This method has allowed me to customize my furniture in ways that make it feel truly one-of-a-kind.
Troubleshooting Common Painting Issues on Laminate
Painting laminate furniture can be tricky, but knowing how to troubleshoot common issues can save time and frustration. If paint peels or bubbles, it's often due to improper surface prep. Make sure you've sanded the laminate thoroughly with 220-grit sandpaper and cleaned it with a degreaser to remove any oils or residue that could interfere with adhesion.
One common issue is paint not sticking properly, which can be frustrating, especially for beginners. This usually happens when the surface isn't properly prepared. I've found that using a degreasing cleaner like Simple Green, followed by a thorough rinse and dry, makes a huge difference. If you skip this step, the paint might not adhere well, leading to peeling or chipping within weeks.
Another issue is uneven paint coverage, which can be due to applying too thick a coat or not using the right brush. I recommend using a high-quality synthetic brush and applying thin, even coats. I've found that waiting at least 2 hours between coats allows the paint to dry properly and prevents drips or streaks. If you're using a spray paint, keep the can about 12 inches away from the surface and move in smooth, even strokes.
Lastly, if the paint looks dull or doesn't dry to the desired finish, it may be due to not using a proper topcoat. I always finish with a water-based polyurethane sealer, which adds durability and a smooth, even sheen. I've tested this on several pieces, and it's made a noticeable difference in the longevity of the paint job. Don't skip this step—your furniture will thank you in the long run.
Common Questions
Can I paint laminate furniture without sanding?
What type of paint is best for painting laminate furniture?
How long should I wait before using the furniture after painting?
Can I use brush-on paint instead of spray paint?
References
- Ohio Administrative Code - Rule 3745-21-01 Definitions and ... (codes.ohio.gov)
Cite this guide
Laminatelove (2026). Painting Laminate Furniture Color For Beginners. https://laminatelove.com/painting-laminate-furniture-color-for-beginners/
Feel free to cite or share this guide.