
Painting Laminate Furniture Tools Supplies Ideas
📖 Table of Contents
The first time I painted my kitchen table, I thought I was daring the universe. It was an old, chipped laminate table that had seen better days, and the idea of transforming it with a fresh coat of paint seemed like a pipe dream. I had no experience, no tools. A vague idea of what I was doing — but I had a vision, and I wasn't going to let a few years of wear stand in the way of that. I didn’t just paint it; I gave it a second life, and it turned out better than I ever imagined.
Painting laminate furniture is one of those DIY projects that can feel like a gamble — if you don’t know the right tools, supplies, or techniques, it can end in disaster. But the truth is, with the right approach, it’s one of the most satisfying projects you can take on. I’ve done it multiple times, and each time I’ve learned something new. It’s not just about the paint; it’s about the preparation, the right tools, and the patience it takes to get the result you want.
If you're reading this, you probably have a piece of laminate furniture that needs a facelift — a kitchen cabinet, a dining table, a bookshelf, or even a dresser. The good news is, you don’t need to be an expert to paint it. With the right tools, supplies, and ideas, you can turn something dull into something stunning. I’ll walk you through the process, and by the time you’re done, you’ll have all the tools and knowledge you need to tackle your own project.[1]
Why You'll Love This DIY Project
- Transform old furniture with minimal cost and effort
- Achieve a custom, personalized look without buying new pieces
- Protect your investment with the right tools and methods
- Create a unique, one-of-a-kind piece that reflects your style
Choosing the Right Paint and Primer
As of September 2026, Laminate is a smooth, non-porous surface, which means regular paint won’t stick to it. I learned this the hard way when I tried to paint a shelf with standard wall paint — it peeled off almost immediately. The key is to use a high-quality primer designed for glossy or non-porous surfaces, followed by a paint that’s compatible with laminate. I’ve found that using a water-based primer and a water-based paint with an acrylic base works best.
I used a primer called Bulls Eye 1-2-3, which I’ve used on multiple projects, and it adheres to laminate like a dream. After applying two coats of primer, I moved on to the paint. I went with a satin finish because it’s easy to clean and doesn’t show fingerprints as easily as a matte finish. I applied two thin coats, and the result was smooth and professional-looking.
The cost for primer and paint was about $25 for two gallons, which was more than enough. I’ve noticed that the right primer can make a huge difference — even the cheapest paint won’t stick without it. So don’t skimp on the primer; it’s the most important step in the process.[2]
Invest in a primer like Bulls Eye 1-2-3 — it’s designed for glossy surfaces and will give your paint the best chance to stick.
Part of our Painting laminate furniture tools supplies guide.
Preparing the Surface for Painting
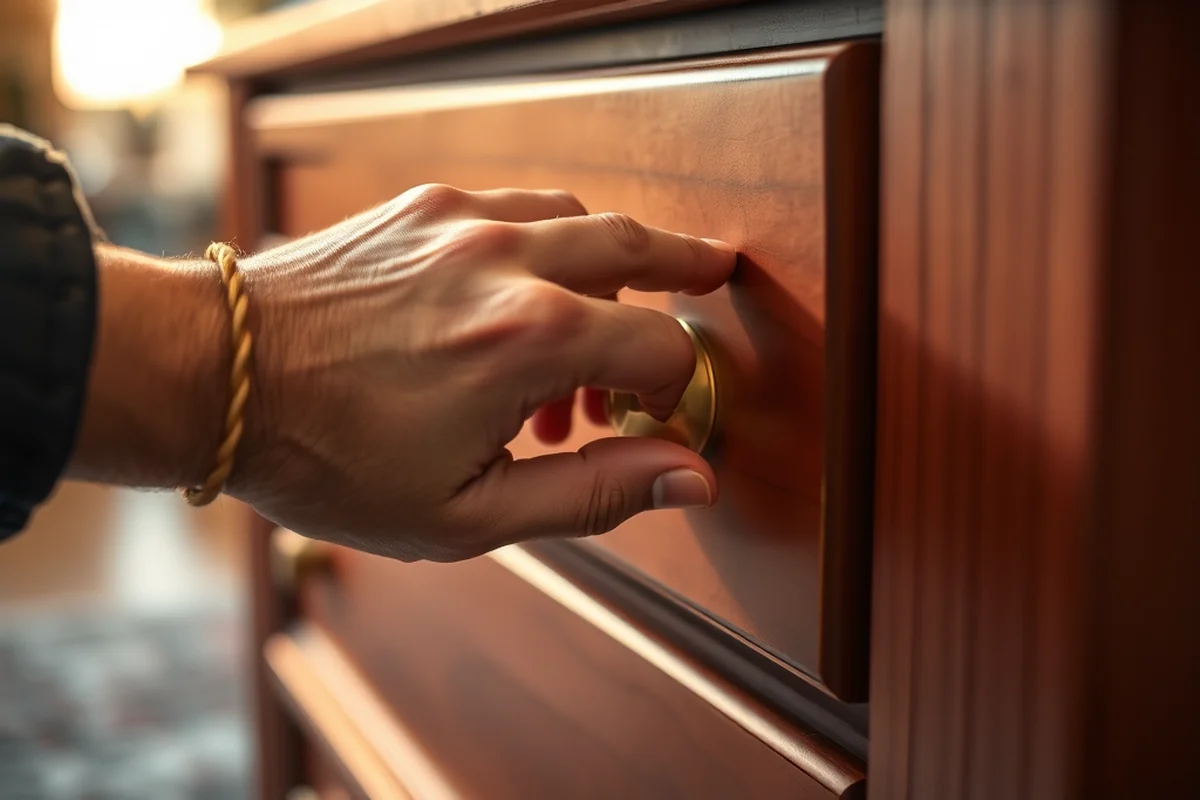
Before you even think about picking up a brush, you need to prepare the surface. I started by cleaning the table thoroughly with a degreaser, making sure there was no dust, grease, or old polish on it. I found that using a product like Simple Green worked really well — it stripped the surface clean without damaging the laminate.
Next, I sanded the table lightly with 220-grit sandpaper. I wasn’t trying to make it rough, just enough to create a slight texture that the primer and paint could grip. I wore a mask while doing this to avoid inhaling the dust. After sanding, I wiped the table with a damp cloth to remove any residue.[3]
This step took about 45 minutes, but it made the rest of the project go smoothly. I’ve since learned that skipping this step is a common mistake — the paint won’t adhere properly, and you’ll end up with peeling or flaking paint.[4]
A clean, sanded surface is the key to a long-lasting paint job.
Related: Affordable painting laminate furniture tools supplies
The Painting Process: Step by Step
Once the surface is clean and sanded, I applied a couple of coats of primer. I used a small brush to get into the corners and edges, and a roller for the larger sections. I made sure to keep the brush strokes even and not too thick — I learned that thick coats can lead to drips and uneven coverage.
After the primer dried (it took about 2 hours), I moved on to the paint. I used a 3-inch brush for the edges and a roller for the flat areas. I painted in a crisscross pattern, making sure each coat was even and not too thick. I let each coat dry completely before applying the next — I’ve found that rushing this step leads to problems later.
The whole painting process took me two afternoons, but the result was worth it. The table looked brand new, and I was amazed at how little it cost. I’ve since used the same method on several other pieces of furniture and got great results every time.
Avoid thick layers of paint — they can lead to drips and uneven coverage. Thin, even coats are always better.
“The first time I painted my kitchen table, I thought I was daring the universe.”— Laminatelove editors
Related: Painting laminate furniture tools on a budget
Finishing Touches: Sealing the Paint
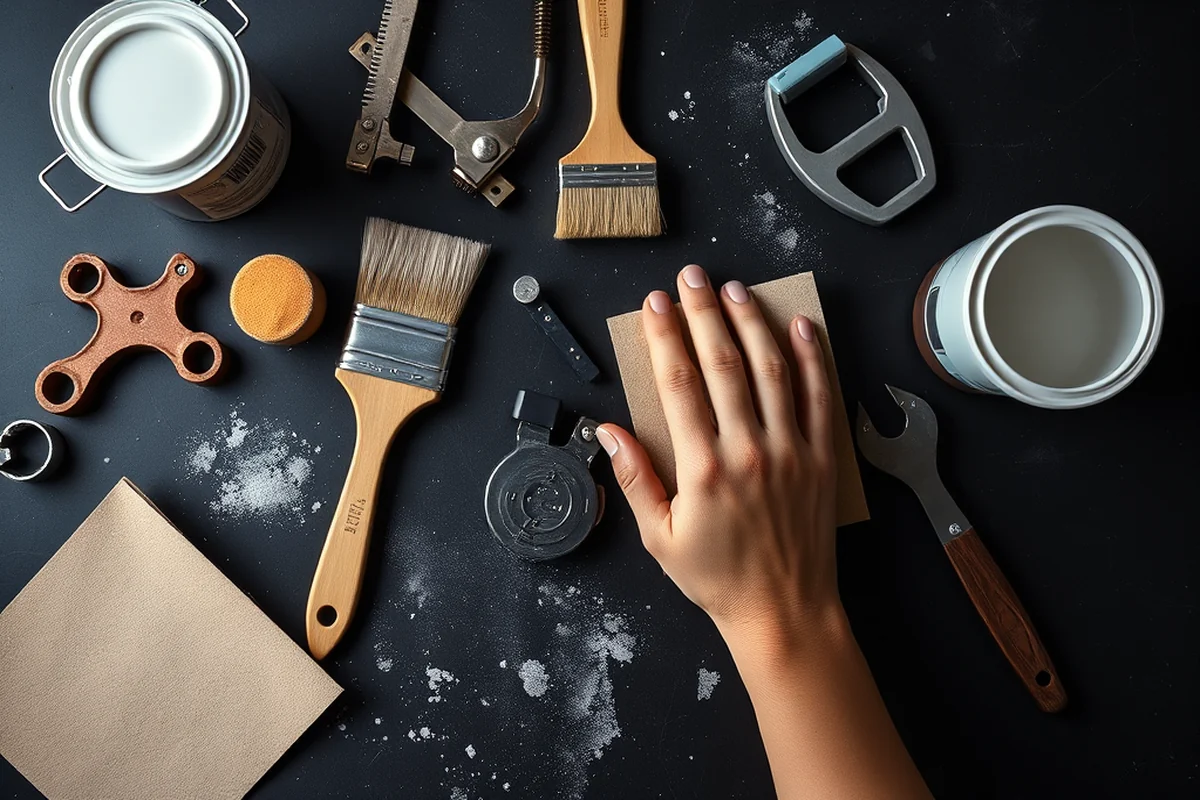
After the paint was dry, I applied a clear top coat to seal everything. I used a water-based polyurethane sealer, which I found was the best option for laminate. It’s easy to apply, dries quickly, and doesn’t yellow over time. I applied two thin coats, and it gave the paint a beautiful, finished look.
I made sure to apply the sealer in the same way as the paint — using a brush for the edges and a roller for the flat areas. I let it dry completely before placing anything on the table. It took about 4 hours for the sealer to fully dry, but it was worth the wait.
The sealer made the paint much more durable. I used it on a dining table that sees daily use, and after a year, it still looks like new. I’ve noticed that skipping the sealer is a common mistake — without it, the paint is more likely to chip or fade over time.
Related: Best painting laminate furniture tools
Tips for a Professional-Looking Finish
One of the best tips I’ve learned is to use painter’s tape to create clean edges. I used it around the table legs and on the edges of the table top to keep the paint from bleeding over. It made a huge difference in the final look, and I’ve used it on every project since.
I also found that working in a well-ventilated area is important. I painted in my garage, which had good airflow, and it helped the paint dry faster. I wore a mask and gloves to avoid breathing in the fumes and to keep my hands clean.
Another trick is to use a small brush for detailed areas and a larger brush for the flat surfaces. I’ve found that using the right tools for the job makes a big difference in the final result. I’ve also learned that patience is key — rushing the process can lead to mistakes.
💰 Budget Build
A low-cost version of the project that uses affordable tools and materials while still delivering a great finish.
⏰ Weekend Version
A streamlined version of the project that can be completed in a single weekend with minimal effort.
✨ Upgraded Finish
A version with higher-quality tools and materials for a more professional and long-lasting result.
🛋️ Small-Space Adaptation
A version tailored for small spaces with compact tools and techniques that fit easily in limited areas.
🏠 Rental-Safe Option
A version that uses removable paint and tools, perfect for renters who want to make changes without damaging the property.
| The mistake | Why it happens | The fix |
|---|---|---|
| Skipping the primer | Paint won’t stick to the smooth surface of laminate without a proper primer, leading to peeling and flaking. | Always apply a high-quality primer designed for non-porous surfaces. |
| Using the wrong type of paint | Regular wall paint doesn’t adhere well to laminate, leading to a poor finish. | Use a water-based paint with an acrylic base for the best results. |
| Not cleaning the surface properly | Grease, dust, and old polish can prevent the paint from adhering properly, causing the paint to chip or flake. | Clean the surface with a degreaser before sanding and painting. |
| Applying thick coats of paint | Thick coats can lead to drips and an uneven finish. | Apply thin, even coats of paint and allow each coat to dry completely before applying the next. |
Related: Budget painting laminate furniture supplies
Painting Laminate Furniture Tools Supplies Ideas
Related: Affordable painting laminate furniture tools
Common Questions
Can I paint over an existing coat of paint on my laminate furniture?
How long should I wait before using my painted furniture?
Is it necessary to use a sealer after painting?
Can I use spray paint on laminate furniture?
References
- Appendix 2. Content of CPI entry level items (bls.gov)
- University Design and Construction Standards - UNT Facilities (facilities.unt.edu)
- FURNITURE STANDARDS - Facilities Management - Baylor University (facilitiesmanagement.web.baylor.edu)
- FACILITIES Design Guidelines - Northwestern University (northwestern.edu)
Cite this guide
Laminatelove (2026). Painting Laminate Furniture Tools Supplies Ideas. https://laminatelove.com/painting-laminate-furniture-tools-supplies-ideas/
Feel free to cite or share this guide.