
Painting Kitchen Cabinets
📖 Table of Contents
I remember the first time I tried to paint my kitchen cabinets — I was both excited and terrified. I had spent weeks researching, watching tutorials, and gathering supplies, but nothing could have prepared me for the reality of the task. The smell of the paint was sharp, the brush felt foreign in my hand, and I was constantly second-guessing myself. But by the end of the weekend, I had a kitchen that looked brand new, and I couldn’t believe how much it had transformed my space. Painting kitchen cabinets was a journey of trial and error, but the result was worth every drop of paint and every moment of frustration.
The process of painting kitchen cabinets isn’t just about aesthetics — it’s about functionality and value. My cabinets were old, dented, and stained, and I knew that replacing them would be expensive. Instead, I opted for painting, which not only saved me hundreds of dollars but also gave me the opportunity to personalize my kitchen. I chose a light, neutral shade that made the space feel larger and brighter, and I was amazed at how much of a difference it made. The transformation wasn’t just visual; it was practical, too. My cabinets were easier to clean, and I felt like I had a fresh start.
Since that first project, I’ve painted several sets of cabinets — in my own home and for clients — and I’ve learned a lot along the way. I’ve discovered which paints work best, which tools are essential, and how to avoid common mistakes. Painting kitchen cabinets is a doable DIY project, especially if you take the time to plan, prep, and execute each step carefully. Whether you’re looking to refresh your space on a budget or add a personal touch to your home, painting your kitchen cabinets can be a rewarding, life-changing experience.
Why You'll Love This DIY Project
- It’s a budget-friendly way to update your kitchen's look
- You can personalize your space with color choices
- It adds value to your home without the cost of replacement
- It’s a satisfying, hands-on project that you can do yourself
Choosing the Right Paint
As of September 2026, not all paints are created equal, and using the wrong type can lead to peeling, chipping, or a lack of durability. I’ve learned the hard way that standard wall paint doesn’t cut it — it’s too thin and doesn’t adhere well to the glossy, often uneven surfaces of cabinets. Instead, I recommend using a high-quality, oil-based or water-based cabinet paint that is designed specifically for this purpose. These paints have a higher solids content, which ensures better coverage and a more durable finish.[1]
When I painted my kitchen cabinets, I used a brand called Sherwin-Williams Emerald Cabinet Paint. It was slightly more expensive than some other options, but it was worth it. It dried quickly, had a smooth finish, and lasted for over two years without showing any signs of wear. I also made sure to choose a paint that was easy to clean, as my kitchen is a high-traffic area and I wanted something that would hold up to spills and splatters.
Another key factor is the sheen of the paint. I opted for a semi-gloss finish, which is ideal for cabinets because it resists stains and is easier to clean. If you're unsure about the right type of paint for your project, I recommend visiting a local hardware store and talking to a knowledgeable salesperson who can help you make an informed decision.[2]
A paint sprayer can help you achieve a smooth, even finish quickly. I used mine for the first coat and it made a huge difference in reducing brush strokes and saving time.
Part of our Painting laminate furniture guide.
Preparation is Key
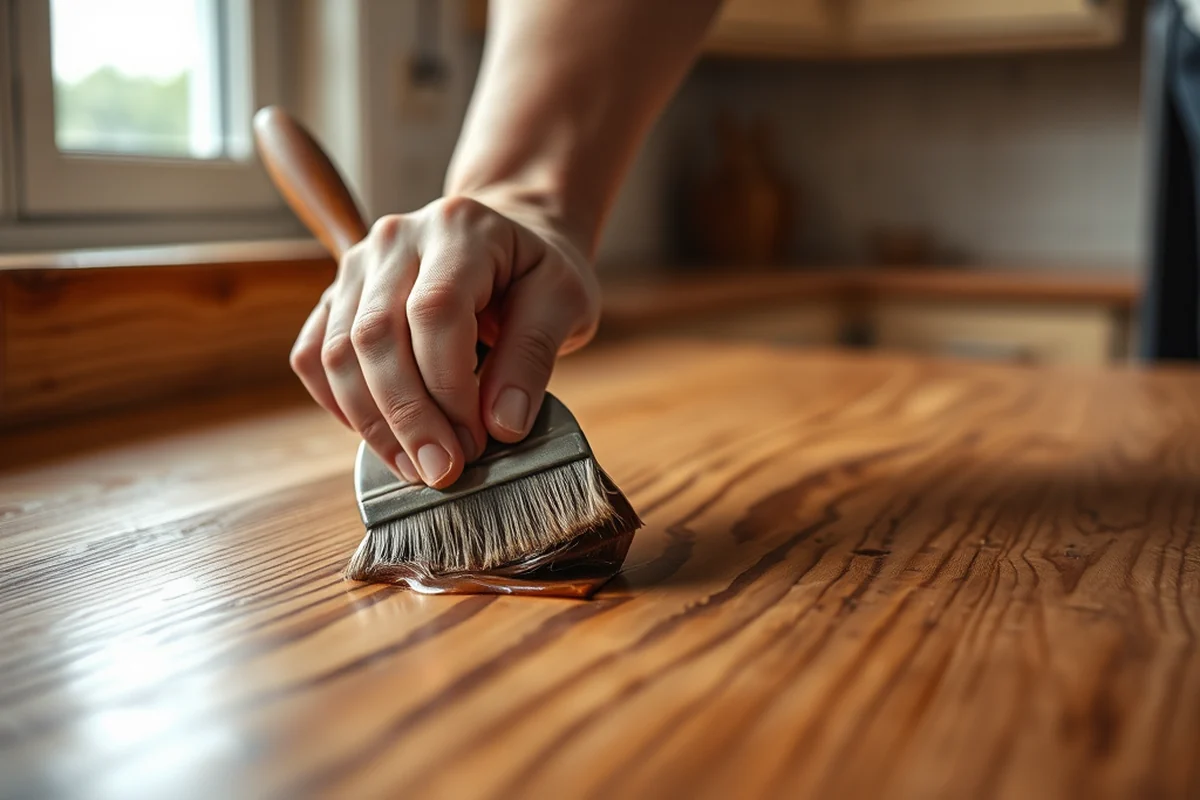
No matter how good the paint is, if your cabinets aren’t properly prepared, the result will be subpar. I spent several hours on prep work for my kitchen cabinets, and it paid off in the end. The first step was to clean the cabinets thoroughly with a degreaser — I used a product called Simple Green and it worked wonders. I had to scrub the surfaces multiple times to remove stubborn grease and grime.
After cleaning, I sanded the cabinets lightly with 220-grit sandpaper. This helped create a better surface for the paint to adhere to. I also used a damp cloth to wipe away any dust left behind from the sanding. Next, I applied a primer specifically designed for cabinets — I used a product called Kilz 2, which is water-based and dries quickly. The primer helped cover the old paint and provided a better base for the new coat.[3]
Finally, I taped the edges of the cabinets with masking tape to protect the surrounding areas from paint splatter. Taking the time to prepare the cabinets properly made the painting process much easier and resulted in a professional-looking finish.
A little preparation goes a long way in achieving a flawless finish.
Related: Beginner painting laminate furniture
Painting Techniques for a Professional Finish
With painting, technique is just as important as the materials you use. I learned that the way you apply the paint can make a big difference in the final result. I used a high-quality brush for the first coat, making sure to apply it in long, even strokes. I worked in sections to avoid leaving streaks or uneven patches.
After applying the first coat, I let it dry completely before applying the second coat. I found that waiting at least 4 hours between coats helped the paint adhere better and prevented it from running or bleeding. For the final coat, I used a paint roller with a short nap to achieve a smooth, even finish. I also made sure to avoid over-brushing, as this can leave visible brush marks.
One of the most important things I learned was to work carefully and patiently. Rushing through the process can lead to mistakes, so I took my time with each step. I also used a small brush for corners and edges, which helped me get into tight spots and achieve a more polished look.
Painting in small sections helps you maintain control and avoid mistakes. I painted one cabinet at a time and moved on to the next once the paint was dry.
“I remember the first time I tried to paint my kitchen cabinets — I was both excited and terrified.”— Laminatelove editors
Related: Modern way to paint laminate wood
The Importance of Drying Time
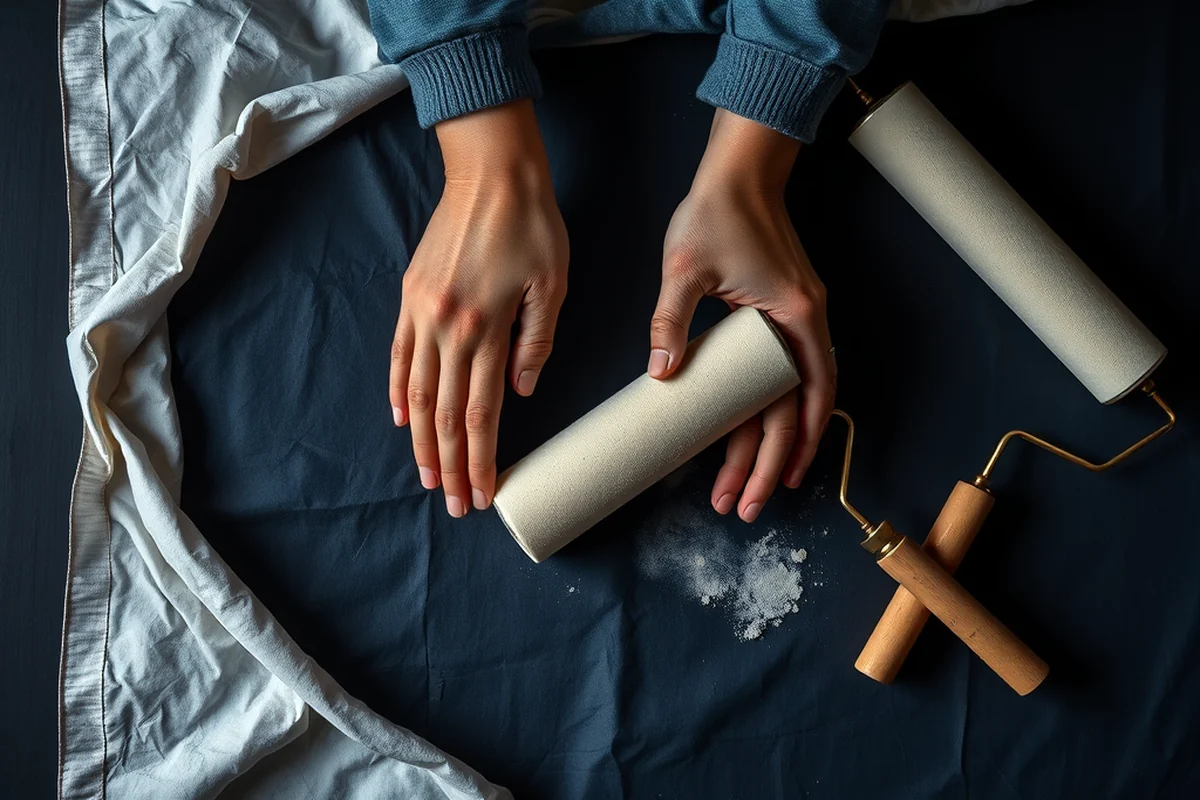
I made the mistake of skipping the drying time between coats and it showed in the final result. The paint was still slightly wet when I applied the second coat, and it led to a streaky, uneven finish. I had to sand the entire surface and start over, which was frustrating and time-consuming.
To avoid this, I made sure to read the instructions on the paint can and followed them carefully. Most water-based cabinet paints take at least 4 to 6 hours to dry between coats, while oil-based paints can take longer — up to 24 hours. I also kept the room well-ventilated by opening windows and using a fan, which helped the paint dry faster and more evenly.[4]
After the final coat, I let the paint dry completely before removing the masking tape. This helped prevent any peeling or lifting at the edges. Once the paint was fully dry, I wiped the cabinets with a clean cloth to remove any dust or residue. The result was a smooth, even finish that looked professionally done.
Related: Can you paint paper laminate furniture explained
Finishing Touches and Maintenance
Once the paint was dry, I added a few finishing touches to complete the project. I used a small brush to paint the inside of the cabinet doors and the edges of the frames. This gave the project a more polished look and made sure every surface was covered. I also took the time to clean the entire kitchen before replacing the cabinets, which made the process much more efficient.
Maintaining your painted cabinets is important to ensure they stay looking their best. I recommend cleaning them regularly with a mild, non-abrasive cleaner and a soft cloth. I also avoid using harsh chemicals or abrasive scrubbers, as these can scratch the paint and dull the finish. If I ever notice any stains or smudges, I wipe them away immediately before they have a chance to set.
Over time, I’ve noticed that the paint on my cabinets has held up well, even with regular use. The semi-gloss finish is easy to clean and resists stains, which is exactly what I wanted. The color hasn’t faded, and the finish still looks brand new. With proper maintenance, your painted cabinets can last for years and continue to look great.
Related: Budget painting laminate furniture tips
The Impact of a Painted Kitchen
Before I painted my kitchen cabinets, I never considered how much of an impact they had on my overall space. The old, worn-out cabinets made the room feel smaller and outdated, and I didn’t enjoy cooking or cleaning as much as I should have. After painting them, everything changed. The kitchen felt brighter, more organized, and much more inviting.
The transformation didn’t stop with the cabinets — the entire kitchen had a new energy. I felt more motivated to cook, and I actually looked forward to cleaning. My guests were also impressed by the change, and I received multiple compliments on the new look. It was amazing how a simple paint job could completely transform the mood of a room.
The best part of the project was the sense of accomplishment I felt. I had done something that I thought was impossible — I had painted my own kitchen cabinets and made my home look brand new. It was a huge confidence booster, and it showed me that I was capable of taking on bigger DIY projects.
A fresh coat of paint can transform a space and make you feel more at home.
Related: Paint a laminate desk guide
The Rewards of a Successful Project
There’s nothing quite like the satisfaction of completing a DIY project and seeing the results for yourself. Painting my kitchen cabinets was one of the most rewarding experiences I’ve had, and it taught me a lot about patience, planning, and perseverance. It also made me more confident in my abilities as a DIYer.
The process of painting the cabinets taught me the value of preparation and attention to detail. I had to take my time and work carefully, but the result was worth every minute I spent. I also learned that even the smallest mistakes can have a big impact, so it’s important to stay focused and avoid rushing.
Overall, the experience was incredibly rewarding. I had created a beautiful, functional kitchen that I was proud of, and I had gained new skills and knowledge in the process. It was a project that was worth every drop of paint and every moment of effort.
💰 Budget Build
Paint your cabinets with minimal cost using basic tools and affordable paints that deliver a long-lasting finish.
⏰ Weekend Version
Complete the project in one weekend with prepped cabinets and ready-to-use paint and tools.
✨ Upgraded Finish
Add a touch of luxury with high-gloss paint and decorative hardware to elevate your kitchen's look.
🏠 Small-Space Adaptation
Paint cabinets in a compact kitchen using lightweight tools and space-saving storage solutions.
арендатор Rental-Safe Option
Use removable paint and temporary finishes to make your kitchen look fresh without damaging the property.
| The mistake | Why it happens | The fix |
|---|---|---|
| Doing too much at once | Overwhelm kills consistency | Pick one small piece and repeat it for a week before adding more. |
| Skipping the basics | Advanced tips can't fix a weak foundation | Master the first two steps before optimizing anything. |
Painting Kitchen Cabinets
Common Questions
How long should I wait before using my cabinets after painting?
Can I paint over stained or damaged cabinets?
What type of brush is best for painting cabinets?
How many coats of paint should I apply?
References
- (PDF) Picasso's The Kitchen (1948) - Academia.edu (academia.edu)
- They Brought the Hill Home - Carolina Alumni (alumni.unc.edu)
- FD Bunker Kitchen Reno - Village Of Cayuga Heights (cayugaheights.gov)
- From Kitchen Cabinets to Mattresses, New Interactive Visualization ... (census.gov)
Cite this guide
Laminatelove (2026). Painting Kitchen Cabinets. https://laminatelove.com/painting-kitchen-cabinets/
Feel free to cite or share this guide.