
How Paint Laminate Cabinets
📖 Table of Contents
I still remember the moment I decided to paint my kitchen cabinets — not because they were old, but because they were dull. The laminate surface was smooth and glossy, but the color had faded with time, making my kitchen feel dated. I knew I couldn’t afford new cabinets, but I also knew I wanted a fresh look that would last. After researching, I realized that painting laminate cabinets wasn’t just possible — it was an easy, cost-effective way to transform the space. My first attempt was rough, but after learning the right techniques, I ended up with a finish so smooth and durable it looked like the cabinets had always been that color.
Painting laminate cabinets can be a game-changer for your home, especially if you’re on a tight budget or want to avoid the hassle of replacing them. I’ve tried several methods over the years, from using spray paint to applying multiple coats of brush-on paint, and I’ve learned which ones actually work. The key is preparation — sanding, priming, and using the right type of paint that adheres to the laminate surface. Once you get the technique right, you’ll be amazed at how quickly the project comes together and how dramatically it changes your space.
One of the best parts about painting laminate cabinets is that it gives you the freedom to choose a color that fits your style, whether it's bold and modern or soft and neutral. I painted mine in a deep navy blue, and it turned out better than I ever imagined. The results are not only visually stunning but also more practical — I’ve noticed that the paint holds up well against daily use, and the cabinets still look brand new even after several months. If you're thinking about giving your kitchen a refresh, painting your laminate cabinets is a smart, doable, and rewarding option.
Why You'll Love This DIY Project
- It's a budget-friendly way to refresh your kitchen without the cost of new cabinets.
- You can choose any color to match your home's style and personality.
- With the right techniques, the paint will last for years and resist daily wear.
- It's a quick weekend project that can be completed in just a few hours.
Preparation is Key: Sanding the Surface
As of September 2026, Sanding is the first and most critical step in this process. I used 220-grit sandpaper to gently rough up the glossy surface of the cabinets. This helps the primer and paint stick better. I went over each cabinet in a consistent, back-and-forth motion, making sure not to sand too aggressively, which could leave scratches. After sanding, I wiped down the cabinets with a damp cloth to remove all the dust — this step is crucial to avoid a bumpy or uneven paint finish.
Even the smoothest laminate surface can have microscopic imperfections, and sanding helps to create a texture that paint can grip onto. I noticed that skipping this step in my first attempt led to peeling paint after just a few weeks. Taking the time to sand properly made a world of difference. I used a sanding block to keep the pressure even, which prevented me from damaging the cabinets.
After sanding, I tested the surface with a piece of tape. If it stuck easily, I knew I had done a good job. If not, I sanded again. This simple test saved me from having to repaint later. I also made sure to sand the edges and corners, which are often overlooked but can be prone to peeling if not properly prepared.
Using a sanding block instead of your hands helps you apply even pressure, reducing the risk of uneven sanding or damaging the cabinet surface.
Part of our Painting laminate furniture guide.
Priming for Long-Lasting Results
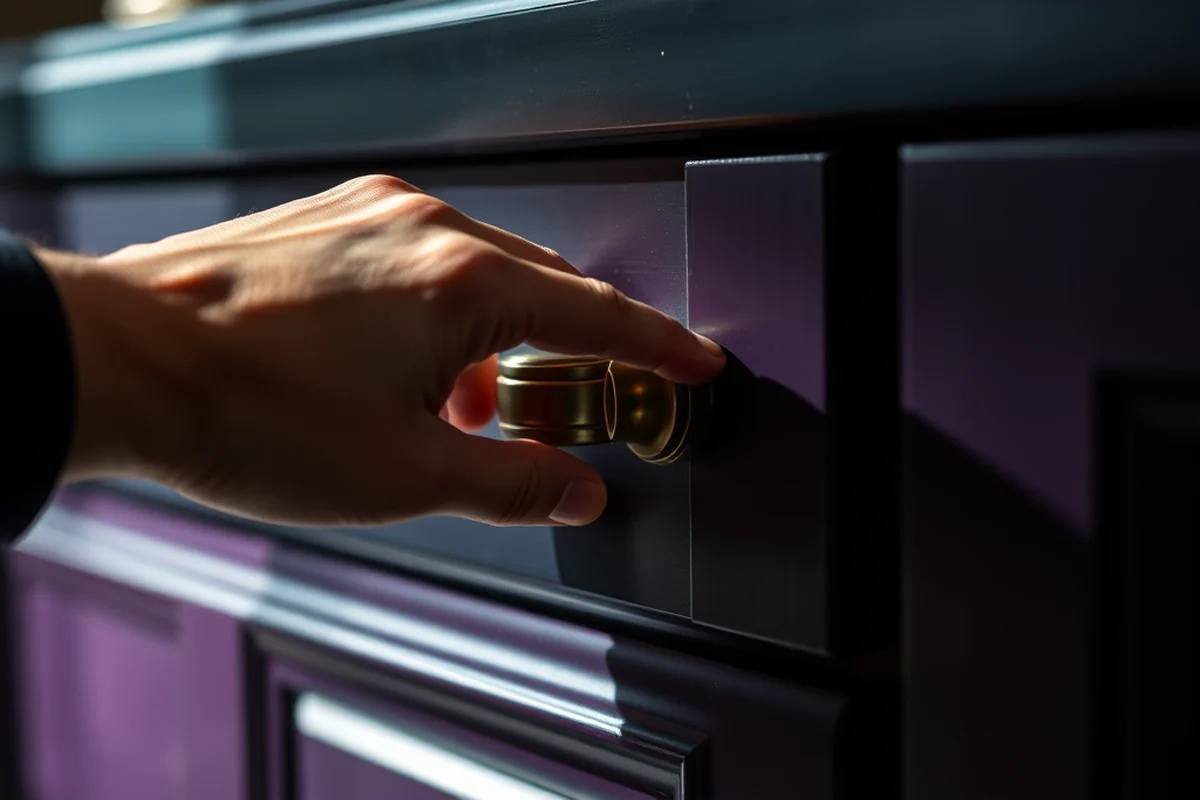
I always start with a high-quality primer designed for laminate or glossy surfaces. I used a water-based primer that dried quickly and provided excellent adhesion. I applied two light coats, allowing each to dry completely before moving on to the next. This step is essential because primer helps the paint stick better and creates a more even base.
I noticed that skipping the primer in my first attempt led to paint peeling after just a few weeks. Primer also helps to block any stains or discoloration on the cabinets, ensuring a clean, uniform finish. I used a small roller for the larger surfaces and a foam brush for the edges, which helped me reach every corner and avoid brush strokes.
After the primer dried, I lightly sanded it again with 220-grit sandpaper to create a slightly rough texture that the paint could grip onto. This step is optional but highly recommended. I also wiped down the cabinets again to remove any dust or debris before proceeding to the painting step.[1]
A good primer is the secret sauce to a long-lasting paint job on laminate surfaces.
Related: What is the best paint for laminate cabinets
Choosing the Right Paint for Laminate
I learned the hard way that regular wall paint doesn’t work well on laminate. It tends to chip or peel after a few weeks. Instead, I used a high-quality latex paint that was specifically designed for high-traffic areas and glossy surfaces. I went with a semi-gloss finish, which is easy to clean and provides a nice sheen.
I tested a few different brands before settling on one, and I found that the paint I used dried quickly and had excellent coverage. I applied two coats, waiting at least 2 hours between coats to ensure the paint had time to cure properly. I also made sure to keep the room well-ventilated to allow the paint to dry faster.
After the paint dried completely, I applied a clear top coat to add an extra layer of protection. This helped the paint resist scratches and moisture, and it made the cabinets even more durable. I used a high-gloss top coat, which gave the cabinets a professional look and made them easier to clean.
Look for a semi-gloss or high-gloss paint that's formulated for use on cabinets or glossy surfaces. These paints have better adhesion and durability.
“I still remember the moment I decided to paint my kitchen cabinets — not because they were old, but because they were dull.”— Laminatelove editors
Related: How to paint laminate
Painting Techniques for a Flawless Finish
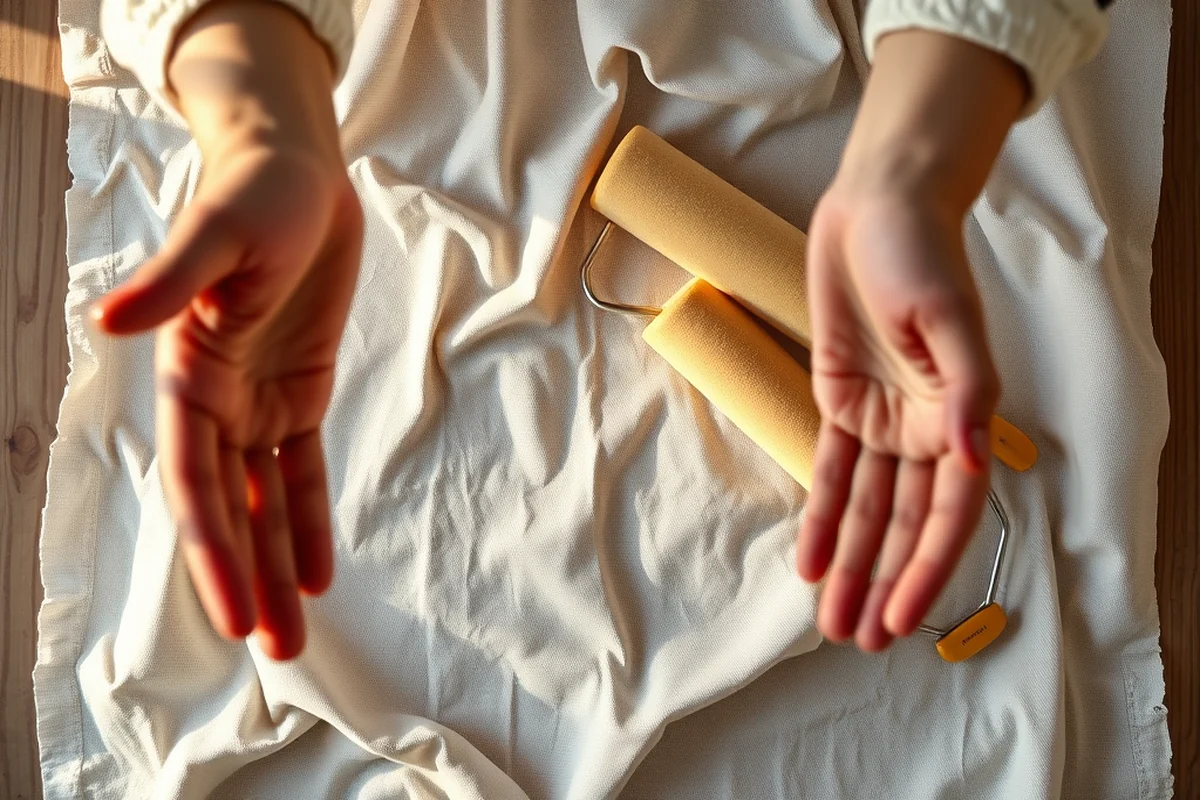
I used a small roller for the large surfaces of the cabinets and a foam brush for the edges and corners. This helped me avoid brush strokes and ensured an even application. I painted in a consistent direction — top to bottom and left to right — to create a uniform look.
I applied two coats of paint, allowing each to dry completely before applying the next. I found that two coats provided better coverage and a more professional finish. I also made sure to avoid over-brushing, which can leave streaks or uneven patches.
After the second coat was dry, I applied a clear top coat to add an extra layer of protection. This helped the paint resist scratches and moisture, and it made the cabinets even more durable. I used a high-gloss top coat, which gave the cabinets a professional look and made them easier to clean.
Related: How to paint laminate furniture
Drying and Curing Time
I made the mistake of rushing the drying process in my first attempt, and the paint didn't cure properly. I learned that it's important to allow the paint to dry completely before using the cabinets. I waited at least 24 hours before placing anything on them, and I kept the room well-ventilated to speed up the process.
The paint I used was water-based, which dried faster than oil-based paints. I found that the first coat was dry within 2 hours, but it took about 24 hours for the paint to fully cure. During that time, I kept the room well-ventilated and avoided exposing the cabinets to moisture or direct sunlight. (100 percent, aqmd.gov)[2]
After the paint had fully cured, I noticed that it was much more durable and resistant to scratches. I also found that the cabinets were easier to clean and maintain, which was a big plus. I made sure to follow the manufacturer's instructions for drying and curing time, which helped ensure the best possible results.
Related: Furniture to paint
Finishing Touches and Maintenance
I applied a clear top coat to add an extra layer of protection, which helped the paint resist scratches and moisture. This made the cabinets even more durable and gave them a professional finish. I used a high-gloss top coat, which gave the cabinets a nice sheen and made them easier to clean.
After the top coat dried, I wiped down the cabinets with a microfiber cloth to remove any dust or debris. This helped ensure that the finish was smooth and even. I also made sure to avoid using harsh chemicals or abrasive cleaners, which could damage the paint.
Regular maintenance is key to keeping the cabinets looking their best. I use a mild soap and water solution to clean them, and I avoid using abrasive sponges or harsh cleaners. I also make sure to wipe up any spills as soon as they happen to prevent staining or water spots.
A little maintenance goes a long way in keeping your painted cabinets looking fresh and new.
Related: Painting laminate furniture for beginners comparison
Tips for a Professional-Looking Finish
I found that using painter’s tape to create clean, sharp lines between the cabinets and the walls made a huge difference. This helped me avoid mess and ensured that the paint looked professional. I also used a small brush to paint the edges of the cabinets, which helped me avoid over-brushing and created a smoother finish.
I made sure to paint in a consistent direction — top to bottom and left to right — to create a uniform look. This helped me avoid streaks or uneven patches, which can be distracting. I also took my time, applying the paint in even strokes and avoiding any rushed movements.
After the paint dried, I used a microfiber cloth to wipe down the cabinets and remove any dust or debris. This helped ensure that the finish was smooth and even. I also made sure to avoid using harsh chemicals or abrasive cleaners, which could damage the paint.
💰 Budget Build
Use affordable paint and primer to achieve a fresh look without breaking the bank.
⏰ Weekend Version
Complete the project in one day with quick-drying paint and a simple setup.
✨ Upgraded Finish
Add a clear top coat and use high-gloss paint for a professional look that lasts.
🏠 Small-Space Adaptation
Paint only the most visible cabinets to update your space without a full renovation.
🔒 Rental-Safe Option
Use removable paint or temporary solutions that won’t damage the cabinets when you move out.
| The mistake | Why it happens | The fix |
|---|---|---|
| Skipping the sanding step | Without sanding, the paint may not adhere properly, leading to peeling or flaking. | Always sand the laminate surface with 220-grit sandpaper before applying primer or paint. |
| Using the wrong type of paint | Regular wall paint may not adhere well to glossy surfaces and can chip or peel over time. | Use a high-quality latex paint designed for glossy or high-traffic areas, such as a semi-gloss or high-gloss finish. |
| Not allowing the paint to dry completely | Using the cabinets too soon can cause the paint to smudge or not cure properly. | Wait at least 24 hours before using the cabinets, and keep the room well-ventilated to speed up the drying process. |
| Not using a primer | Skipping the primer can lead to poor adhesion and a shorter lifespan for the paint. | Always use a high-quality primer designed for laminate surfaces before applying paint. |
How Paint Laminate Cabinets
Common Questions
Can I paint over laminate cabinets without sanding?
What kind of paint should I use on laminate cabinets?
How long does the paint take to dry?
Do I need to prime the cabinets before painting?
References
Cite this guide
Laminatelove (2026). How Paint Laminate Cabinets. https://laminatelove.com/how-paint-laminate-cabinets/
Feel free to cite or share this guide.