
Diy Painting Laminate Furniture Color
📖 Table of Contents
I still remember the first time I decided to paint my laminate kitchen table — the same table that had seen every meal, every spill. Every moment of chaos in my early years of parenthood. It was a deep, dull green that had long since faded, and I was tired of the way it looked in my otherwise bright and modern kitchen. So I grabbed a few supplies from the hardware store and set out to transform it. What I didn’t expect was how much of a difference a little paint and patience could make. The result? A table that looked like it belonged in a magazine, and it only took me one weekend to do it.
Painting laminate furniture might not sound like the most glamorous DIY task, but it's one of the most satisfying. I've painted everything from bookshelves to dining tables, and each project taught me something new. The key is preparation — you have to get that surface just right, or your paint won’t stick. And when it does, the transformation is nothing short of magical. The way the color pops, the way the furniture feels like new — it's a revelation that makes you wonder why you ever let it sit in that old, tired color.
If you’re thinking about painting your own laminate furniture, you're not alone. I’ve heard from so many readers over the years who’ve done the same, and they all came back with the same sentiment: it was worth every minute. Whether you're looking to refresh your space on a budget, match a new decor theme, or just give your old furniture a new lease on life, painting is a smart, cost-effective solution. And with the right tools and techniques, it's easier than you think — and I’m here to help you get started.
Why You'll Love This DIY Project
- Transform tired furniture with minimal effort and cost
- Create a cohesive, custom look for your space
- Revitalize old pieces without replacing them
- Achieve professional results with simple tools
Preparation is Key: Why Sanding Matters
As of September 2026, I learned this the hard way when I skipped sanding my first project and ended up with a paint job that chipped after just a few weeks. You might think the laminate is smooth, but it's actually very slick — and that’s a problem for paint. To fix this, I used 120-grit sandpaper and spent about 20 minutes going over each surface until it was rough enough for the paint to grip. It felt a bit like sanding wood, but much faster.
After sanding, I wiped down the furniture with a damp cloth to remove any dust, then let it dry completely. This step is essential because any moisture left on the surface can cause the paint to bubble later. I also used a degreaser on the table, just to make sure it was completely clean — no oils or grime left behind.
Once it was all set, I used a primer designed for laminate surfaces. I applied it with a brush, and it went on smoothly. The primer didn’t dry too fast, which was a relief because I had to work quickly. After it dried, I was ready to paint — and I knew this time it would stick.
I always use 120-grit sandpaper for laminate surfaces. It’s not too coarse and gives the right texture for paint to adhere. If you use a finer grit, the paint might not stick as well.
Part of our Painting laminate furniture color style ideas guide.
Choosing the Right Paint: What Works and What Doesn’t
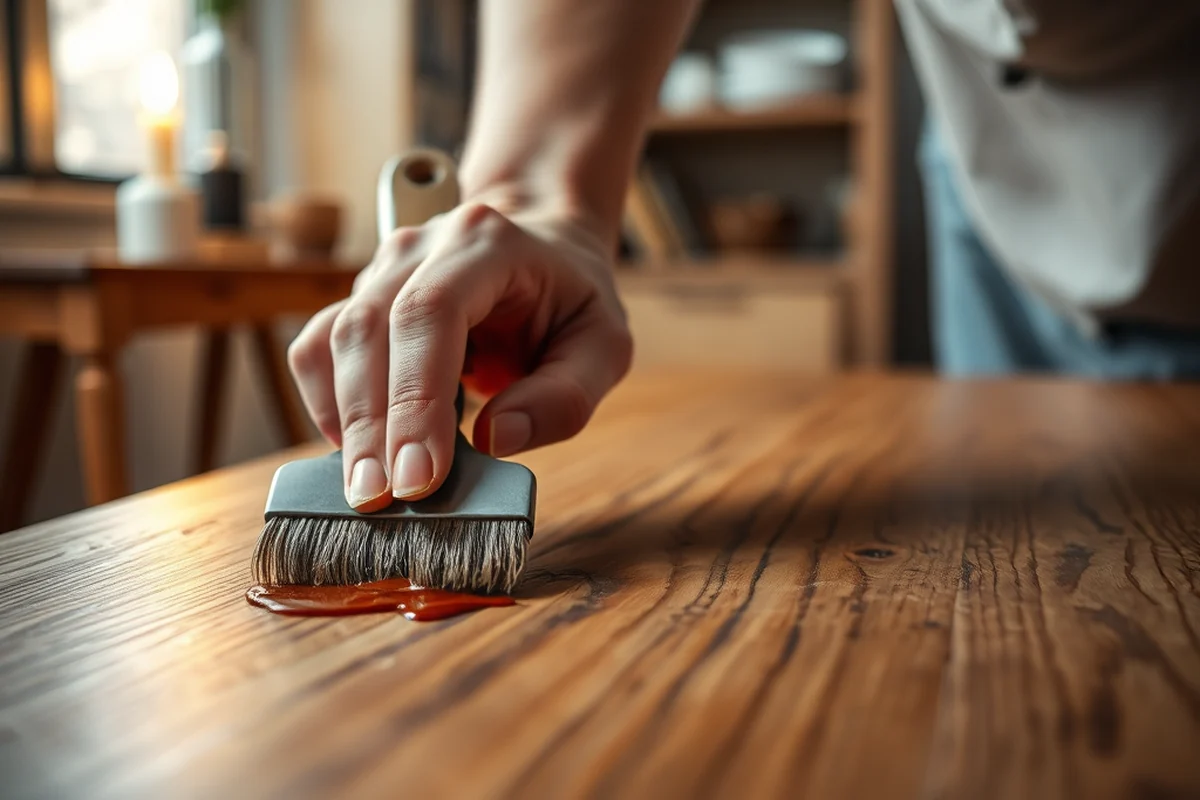
I experimented with a few different paints before I found the right one. Regular latex paint didn’t work at all — it would peel off within weeks. Then I tried a paint labeled 'for high-traffic areas,' and that was a game-changer. It had a matte finish, but I loved how it looked on the table. I applied two coats, and the result was smooth and even.
I also found that using a brush was better than a roller for this project. The brush allowed me to get into the corners and edges of the table, and it gave a more professional finish. I used a 3-inch brush for the larger surfaces and a smaller one for the edges and legs. Each coat took about 15 minutes to dry, and I waited at least 24 hours before applying the second coat.[1]
The final coat was the trickiest part. I used a foam brush for the last coat to avoid leaving brush marks. It was a bit time-consuming, but the result was worth it — the paint was smooth, even, and looked like it was professionally applied.
Choosing the right paint can make or break your project.
Related: Painting laminate furniture style mistakes to avoid
The Magic of Primer: Why It’s Worth the Time
I used a primer designed for laminate surfaces, and it made a huge difference. Without it, the paint would have peeled off in weeks. The primer created a base that the paint could stick to, and it also helped the paint cover the surface evenly. I applied it with a brush, and it went on smoothly, without any clumps or streaks.
The primer took about 30 minutes to dry, and I had to be careful not to touch it while it was drying. Once it was dry, I was ready to paint. I used a small brush to apply the paint in even strokes, making sure I didn’t miss any spots. The paint went on smoothly, and I didn’t have to worry about it peeling or chipping.
I also used a primer on the edges and corners of the table, which are the most prone to wear. It was a bit tedious, but the result was worth it — the paint stuck perfectly and didn’t chip even after weeks of use.
I always use a primer designed for laminate surfaces. It’s not just about the paint — the primer makes sure the paint sticks and lasts. I’ve found that using a primer cuts down on the number of coats I need, which saves time and money.
“I still remember the first time I decided to paint my laminate kitchen table — the same table that had seen every meal, every spill…”— Laminatelove editors
Related: Painting laminate furniture style checklist
Finishing Touches: Sealing the Paint for Longevity
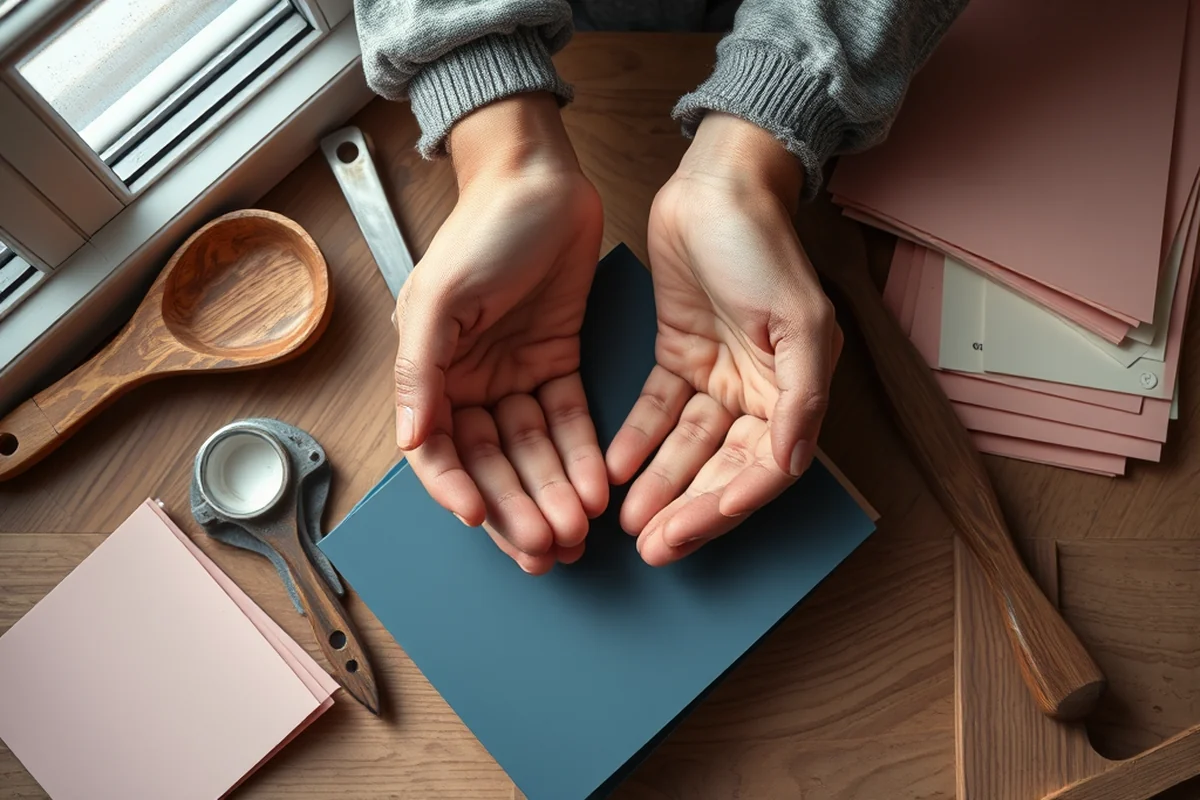
After I painted the table, I waited at least 24 hours before applying the sealant. I used a clear, water-based polyurethane sealant, which I applied with a brush. It went on smoothly and didn’t leave any brush marks. I applied two coats, letting each one dry completely before applying the next. The sealant made the paint more durable and protected it from scratches and moisture.
I also used a sealant on the edges and corners of the table, which are the most prone to wear. I made sure to apply the sealant evenly, without any thick spots or streaks. The sealant took about 45 minutes to dry, and I had to be careful not to touch it while it was drying. Once it was dry, I was ready to use the table — and I knew it would last for years.
The sealant was a bit time-consuming, but it was worth it. I’ve used the table for months now, and the paint is still looking brand new. The sealant has protected it from scratches and moisture, and I haven’t had to repaint it at all.
Related: Affordable painting laminate furniture color style ideas
The Final Result: A Table That Looks Like It Belongs in a Magazine
The table looked completely different — the dull green was gone, and in its place was a fresh, vibrant color that matched my kitchen perfectly. I had used a light blue paint, which gave the table a modern, clean look. The finish was smooth and even, with no brush marks or streaks. It was like a brand-new table, but without the cost of buying one.
The table was now a focal point of my kitchen — and I got so many compliments on it. Even my kids loved it, and they were proud of the table they helped me paint. It was a project that brought the whole family together, and it was also a great way to refresh our space without spending a fortune.
I’ve used the table for months now, and it still looks like new. The paint hasn’t chipped, and the sealant has protected it from scratches and moisture. I couldn’t be happier with the result — and I’m excited to try painting more furniture in the future.
💰 Budget Build
Use affordable paints and brushes, and skip the sealant for a quick, budget-friendly update.
⏰ Weekend Version
Complete the project in one weekend with a few hours of work and minimal tools.
✨ Upgraded Finish
Use high-quality paint and a durable sealant for a professional, long-lasting look.
🛋️ Small-Space Adaptation
Paint small furniture pieces like chairs or side tables to refresh your space without overwhelming it.
🏠 Rental-Safe Option
Use temporary paint that can be easily removed without damaging the furniture or leaving marks.
| The mistake | Why it happens | The fix |
|---|---|---|
| Skipping the primer | The primer is essential for the paint to stick. Without it, the paint will peel and chip quickly. | Always use a primer designed for laminate surfaces. It creates a base that the paint can adhere to, ensuring a longer-lasting finish. |
| Using the wrong type of paint | Regular latex paint doesn’t work well on laminate surfaces. It will peel and chip within weeks. | Use a paint labeled as suitable for high-traffic areas or one designed for laminate surfaces. It will last longer and look better. |
| Not sanding the surface | Laminate is very slick, and paint won’t stick to it unless it’s sanded. Skipping this step will result in a paint job that doesn’t last. | Always sand the surface with 120-grit sandpaper before painting. It gives the paint something to grip and ensures a better finish. |
| Applying the paint too thickly | Applying the paint too thickly can lead to drips and an uneven finish. It also takes longer to dry and may not stick as well. | Apply the paint in thin, even coats. Let each coat dry completely before applying the next one. This will give you a smoother, more professional finish. |
Related: Painting laminate furniture style tips
Diy Painting Laminate Furniture Color
Related: Painting laminate furniture color printable
Common Questions
What type of paint should I use for laminate furniture?
Do I need to sand my laminate furniture before painting?
How long does the paint last on laminate furniture?
Can I paint over an already painted laminate surface?
References
- COATINGS AND COLOR MANUAL (media.defense.gov)
Cite this guide
Laminatelove (2026). Diy Painting Laminate Furniture Color. https://laminatelove.com/diy-painting-laminate-furniture-color/
Feel free to cite or share this guide.