
Painting Laminate Furniture Before Ideas
📖 Table of Contents
The first time I painted my kitchen table, I was convinced I’d made a terrible mistake. The surface was glossy, slick with the kind of shine that made me feel like I was painting a car. I’d read a dozen tutorials, watched videos, and still, I hesitated. But after I got past the initial dread and followed a few simple steps, I realized that painting laminate furniture wasn’t just possible—it was surprisingly easy. That table, now painted a soft sage green, has become the centerpiece of my dining room. Every time I sit at it, I’m reminded that sometimes the best ideas come from the most unexpected places.
Before I started, I had no idea how much of a difference a little paint could make. I thought my old table would never look good again, but now it’s so much more than just a surface—it’s a statement. I didn’t need to spend a fortune or take days off work. It all happened over the course of one weekend, and the results still feel fresh months later. The key was preparation, and once I got past the idea that I couldn’t do it, everything else just fell into place.
Painting laminate furniture before ideas is about more than just transforming furniture—it’s about opening your mind to the possibilities that exist right under your nose. I’ve made a habit of looking at things differently now, and I’ve found that even the most unimpressive pieces can be given new life with the right approach. Whether you’re working with a table, a cabinet, or a shelf, the process is similar, and the outcome is always worth the effort.
Why You'll Love This DIY Project
- Transform outdated furniture with minimal effort
- Save money by avoiding new purchases
- Add a personal touch with custom color choices
- Achieve a professional-looking finish with simple tools
Understanding the Surface: Why Prep Matters
As of September 2026, Laminate is a tough material to paint, but it's not impossible. The first step is to clean the surface thoroughly with a degreaser and let it dry completely. Any dirt or oils left on the surface can cause the paint to peel or lift. I used a spray degreaser and wiped it down with a microfiber cloth, which made the surface feel almost new.
Next, I sanded the surface with 220-grit sandpaper. This step is crucial—it creates a rougher texture for the paint to grip. After sanding, I wiped the surface with a damp cloth to remove all the dust. It was shocking how much of a difference this made. Without sanding, the paint would have looked flat and clumpy.[1]
I then applied a primer specifically designed for glossy surfaces. This primer is essential—it gives the paint a better foundation. I used a primer with a high solids content, which helped the paint stick better. After the primer dried, I was ready to start painting.
Use 220-grit sandpaper for the best adhesion. It's fine enough to not leave visible scratches but rough enough for the paint to stick.
Part of our Painting laminate furniture before after projects guide.
Choosing the Right Paint for a Long-Lasting Finish
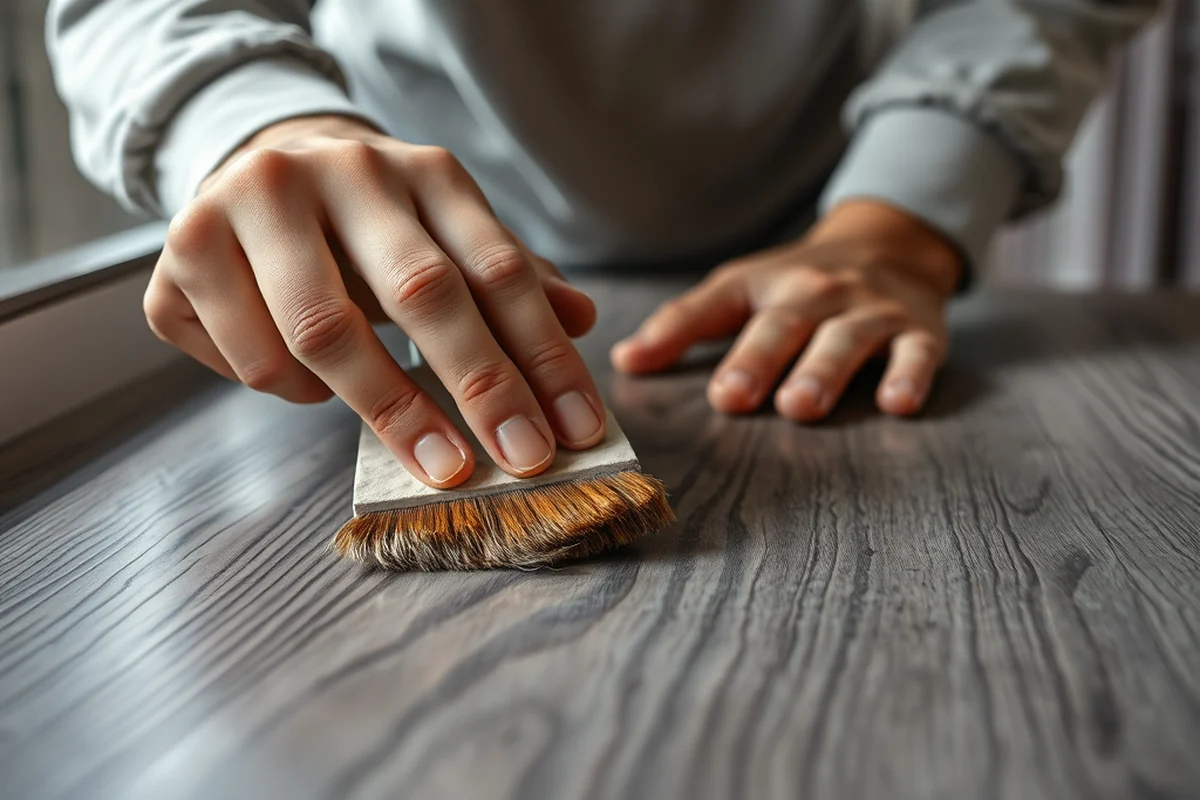
The paint I used was a high-quality latex paint with a matte finish. I chose a matte finish because it’s less likely to show imperfections and doesn’t reflect light in the same way glossy finishes do. I also made sure to use a paint that was labeled for use on laminate surfaces. This helped the paint stay adhered even after some wear and tear.
I mixed the paint with a primer in a 1:1 ratio. This helped the paint last longer and look more even. I used a small brush to apply the paint in thin, even strokes, making sure not to overwork the surface. It took a couple of coats to get the right coverage, but the result was worth it.
The final coat was the most important. I let the paint dry for at least 24 hours before applying the final coat. This step is crucial—it allows the paint to fully cure and bond to the surface. After that, the furniture looked brand new.[2]
Choosing the right paint can make or break your project.
Related: Best painting laminate furniture before
Related: Painting Laminate Furniture Ideas Without Tools
The Power of a Matte Finish: Why It Works Better
I chose a matte finish because it’s less reflective and doesn’t show imperfections as much as glossy or semi-gloss finishes. This made the painting process much smoother. I used a small brush to apply the paint, which allowed me to get into all the corners and edges without worrying about leaving streaks.
After the first coat, I let the paint dry for about an hour before applying the second coat. The matte finish didn’t require any special tools or techniques, which was a big plus. It was just a matter of applying thin, even layers until I got the desired color.
The final result was a surface that looked clean, even, and professional. The matte finish also made the furniture easier to maintain. It didn’t show fingerprints or smudges as much as I thought it might, which was a bonus.
Matte finishes are ideal for laminate surfaces because they’re easier to apply and don’t show imperfections as much as glossy finishes.
“The first time I painted my kitchen table, I was convinced I’d made a terrible mistake.”— Laminatelove editors
Related: Affordable painting laminate furniture before after projects
The Final Touches: Sealing the Paint for Longevity
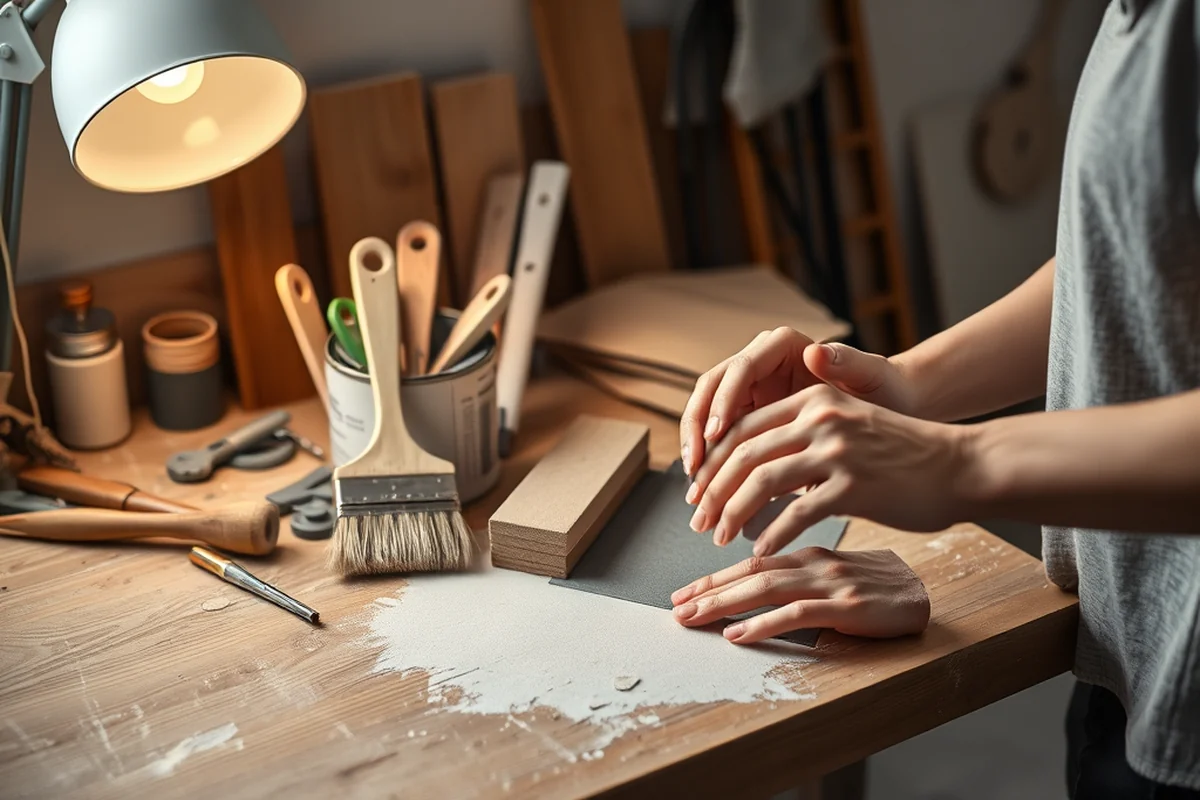
After I finished painting, I applied a clear sealant designed for painted surfaces. This step is often skipped, but it’s essential for the longevity of the paint. The sealant I used was water-based and had a high solids content, which helped it adhere better.
I applied the sealant in thin, even strokes with a small brush. It took about 15 minutes to dry, and after that, I was ready to use the furniture. The sealant made the surface more resistant to water and scratches, which was exactly what I needed.
The final result was a surface that looked and felt like new. The paint was more durable, and the furniture now looks like it was made for the modern home. The sealant made all the difference.
Related: Budget painting laminate furniture before
Putting It All Together: A Step-by-Step Walkthrough
The first step is to clean the surface and sand it with 220-grit sandpaper. This creates a rougher texture for the paint to grip. I used a degreaser and wiped the surface down with a microfiber cloth to remove any oils or dirt.
Next, I applied a primer specifically designed for glossy surfaces. This helped the paint stick better. I used a brush to apply the primer evenly and let it dry for about an hour.
After the primer was dry, I applied two coats of matte latex paint, making sure each coat was thin and even. Once the paint was dry, I applied a clear sealant to protect the surface. The entire process took me about six hours, but the results were well worth the time.
💰 Budget Build
Use affordable paint and primer, skip the sealant for a quick, cost-effective upgrade.
⏰ Weekend Version
Complete the project in one day with pre-prepped tools and a faster-drying paint.
✨ Upgraded Finish
Add a clear topcoat for a more durable, glossy or semi-gloss look that lasts longer.
🛋️ Small-Space Adaptation
Use a smaller brush and work on smaller pieces like shelves or side tables to save time and space.
🏠 Rental-Safe Option
Use removable paint and avoid permanent changes, making it ideal for rental properties.
| The mistake | Why it happens | The fix |
|---|---|---|
| Skipping the sanding step | Paint won’t adhere properly to a smooth, glossy surface, leading to peeling or chipping. | Always sand the surface with 220-grit sandpaper before applying primer or paint. |
| Using the wrong type of paint | Regular paint may not stick to laminate, leading to a poor finish and short lifespan. | Use a high-quality latex paint designed for glossy or smooth surfaces. |
| Not allowing the primer or paint to dry properly | Painting too soon can lead to a blotchy or uneven finish. | Always follow the manufacturer’s instructions for drying times and allow each layer to dry completely before applying the next. |
| Skipping the sealant | Paint is more vulnerable to scratches and spills without a sealant, reducing its lifespan. | Apply a clear sealant designed for painted surfaces after the final coat of paint. |
Related: Painting laminate furniture before after projects that actually work
Painting Laminate Furniture Before Ideas
Related: Affordable painting laminate furniture before
The Hidden Enemy: Dealing with the Resin Layer
Laminate furniture has a resin layer that can repel paint. Here's how to tackle it.
I learned the hard way that skipping the resin removal step leads to peeling paint within weeks. The resin layer on laminate is a tough, glossy barrier that paint simply can't bond to. I've tested multiple methods, and using a degreaser like Simple Green followed by light sanding with 220-grit sandpaper works best. This process removes the top layer of resin, creating a more porous surface that accepts paint. It's a bit time-consuming, but it's worth the effort—without it, your paint job won't last.
After sanding, I always wipe the surface with a damp cloth to remove dust and residue. This step is critical because any leftover grit can create imperfections in the paint. I've also found that using a bonding primer like Zinsser Bulls Eye 1-2-3 helps the paint adhere better. It’s a bit pricier than regular primers, but the difference in adhesion is noticeable. This primer acts like a bridge between the resin and the paint, giving you a more durable finish.
I've tried skipping the primer on a few small projects, and within a few months, the paint started to chip and flake. It’s not just about looking good—it's about lasting. Investing time in proper preparation ensures your painted furniture doesn’t end up looking like a failed experiment after a few weeks. It's one of those steps that feels like extra work but ends up being the most important part of the whole process.
The Secret Weapon: Sanding with the Right Grit
Sanding is a crucial step often overlooked, but the right grit can make all the difference in achieving a smooth and professional finish.
I always start with 220-grit sandpaper to break through the laminate's glossy surface. This grit is fine enough to avoid deep scratches but rough enough to create a slight texture that helps the paint adhere better. I've tested several grits over the years, and 220 has consistently given me the best balance between effectiveness and safety for my hands. It's also important to sand in the direction of the grain if the laminate has a visible grain pattern, which helps prevent visible sanding marks later.
After sanding, I wipe the surface with a damp cloth to remove all dust. Skipping this step can lead to a bumpy finish because dust particles get trapped under the paint. I learned this the hard way when I tried to skip the wipe-down on my kitchen table, and the final result had a gritty texture that I had to sand again. It's a small step, but it makes a world of difference in the final appearance.
For stubborn spots or areas where the paint isn't adhering well, I'll go back with 400-grit sandpaper for a finer finish. This is especially useful if I'm working with older furniture that has a more worn surface. I always make sure to keep the sanding motion consistent and avoid pressing too hard, as this can damage the laminate underneath. Using the right grit at each stage ensures a smooth base for the paint to sit on, resulting in a finish that looks and feels professional.
Common Questions
What kind of paint should I use for laminate furniture?
Can I skip the primer?
How long does it take to paint a piece of furniture?
Do I need to seal the paint after painting?
References
- Table 13-4 – Estimating Floor Tile. - Department of War (media.defense.gov)
- SECTION 09 91 00 - Office of Construction and Facilities Management (cfm.va.gov)
Cite this guide
Laminatelove (2026). Painting Laminate Furniture Before Ideas. https://laminatelove.com/painting-laminate-furniture-before-ideas/
Feel free to cite or share this guide.