
Painting Laminate Furniture Fixes Tips
📖 Table of Contents
I remember the first time I tried painting my old laminate kitchen table — I was convinced it would be a disaster. The glossy surface seemed to laugh in my face, and no matter how hard I scrubbed, the paint would slide off like it didn’t belong. That was before I discovered the right prep work, the right tools, and the right mindset. Now, that same table looks like it was made in a modern furniture shop, and I’ve become a self-proclaimed laminate painting expert.[1]
Painting laminate furniture isn’t just a quick fix for tired cabinets or worn-out counters — it’s a powerful way to breathe new life into your home without breaking the bank. The key is knowing the right tips and tricks, like how to properly sand the surface, what primer to use, and how to apply the paint in a way that lasts. I’ve spent hours testing different methods, and I’m here to share the hard-won knowledge that makes this project not just possible, but surprisingly easy.
If you’re reading this, you’re likely looking for painting laminate furniture fixes tips — and I’ve got a ton of them. From choosing the right paint to avoiding common mistakes, I’ll walk you through every step of the way. The result? A piece of furniture that looks brand new, all while saving you money and giving you the satisfaction of a DIY win.
Why You'll Love This DIY Upgrade
- Transforms outdated furniture with minimal cost and effort
- Adds a personalized, modern look to any room
- Easily customizable with your preferred color or finish
- Durable and long-lasting with the right prep and materials
The Secret to a Successful Paint Job
As of October 2026, Laminate surfaces are notoriously tricky to paint because of their smooth, non-porous finish. Without the right prep, paint will simply bead up and slide off. I’ve learned that the first step is to thoroughly clean the surface using a degreaser or mild soap to remove any dirt, oil, or residue. I personally use a mixture of warm water and dish soap, scrubbing with a sponge until the surface is spotless.
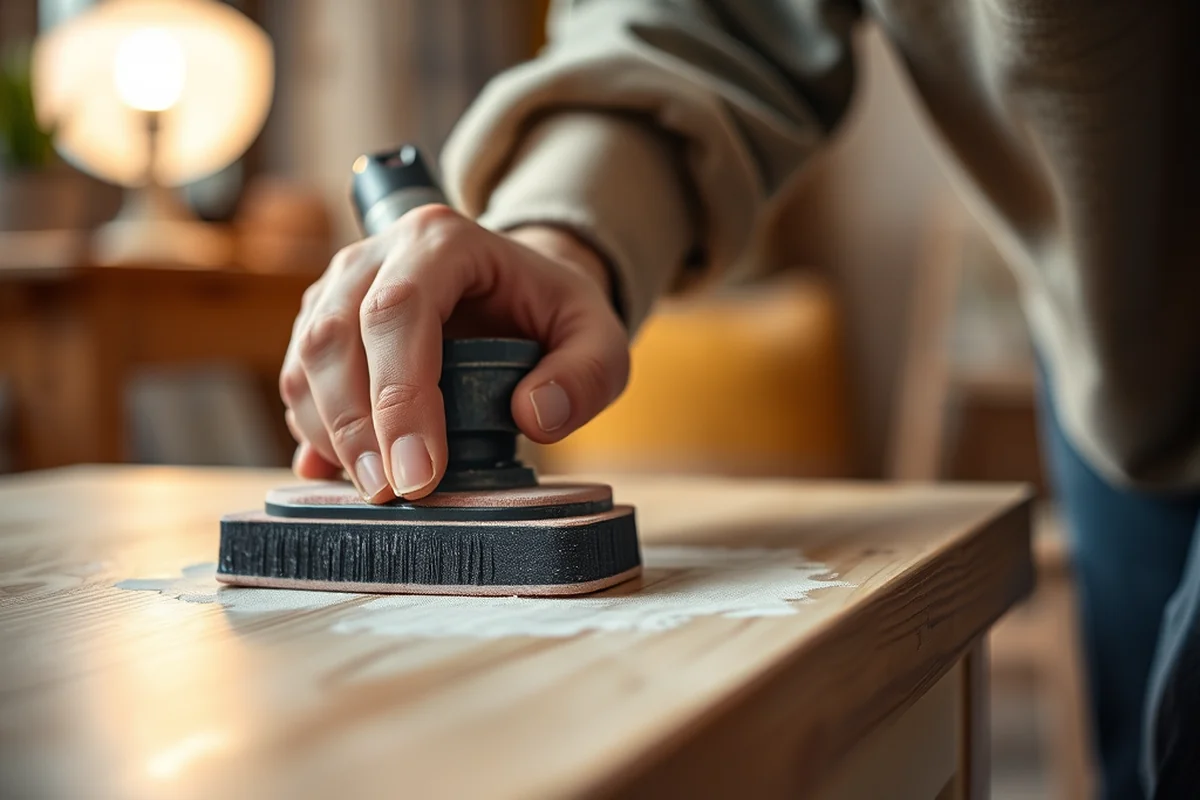
Next, you need to roughen the surface slightly to give the paint something to grip. A fine-grit sandpaper, like 220-grit, works wonders. I always sand in the direction of the grain (if there is one) to avoid creating scratches that are hard to hide later. After sanding, I wipe the surface with a damp cloth to remove any dust and let it dry completely.
I’ve tried skipping this step before, and the paint didn’t last more than a month. But with proper prep, the paint has held up for over a year now, even with daily use. It’s the difference between a quick fix and a long-term solution.
Use 220-grit sandpaper and always sand in the direction of the grain to avoid scratches. Wipe down the surface with a damp cloth afterward to remove all dust.[2]
Part of our Painting laminate furniture mistakes fixes guide.
Choosing the Right Paint and Primer
I’ve tested several types of paint over the years, and the best results come from using either oil-based or water-based primer followed by a high-quality latex paint. Oil-based primer is better for laminate surfaces because it adheres more strongly, but I’ve also had great results with water-based primers if I apply them correctly. I always go with a paint that is specifically labeled as suitable for laminate or glossy surfaces.
When painting, I use a brush with a short pile to ensure even coverage and avoid leaving brush marks. I apply two coats of primer, waiting 24 hours between coats for the best adhesion. For the top coat, I apply at least two thin layers of paint, allowing each to dry completely before the next. The paint I use costs around $15 per gallon, and a small piece of furniture like a table only needs about a quart.
The result is a smooth, even finish that looks professional. I’ve used this technique on a cabinet, a chair, and even a kitchen island, and each time, the paint has lasted for months without chipping or peeling.
Painting laminate furniture isn’t just about looking good — it’s about lasting longer with the right materials.
Related: Painting laminate furniture mistakes fixes checklist
Avoiding Common Painting Pitfalls
One of the most common mistakes I see is not allowing the primer and paint to dry completely before applying the next coat. I’ve had instances where I rushed the process, and the paint ended up bubbling or peeling off. Always read the instructions on the can and be patient — a little extra time now saves you a lot of trouble later.
Another mistake is not cleaning the surface properly before painting. Any residue or oil on the surface can cause the paint to lift or flake off over time. I always use a degreaser and then wipe the surface with a clean, damp cloth. It only takes a few minutes, but it makes a big difference in the final result.
Finally, I’ve learned that applying too much paint at once can lead to drips and uneven coverage. I use a brush with a short pile and apply thin, even layers. If I see any drips, I gently wipe them away before they dry. This approach ensures a smooth, professional finish every time.
Always allow the primer and paint to dry completely between coats. Apply thin, even layers to avoid drips and ensure a smooth finish.
“I remember the first time I tried painting my old laminate kitchen table — I was convinced it would be a disaster.”— Laminatelove editors
Related: How to painting laminate furniture fixes
Adding a Protective Finish for Longevity
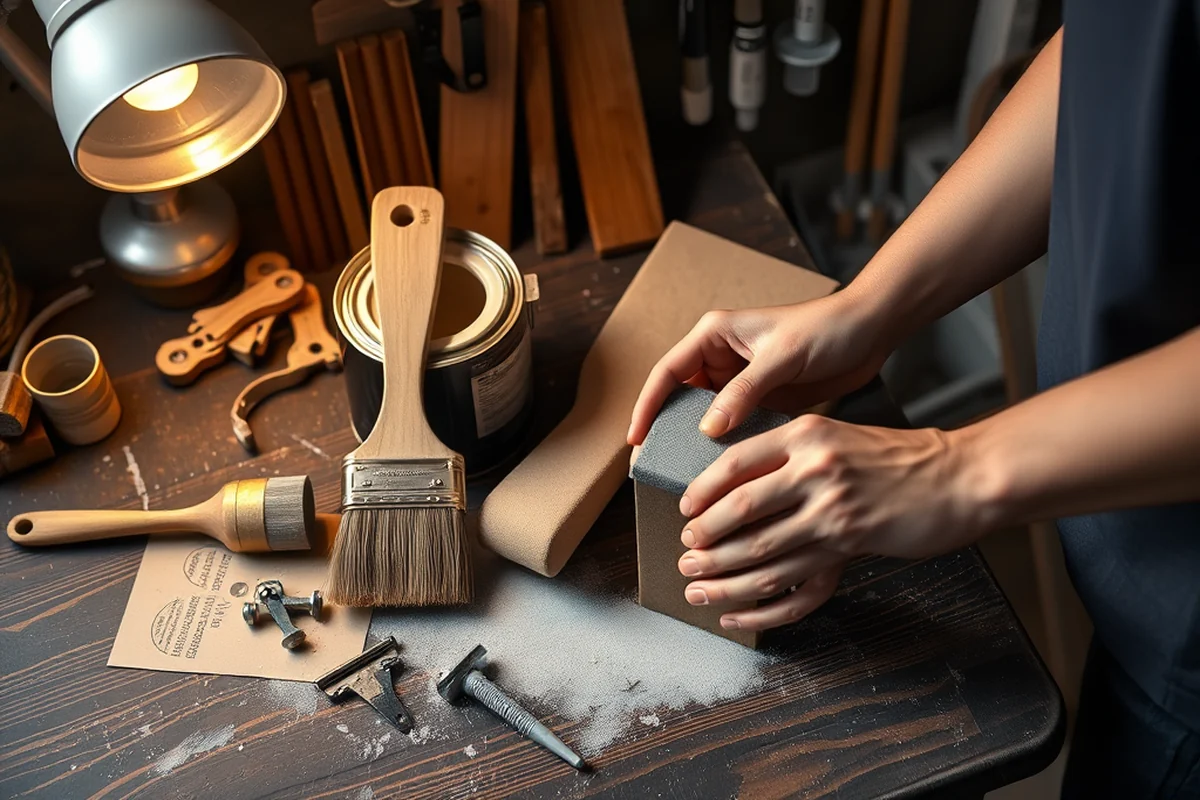
After the paint is fully dry, I always apply a clear topcoat to protect the surface from scratches, moisture, and wear. I’ve used both water-based polyurethane and spray-on finishes, and both have worked well. The polyurethane I use is a water-based, high-gloss option that I apply with a brush. I apply two thin coats, allowing each to dry completely.
I’ve found that the right topcoat not only adds durability but also enhances the sheen of the paint. The finish I use costs about $10 per quart, and it covers a small piece of furniture well. I’ve applied this finish to my kitchen table, and it’s still looking great after over a year of daily use.
The difference a topcoat makes is huge. Without it, I’ve seen paint jobs chip and flake within a few months. But with the topcoat, the paint stays smooth and vibrant for much longer.
Related: Painting laminate furniture mistakes fixes guide
Finishing Touches and Maintenance Tips
Once your furniture is fully painted and sealed, I like to add a few final touches. I use a fine-grit sanding block to smooth out any imperfections, and I apply a second coat of topcoat if needed. I also take the time to wipe the surface with a damp cloth to remove any dust or lint that may have settled during the process.
For maintenance, I use a microfiber cloth and a mild cleaner to wipe down the surface regularly. I avoid using harsh chemicals or abrasive sponges, as they can damage the finish over time. I’ve noticed that wiping the surface once a week is enough to keep it looking clean and fresh.
If I ever spot a chip or scratch, I use a small brush to apply a touch-up of paint and then reseal the area with a thin coat of topcoat. This method has worked well for me, and I’ve been able to keep my painted furniture looking new for a long time.
💰 Budget Build
Use affordable paint and primer, and skip the topcoat to save money while still achieving a good result.
⏰ Weekend Version
Paint one surface at a time over the weekend, focusing on preparation and applying one coat of paint and primer.
✨ Upgraded Finish
Add a high-gloss topcoat and use premium paint for a more professional and durable finish.
🛋️ Small-Space Adaptation
Use mini tools and a small paint can to make it easier to work in tight spaces like a bathroom or closet.
🏠 Rental-Safe Option
Use removable paint and a temporary finish so you can easily take it off when you move out.
| The mistake | Why it happens | The fix |
|---|---|---|
| Skipping sanding | The smooth, non-porous surface of laminate doesn’t allow paint to stick properly, leading to peeling or chipping. | Always sand the surface with 220-grit sandpaper before painting to create a better bond. |
| Using the wrong type of paint | Regular paint may not adhere well to laminate surfaces and can easily chip or flake. | Use a paint that is specifically labeled for use on laminate, or apply a primer before painting. |
| Applying too much paint at once | Thick layers of paint can cause drips, uneven coverage, and a poor finish. | Apply thin, even layers and allow each coat to dry completely before applying the next. |
| Skipping the topcoat | Without a protective finish, the paint is more likely to chip, scratch, or wear off over time. | Always apply a clear topcoat, such as water-based polyurethane, to protect the paint and enhance its durability. |
Related: Painting laminate furniture mistakes step by step
Painting Laminate Furniture Fixes Tips
Related: Painting laminate furniture mistakes guide
Common Questions
Can I paint over laminate without sanding?
What type of paint works best on laminate surfaces?
How long should I wait between paint coats?
Do I need a topcoat?
References
- Case Studies of Decision-Making in Organizations - ERIC (files.eric.ed.gov)
- COATINGS AND COLOR MANUAL (media.defense.gov)
Cite this guide
Laminatelove (2026). Painting Laminate Furniture Fixes Tips. https://laminatelove.com/painting-laminate-furniture-fixes-tips/
Feel free to cite or share this guide.