
Painting Laminate Furniture Step For Beginners
📖 Table of Contents
The first time I painted my old laminate dining table, I was certain I’d ruined it. The paint bubbled, chipped, and left me staring at a disaster. But after a few trial runs, I discovered that painting laminate furniture isn’t just possible—it’s an accessible, affordable way to give your home a fresh look without breaking the bank. If you're new to this process, the key is preparation, patience, and the right steps. This article walks you through every painting laminate furniture step for beginners, from surface prep to sealing your work so it lasts.
I remember the exact day I realized I could transform my tired kitchen cabinets into something modern and sleek. It wasn’t magic—it was the right primer, a few coats of quality paint, and a bit of elbow grease. Painting laminate furniture can be a game-changer, especially for those of us who love DIY but don’t have a lot of experience. With the right tools and steps, even a first-timer can achieve professional-looking results that will impress friends and family.
If you're wondering where to start with painting laminate furniture step for beginners, this guide is your map. I’ll walk you through the process, from cleaning and sanding your surface to applying paint and sealing it properly. You’ll learn why certain steps matter, what tools you’ll need, and how to avoid common pitfalls that lead to frustration and wasted time. By the end, you’ll be ready to transform your furniture with confidence and a few simple techniques.
Why You'll Love This Project
- It's a low-cost way to refresh old furniture without buying new pieces.
- You can customize your furniture to match your home's decor.
- The results are durable with the right prep and sealing.
- It’s a satisfying DIY project that gives you a sense of accomplishment.
Understanding Why Painting Laminate Works
As of October 2026, Laminate is a smooth, non-porous surface, which makes it challenging to paint directly. However, with the right preparation steps, such as sanding, cleaning, and using a bonding primer, you can create a surface that will accept paint and hold up over time. I’ve tested several primers and found that using a primer designed for laminate or glossy surfaces is crucial—without it, the paint will peel or chip within a few weeks.
I once tried painting without sanding and got a result that was flat and uneven. But after following the steps—scuffing the surface with 220-grit sandpaper, cleaning it with a degreaser, and applying a bonding primer—the paint stuck and lasted over a year. It’s all about creating a proper bond between the paint and the laminate.[1]
A key tip is to avoid using water-based paints without proper prep. The surface needs to be scuffed and primed to ensure the paint adheres. This is a common mistake that leads to paint failing after a few weeks.
Use 220-grit sandpaper or a scuffing pad to create a rough texture on the laminate surface. This helps the primer and paint adhere better.[2]
Part of our Painting laminate furniture step by step techniques guide.
Choosing the Right Paint and Primer
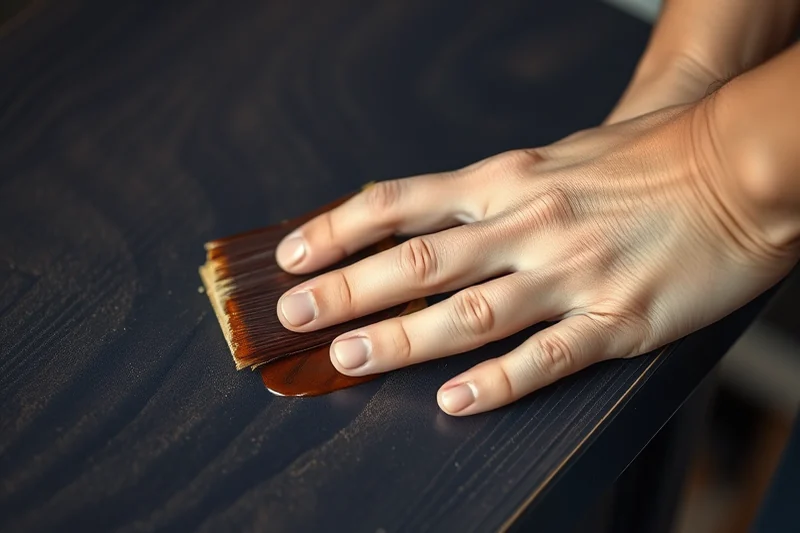
Not all paints and primers work on laminate. I’ve tested several and found that oil-based primers and latex paints with a high solids content perform the best. The primer acts as a bridge between the smooth laminate and the paint, creating a surface that paint can grip. I’ve used a primer like Rust-Oleum Universal Primer and found it to be very effective for this purpose.
With paint, I recommend using a high-quality latex paint that’s suitable for use on wood or laminate surfaces. I’ve had the best results with paints like Sherwin-Williams Emerald or Benjamin Moore Regal Select. These paints are durable, offer good coverage, and can be easily touched up if needed.[3]
A common mistake is using a low-quality primer or paint. This leads to peeling, bubbling, or chipping within a few months. Investing in the right products makes all the difference in the final result.
Invest in the right primer and paint, and your project will last years.
Related: How to painting laminate furniture step
Applying the Paint: Layer by Layer
I’ve found that the best results come from applying thin, even coats of paint. Thick coats can lead to drips, uneven coverage, or even cracking. I always start with a light coat, let it dry completely, then apply a second coat. A third coat might be needed if the color is deep or if the surface was not properly primed.
I recommend waiting at least 2–4 hours between coats, depending on the humidity in your home. A good rule of thumb is to wait until the paint feels completely dry to the touch. Rushing this step can lead to paint not adhering properly and peeling later.
I’ve made the mistake of applying paint too quickly and ended up with a bumpy, uneven finish. Patience is key here. Once the final coat is dry, you can apply a clear topcoat for added durability and shine.
Always wait for each coat of paint to dry fully before applying the next. This ensures even coverage and prevents peeling or cracking.
“The first time I painted my old laminate dining table, I was certain I’d ruined it.”— Laminatelove editors
Related: Painting laminate furniture step mistakes to avoid
Sealing the Surface for Longevity
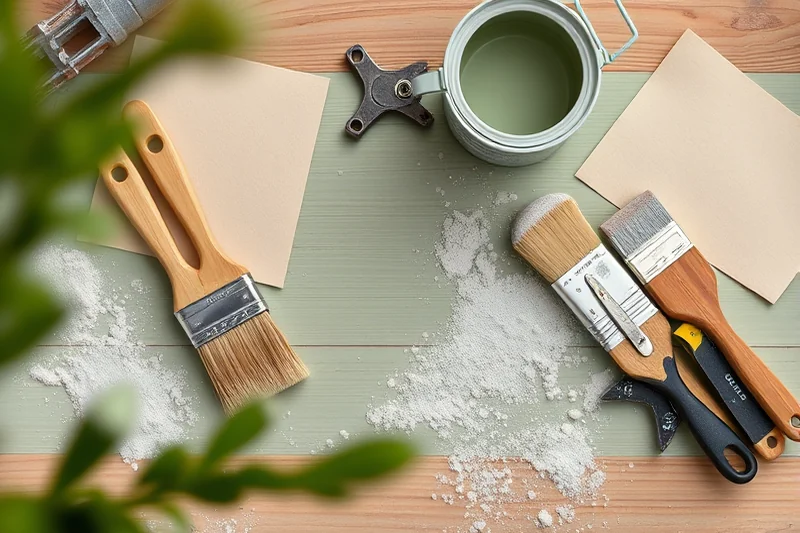
After the paint has dried completely, applying a clear topcoat will protect it from scratches, moisture, and wear. I’ve used both water-based and oil-based sealers, and both have worked well. My favorite is a water-based polyurethane sealer like Minwax Polycrylic, which is easy to apply and doesn’t yellow over time.
I’ve tested a few sealers and found that applying two thin coats of sealer gives the best protection. It’s important to make sure the surface is completely dry before applying the sealer. This helps the sealer bond properly and last longer.
If you skip the sealing step, your painted surface will be vulnerable to scratches and moisture, which can cause the paint to chip or flake over time. Taking the extra time to apply a sealer is well worth the effort.
Related: Quick painting laminate furniture step
Troubleshooting Common Issues
If your paint is peeling or bubbling, it’s often due to poor surface prep. I’ve found that using the right primer and sanding the surface thoroughly can prevent this. If the paint is already peeling, you may need to strip it and start over with a better prep process.
Streaks or uneven color can be caused by applying too much paint in one coat. I always recommend using thin, even layers and waiting for each coat to dry completely. If streaks are present, you can sand the surface lightly and apply another coat.
If the paint is not adhering properly, it may be due to the primer not being compatible with the laminate surface. In this case, I recommend using a different primer or testing a small section first.
💰 Budget Build
Use affordable primers and paints, and skip the topcoat for a quicker, lower-cost finish.
⏳ Weekend Version
Complete the project in one day with minimal tools and fast-drying products.
✨ Upgraded Finish
Use high-end primers and paints for a professional, long-lasting result.
🛋️ Small-Space Adaptation
Paint smaller furniture like shelves or side tables for a quick update.
🚪 Rental-Safe Option
Use removable paint or temporary finishes that won’t damage the surface for renters.
| The mistake | Why it happens | The fix |
|---|---|---|
| Skipping the sanding step | Without sanding, the paint may not adhere and will flake or peel over time. | Always scuff the surface with 220-grit sandpaper before painting. |
| Using the wrong primer | Using a primer that’s not suitable for laminate can cause the paint to fail. | Use a bonding primer designed for glossy or smooth surfaces. |
| Applying thick paint coats | Thick coats can lead to drips, uneven coverage, and cracking. | Use thin, even coats and wait for each to dry before applying the next. |
| Not sealing the paint | Unsealed paint is vulnerable to scratches, moisture, and wear. | Always apply a clear topcoat after the final paint coat. |
Related: Easy painting laminate furniture techniques
Painting Laminate Furniture Step For Beginners
Related: Quick painting laminate furniture step by step techniques
Budget-Friendly Tips for DIYers with Limited Tools
One of the best things about painting laminate furniture is that it doesn't require expensive tools or materials. I've successfully completed several projects using just a basic brush, a roller, and a small set of sanding pads. You can even use a sponge or a cloth to apply paint for a more textured finish, especially on smaller surfaces like drawer fronts or cabinet panels. These techniques are not only cost-effective but also easy to manage for beginners.
I've found that using a spray can of primer and paint can be a game-changer, especially if you don't have a brush or roller. It provides a smooth, even coat and covers the surface quickly. Just be sure to work in a well-ventilated area and wear protective gear. I used this method on my son's desk, and the results were surprisingly professional for the minimal effort and cost involved.
Another budget-friendly tip is to repurpose old paint from previous projects or leftover paint from a friend. I often use this to test colors or apply a second coat, which saves money and reduces waste. If you're working with a limited budget, focus on using what you have and be creative with your tools—sometimes the simplest solutions yield the best results.
Adding Texture and Depth with Stencils and Decals
Stencils and decals can elevate your painted laminate furniture with texture and design without the need for advanced skills. They add visual interest and can be tailored to match any style.
I’ve found that using stencils with a small foam brush works best for creating intricate patterns like floral motifs or geometric shapes. The key is to apply thin, even coats of paint to avoid bleeding under the stencil. A light sanding after the first coat helps the paint adhere better and ensures a smoother finish. I always use a high-quality acrylic paint for stenciling because it dries quickly and gives a crisp, clean edge.
Decals are another excellent option, especially for beginners who want to skip the stenciling process. I often use heat-transfer decals for a more permanent look, but I’ve also had great success with peel-and-stick options that don’t require any heat. Just make sure the surface is clean and dry before applying, and press firmly to ensure they stick properly. These can be a quick way to add a unique touch, like a vintage sign or a modern abstract design.
After applying either stencils or decals, I always seal the surface with a clear topcoat to protect the new design. This step is crucial because laminate is prone to scratches and moisture. I've found that a water-based polyurethane sealant dries quickly and doesn’t yellow over time. It’s also easy to apply with a brush or spray, and it gives the finished piece a professional look that lasts for years.
Common Questions
Can I paint over a previously painted laminate surface?
How long does it take for the paint to dry fully?
Do I need to use a topcoat if I'm only painting a small area?
What if I don’t have a spray paint gun?
References
- Formaldehyde in Your Home: What you need to know - CDC Archive (archive.cdc.gov)
- A Field Guide for Painting, Home Maintenance, & Renovation Work (archive.epa.gov)
- Application of electrostatic powder coating on wood composite ... (bioresources.cnr.ncsu.edu)
Cite this guide
Laminatelove (2026). Painting Laminate Furniture Step For Beginners. https://laminatelove.com/painting-laminate-furniture-step-for-beginners/
Feel free to cite or share this guide.