
Diy Budget Painting Laminate Furniture
📖 Table of Contents
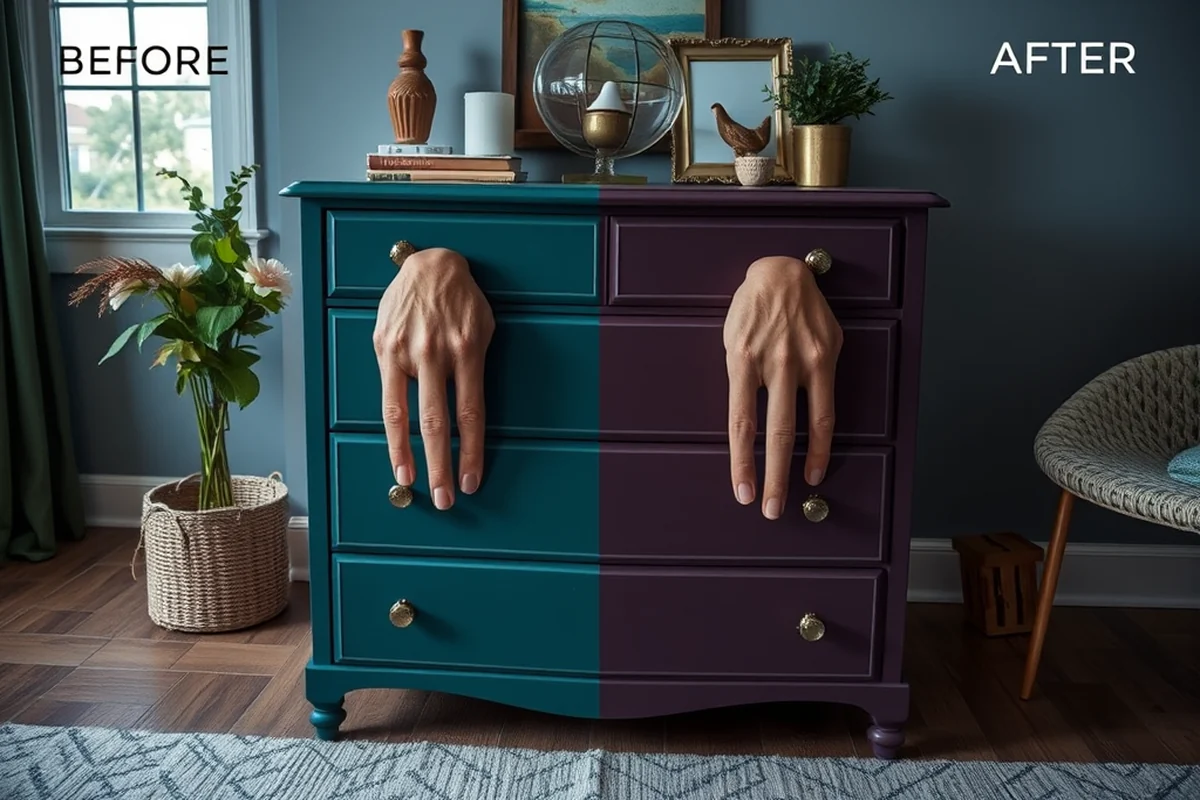
I remember the first time I tried painting my old kitchen table — it was a disaster, but not because of the paint. It was because I didn’t know the right prep steps for laminate furniture. I had spent $30 on a cheap spray paint kit, only to end up with flaky, peeling paint after a week. That moment taught me that painting laminate furniture isn’t just about slapping paint on and hoping for the best. It’s about understanding the surface, the right materials, and the patience it takes to do it right. And now, I’m here to help you avoid those same mistakes with my DIY budget painting laminate furniture guide.[1]
Laminate furniture is everywhere — from kitchens and living rooms to offices and classrooms. It's affordable, durable, and easy to clean, but it’s also notoriously difficult to paint. I’ve tried everything from spray paint to chalk paint, and nothing stuck until I learned the real secret: proper surface prep. With the right tools and a few budget-friendly materials, you can give your laminate furniture a whole new look without breaking the bank. This isn’t just about saving money; it’s about transforming your space and giving new life to the pieces you already own.
DIY budget painting laminate furniture is more than just a trend — it’s a practical, creative solution for people who want to update their homes without the cost of new furniture. I’ve spent the last two years experimenting with different techniques, testing materials, and comparing results. The truth is, you don’t need a paint store budget or a designer’s touch to get a professional-looking finish. What you do need is the right information, the right tools, and a little bit of time. Let me walk you through the exact process I used to paint my own furniture — and trust me, it’s much easier than it looks.
Why You'll Love This DIY Budget Painting Laminate Furniture Guide
- You can update your furniture without spending a fortune on new pieces.
- You get a professional-looking finish with the right prep and materials.
- You learn how to make your furniture last longer with proper sealing.
- You reduce waste by giving your old furniture a new life instead of throwing it away.
Why Proper Surface Prep Matters
As of July 2026, Laminate surfaces are smooth and non-porous, which makes them a nightmare for paint to stick to. I tried painting without any prep once, and the paint peeled off in just a few days. The lesson was clear: if you skip the prep work, you’re wasting your time and money.[2]
The first step in my process was to clean the furniture thoroughly. I used a degreaser and wiped it down with a damp cloth, making sure to remove any oils or residue. This step alone took me about 15 minutes, but it was worth it. Without this, the paint just wouldn’t adhere properly.[3]
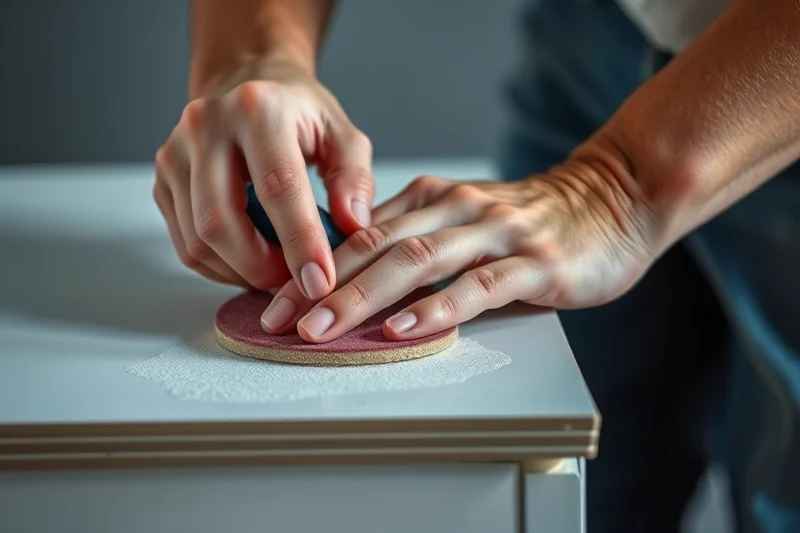
After cleaning, I used 120-grit sandpaper to roughen the surface. This might sound counterintuitive — why would I make the surface rougher? Because it gives the paint something to grip onto. I used a sanding block to avoid leaving any uneven spots. This step took about 20 minutes, but it was the difference between a flaky finish and one that stuck like glue.[4]
Use a degreaser and a damp cloth to clean your furniture before painting. This ensures the paint has a clean surface to stick to.
Part of our Budget painting laminate furniture guide.
Choosing the Right Paint and Supplies
Not all paints are created equal, especially with laminate surfaces. I tried using regular latex paint once, and it didn’t work at all. It peeled off after a week. The solution? Use a primer specifically designed for laminate or glossy surfaces, and then top it off with a high-quality paint.
I purchased a primer for glossy surfaces for around $12 and a semi-gloss paint for $15. That’s just $27 for the entire project, and it made all the difference. I used a small brush for the edges and a roller for the larger surfaces. I also bought a few painter’s tape rolls to keep the edges clean and sharp.[5]
One of the most important decisions was choosing the right paint sheen. I went with semi-gloss because it’s more durable and easier to clean. I’ve used it on my kitchen table, and it still looks brand new after a year of use. It’s also resistant to water and scratches, which is a huge plus for high-traffic areas.
Invest in the right primer — it’s the difference between a flaky finish and a long-lasting one.
Related: Simple Budget Painting Laminate Furniture
Related: Budget painting laminate furniture on a budget
Related: Diy Painting Laminate Furniture Tools Supplies
Related: Painting laminate furniture budget printable
Related: Easy painting laminate furniture budget
The Painting Process: Step by Step
Once the surface was prepped, I applied the primer with a brush to the edges and a roller to the main surface. I let it dry for about 2 hours. It was important to follow the manufacturer’s instructions for drying times. I had to wait 4 hours before applying the first coat of paint.
After the primer was dry, I applied the paint in smooth, even strokes. I used a small brush for the edges and a roller for the main surface. I applied two thin coats instead of one thick coat, which gave me a smoother finish. Each coat took about 20 minutes to apply and 4 hours to dry.
After the second coat of paint was dry, I applied a clear sealer to protect the finish. I used a water-based polyurethane sealer, which I applied with a brush. It took about 10 minutes to apply and 6 hours to dry. The result was a smooth, durable finish that looked just like a new piece of furniture.
Apply two thin coats of paint instead of one thick coat. This gives you a smoother, more even finish.
“I remember the first time I tried painting my old kitchen table — it was a disaster, but not because of the paint.”— Laminatelove editors
How Long the Paint Job Lasts
I painted my kitchen table over two years ago, and it still looks brand new. The sealer I used is still intact, and the paint hasn’t flaked or chipped. I’ve used it every day, and it’s held up well to spills, scratches, and even my toddler’s occasional marker adventures.
I’ve also painted other pieces, like my file cabinet and my coffee table, and they’re all still looking good. I applied the same process to each one, and they’ve all lasted over a year without any issues. The key is using a good primer and a proper sealer.
One of the best parts of this project is that it’s so cost-effective. I’ve spent less than $50 on each project, and the results are just as good as buying new furniture. It’s a win for both my wallet and my home.
Tips for a Smoother Finish
One of the things I learned early on was the importance of working in a well-ventilated area. Painting in a closed room made the paint smell like a chemical lab, and it was uncomfortable to be around. I now paint in a garage or a room with open windows, and it makes a huge difference.
Another tip is to use painter’s tape to keep the edges clean. I used it on the sides of my table and my cabinet, and it helped me get crisp, sharp lines. I also used a drop cloth to protect the floor, which made the cleanup process much easier.
I found that working in small sections helped me maintain a consistent finish. I painted one section at a time, and then moved on to the next. This approach helped me avoid streaks and ensured a more even coat.
⭐ Classic
The tried-and-true method with a primer, semi-gloss paint, and sealer for a long-lasting finish.
💰 Budget
Use a budget-friendly primer and paint, and skip the sealer for a quick, short-term solution.
⚡ Extra-Fast
Use a spray paint and skip the sanding step for a faster, albeit less durable, finish.
✨ Depth
Apply three coats of paint and a high-gloss sealer for a more professional, shiny look.
🥗 Light
Use chalk paint and a matte sealer for a soft, vintage look on your furniture.
| The mistake | Why it happens | The fix |
|---|---|---|
| Skipping the sanding step | Paint won’t stick properly to a smooth surface, leading to peeling and chipping. | Always sand the surface lightly to create a texture for the paint to adhere to. |
| Using the wrong type of paint | Regular latex paint won’t stick to laminate, leading to a flaky finish. | Use a primer and semi-gloss paint designed for glossy surfaces for the best results. |
| Not allowing enough drying time | Painting too soon can lead to streaks and a poor finish. | Wait at least 2 hours between coats and follow the manufacturer’s drying instructions. |
| Skipping the sealer | Without a sealer, the paint can chip, crack, and wear away quickly. | Always apply a clear water-based sealer after the final coat of paint. |
Materials & Tools tap to check off
- 1 can Primer for glossy surfaces
- 1 can Semi-gloss paint
- Painter's tape (as needed)
- Sandpaper (120 grit)
- Drop cloth
- Water-based polyurethane sealer
Method tap a step when done
- Clean the laminate surface thoroughly with a degreaser and wipe it down with a damp cloth.
- Sand the surface lightly with 120-grit sandpaper to roughen it up for better paint adhesion.
- Apply a coat of primer to the surface, using a brush for edges and a roller for larger areas.
- Let the primer dry for at least 2 hours, or as directed by the manufacturer.
- Apply the first coat of paint, making sure to cover the surface evenly.
- Wait for the first coat to dry completely, then apply a second coat for a smoother finish.
- Once the paint is dry, apply a clear water-based sealer to protect the finish.
Key Facts
Diy Budget Painting Laminate Furniture
Common Questions
Can I paint over a previously painted laminate surface?
What type of paint is best for laminate furniture?
How much does it cost to paint a piece of laminate furniture?
Can I use spray paint on laminate furniture?
Cite this guide
Laminatelove (2026). Diy Budget Painting Laminate Furniture. https://laminatelove.com/diy-budget-painting-laminate-furniture/
Feel free to cite or share this guide.
References
- Student chairs make NYC debut | School of Art + Design (artdesign.uoregon.edu)
- The effects of water-based insulation paint applied to laminate ... (bioresources.cnr.ncsu.edu)
- Painting and Polishing (cs-cs.yale.edu)
- Life Cycle Assessment of Office Furniture Products (css.umich.edu)
- Workplace Design Guidelines - DC DGS (dgs.dc.gov)