
Budget Painting Laminate Furniture Examples
📖 Table of Contents
I remember the first time I sat down at my IKEA dresser, its glossy laminate surface gleaming with too much polish and not enough personality. It was a bold, unapologetic statement of 'cheap' and 'bland.' But over the past few years, I've discovered that painting laminate furniture can be an incredibly satisfying DIY project — one that transforms the look of a room without the price tag of a new piece. With the right prep work, paint, and patience, even the most basic furniture can look like it came from a designer's studio. And the best part? You don't need a budget that would make a decorator weep.
I've tried nearly every method on the internet for painting over laminate, from sanding with a paper pad to using heat guns and even the infamous 'magic eraser trick.' Some worked better than others. The key takeaway always came down to one thing: preparation. You can’t just slap paint on a glossy surface and expect it to stick. That’s where the real work begins — and it’s where I’ve learned the most. Whether you're painting a table, a cabinet, or a bookshelf, the same principles apply, and the results can be stunning if done right.
This article is for anyone who's ever looked at their laminate furniture and thought, 'This could be something more.' I'm going to walk you through my favorite budget painting laminate furniture examples, from the simplest weekend project to more elaborate finishes that still stay within reason. You’ll learn how to get that perfect paint job without breaking the bank, how to prep your furniture correctly, and even how to make your painted pieces last for years. And I promise, it’s a lot more fun than you’d think.
Why You'll Love This Budget Painting Project
- Transform your home with minimal cost — often under $50.
- Create custom designs tailored to your style and space.
- Extend the life of your furniture without replacing it.
- Achieve professional-looking results with beginner-friendly techniques.
The Prep Work That Matters Most
As of September 2026, before even thinking about paint, I always start with a thorough cleaning. Use a degreaser or a mild soap and water to remove any grime or residue. I've found that a Magic Eraser works wonders on the glossy surface — it's like giving the furniture a fresh start.
Next, I sand the surface with 220-grit sandpaper. It’s not about getting it super rough — just enough to create texture for the primer and paint to grip. I always wear a mask to avoid inhaling the dust, and I take my time to go over every edge and corner.[1]
Once that's done, I apply a primer specifically designed for glossy surfaces. I use a primer like Zinsser Bulls Eye 1-2-3, and it makes a world of difference in how well the paint adheres. I've tried skipping the primer, and it always comes back to haunt me — flaking paint and uneven coverage.
220-grit sandpaper is ideal for laminate. Any lower and you risk damaging the surface; any higher and you won’t get enough texture for the primer to stick.
Part of our Budget painting laminate furniture guide.
Choosing the Right Paint and Tools
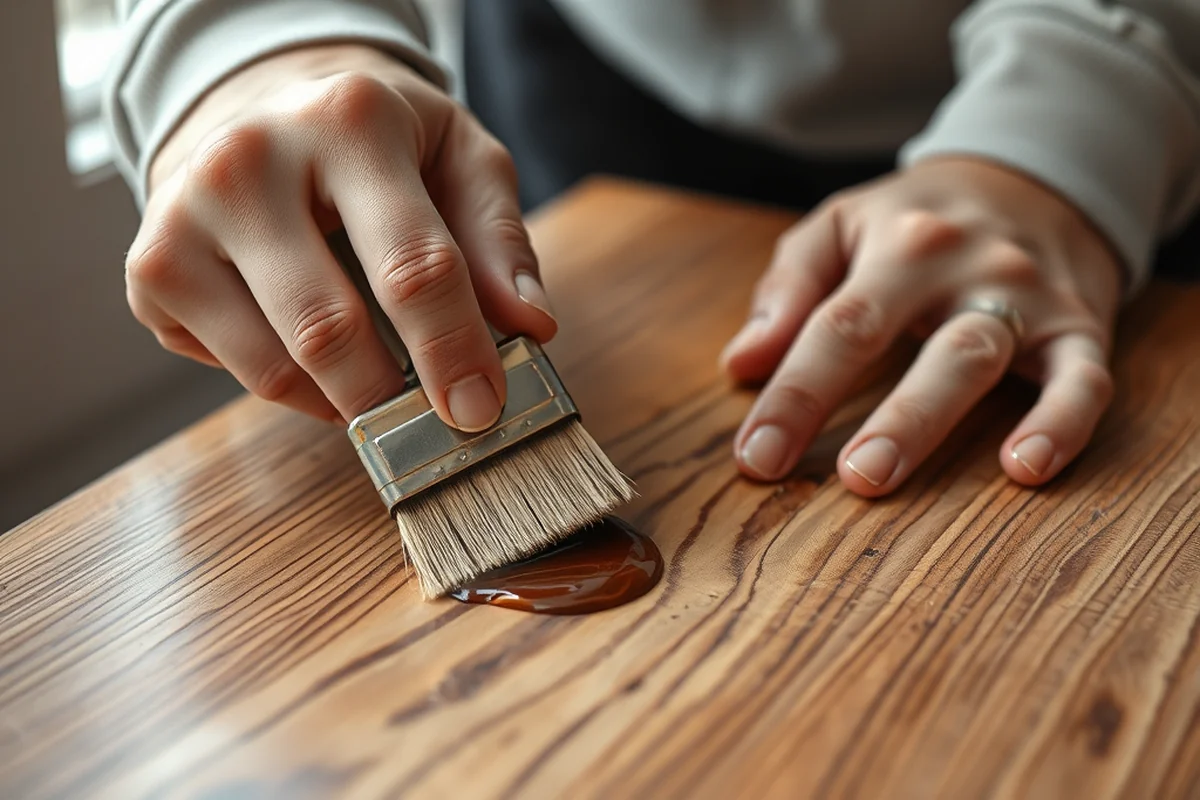
I always go with a high-quality, water-based primer and paint. I've tried oil-based paints, but they're harder to work with and take longer to dry. For the actual paint, I use a satin or semi-gloss finish. It's durable and looks great on furniture, and it's easy to clean if you ever want to wipe it down later.
With tools, a good brush is essential. I use a 2-inch angled brush for edges and a 4-inch straight brush for flat surfaces. I've also found that a small foam roller works well for larger areas — it's faster and covers more ground.
One thing I've learned the hard way is that using cheap brushes can leave brush marks that are nearly impossible to fix. Invest in a few good brushes or use a foam roller, and you'll save yourself a lot of frustration in the long run.
A good brush is worth its weight in gold — don’t skimp on this step.
Related: Budget painting laminate furniture printable
Related: Painting Laminate Furniture Budget Examples
Painting Techniques That Work for Beginners
I always start by painting the edges first, using my angled brush. It's easier to get into the corners that way, and it prevents the paint from bleeding over the sides. I work slowly and in small sections — about a foot at a time — to avoid drips.
For the main surface, I use my foam roller and apply the paint in a 'W' pattern. This helps distribute the paint evenly and prevents it from pooling in one area. I apply two thin coats instead of one thick one, because that leads to a smoother finish and less chance of brush marks.
After the first coat dries, I lightly sand the surface again with 220-grit sandpaper. This smooths out any imperfections and helps the second coat go on more evenly. I always clean the brush and roller before applying the second coat — it makes a huge difference in the final look.
Using a foam roller and painting in a 'W' pattern ensures even coverage and reduces the chance of drips or uneven texture.
“I remember the first time I sat down at my IKEA dresser, its glossy laminate surface gleaming with too much polish and not enough personality.”— Laminatelove editors
Related: How to budget painting laminate furniture
Sealing the Job for Long-Lasting Results
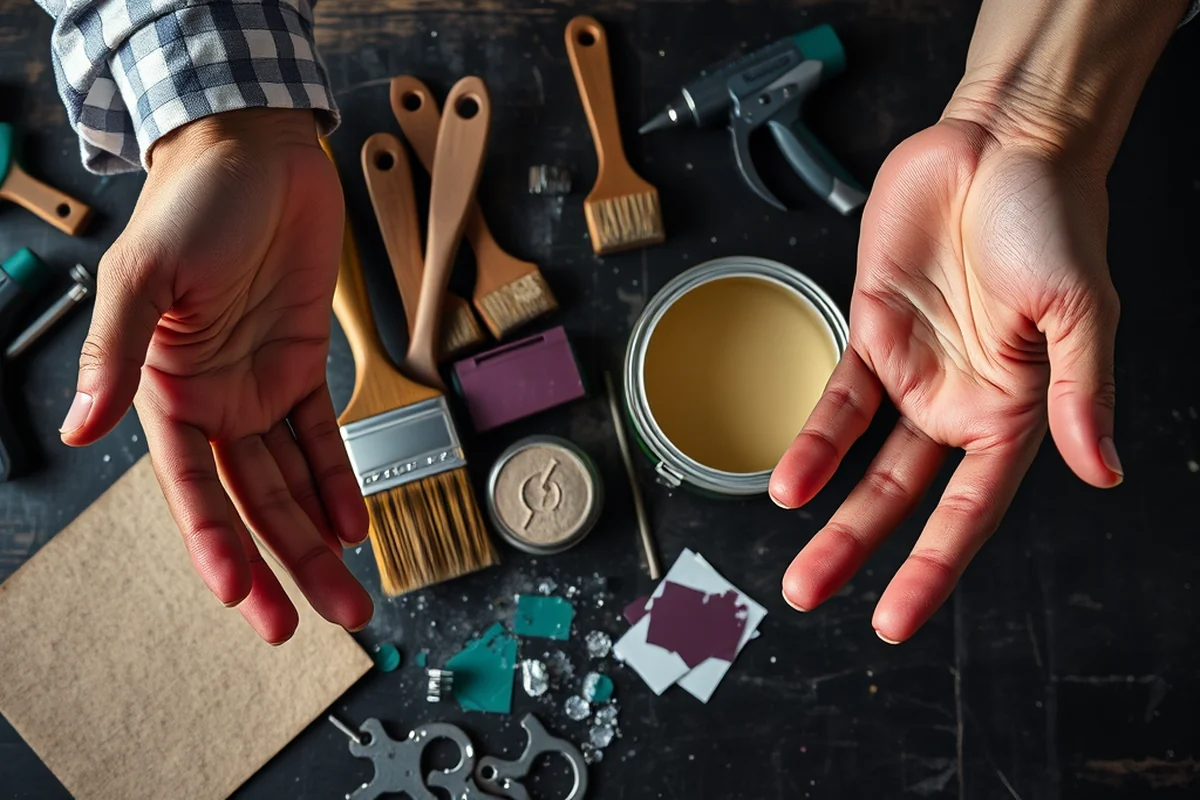
Once the paint is fully dry, I apply a clear polyurethane top coat. I use a water-based polyurethane because it's easier to work with and dries faster than oil-based options. I've tried both and found that the water-based option is just as durable and doesn’t yellow over time.
I apply two thin coats of the top coat, letting each one dry completely before applying the next. This helps create a strong, protective layer that resists scratches, water, and general wear. I've found that skipping the top coat can lead to chipping and peeling, even if the paint was applied correctly.
I always let the top coat cure for at least 48 hours before using the furniture. This ensures that the finish is fully hardened and won’t be damaged by handling. I've also found that applying the top coat in a well-ventilated area helps reduce the smell and speeds up the drying process.[2]
Related: Budget painting laminate furniture that actually work
Creative Ideas for Customizing Your Painted Furniture
I’ve used stencils to add custom designs like geometric patterns or even names on my furniture. It’s a great way to make your painted pieces stand out and add a personal touch. I use a small brush and a stencil with a rubber backing to avoid smudging the pattern.
Another idea is to paint one drawer a different color than the others — it adds visual interest and doesn't require a lot of extra work. I’ve also tried using chalk paint for a more distressed look, and it works surprisingly well on laminate after the right prep.
If you're feeling adventurous, you can even paint your furniture in a two-tone scheme or use metallic paints for a more modern look. I've painted one side of a table in a bold color and the other side in a neutral shade — it’s a great way to add depth and dimension without going overboard.
💰 Budget Build
Paint your furniture with basic supplies and minimal tools — perfect for first-timers with a limited budget.
⏰ Weekend Version
Complete the painting project in one day with a fast-drying paint and no need for multiple coats.
✨ Upgraded Finish
Add a high-gloss finish with a premium top coat for a professional, showroom-ready look.
🛋️ Small-Space Adaptation
Paint small furniture pieces like shelves or side tables for a big impact in compact spaces.
🚫 Rental-Safe Option
Use removable paint or temporary adhesive stencils to avoid damaging rental furniture without leaving a mark.
| The mistake | Why it happens | The fix |
|---|---|---|
| Skipping the primer | The primer is what helps the paint adhere to the glossy surface — without it, the paint won’t stick and will peel off quickly. | Always use a primer designed for glossy surfaces, even if you’re using a high-quality paint. |
| Using oil-based paint | Oil-based paint is harder to work with, takes longer to dry, and can yellow over time — especially on furniture that gets a lot of use. | Stick with water-based paints for easier application and faster drying times. |
| Painting too thickly in one coat | Applying too much paint in one coat can lead to drips, brush marks, and a thick, uneven finish. | Apply two thin coats instead of one thick one, and let each coat dry completely before applying the next. |
| Not sealing the painted surface | Without a top coat, the paint is vulnerable to scratches, water, and general wear and tear. | Always apply a clear polyurethane top coat — it’s the best way to protect your work. |
Related: Easy painting laminate furniture budget
Budget Painting Laminate Furniture Examples
Related: Affordable painting laminate furniture budget
Troubleshooting Common Painting Pitfalls
Learn how to fix common issues like peeling, bubbling, and uneven coverage when painting laminate furniture.
I once spent hours painting a set of shelves only to find that the paint was peeling after a week. It turned out I skipped sanding the surface entirely, which is a critical mistake. Laminate is slick, so without proper sanding and degreasing, paint just doesn’t adhere. I learned the hard way that using 220-grit sandpaper and wiping down the furniture with denatured alcohol before painting makes all the difference. This step is easy to skip but absolutely vital for a lasting finish.
Another problem I faced was paint bubbling on a cabinet door. It took me a while to realize that I was applying the paint too thickly. I was using a brush that held too much paint, and I didn’t allow each coat to dry completely. The solution was to use a thinner brush, apply paint in thin, even strokes, and wait 2–3 hours between coats. It’s tempting to go fast, but patience here prevents a lot of rework later.
I also struggled with uneven coverage on a dining table. The paint kept looking patchy no matter how carefully I applied it. What I didn’t know was that the type of paint mattered. I had used a standard interior latex paint instead of a specialized bonding primer or chalk paint. After switching to a primer designed for slick surfaces and then using chalk paint, the result was much smoother and more even. This experience taught me that choosing the right paint and tools isn’t just about aesthetics—it’s about durability and performance.
Common Questions
Can I paint over laminate without sanding?
What type of paint should I use on laminate?
How long should I wait before using the furniture after painting?
Can I paint over a previously painted laminate surface?
References
- Specialty Treatments - Forest Products Laboratory - USDA (fpl.fs.usda.gov)
- Chapter 3745-21 - Ohio Administrative Code (codes.ohio.gov)
Cite this guide
Laminatelove (2026). Budget Painting Laminate Furniture Examples. https://laminatelove.com/budget-painting-laminate-furniture-examples/
Feel free to cite or share this guide.