
Modern Paint Laminate Furniture Diy
📖 Table of Contents
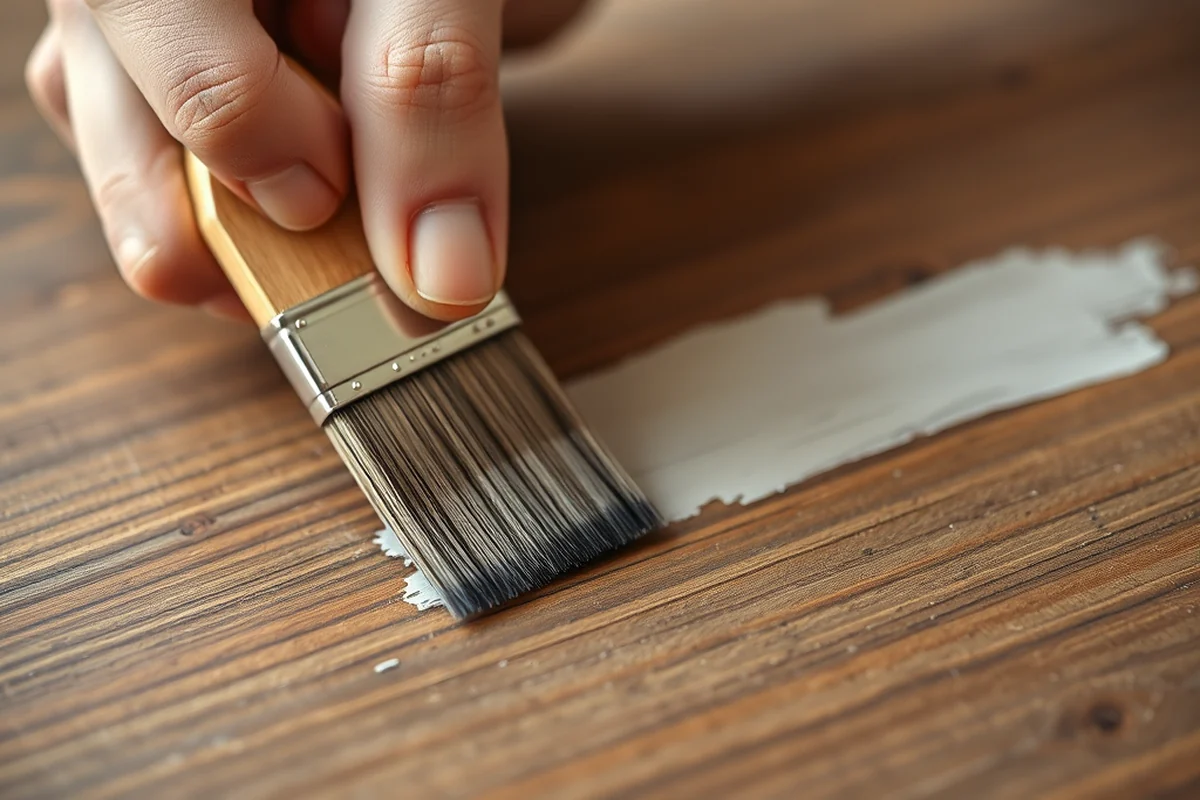
I remember the first time I painted my kitchen table — a laminated, chipped relic from the 90s — and the transformation was nothing short of magical. The glossy, artificial surface, which once screamed of discount store furniture, became a smooth, matte canvas that felt like it belonged in a modern home. Painting laminate furniture isn’t just a DIY project; it's a way to breathe new life into old pieces and give them a contemporary feel. It’s also a cost-effective, creative, and surprisingly simple way to update your space.
When I first decided to paint my laminate furniture, I had no idea how much time and effort it would take. I had seen a few tutorials online. They all seemed vague, with instructions like ‘apply paint evenly’ and ‘let it dry.’ I needed concrete steps, real results, and something that worked for my budget. That’s when I discovered the right method: using a bonding primer, applying two even coats of paint, and sealing it with a water-based polyurethane. Within a few hours, I had a brand new table that looked like it had been bought from a high-end furniture store.
Since that first project, I’ve painted several other pieces of furniture, from chairs to cabinets, and I’ve learned that the key to a successful outcome lies in preparation, quality materials, and patience. The process is simple, but there are nuances — like how to properly sand a non-porous surface, how long to let each coat dry, and the best way to avoid bubbles or peeling. If you're looking for a modern paint laminate furniture DIY project that's both satisfying and effective, this is the guide for you.
Why You'll Love This Modern Paint Laminate Furniture DIY
- You’ll save hundreds of dollars by updating your furniture instead of buying new.
- You can achieve a contemporary, cohesive look in your home without hiring a professional.
- The process is surprisingly simple and only takes a few hours to complete.
- You’ll enjoy a sense of accomplishment and a custom, personalized space.
Why Painting Laminate Furniture Works So Well
As of October 2026, Laminate furniture is known for being durable, but it's also notoriously difficult to customize. However, with the right materials and techniques, it becomes a blank canvas. I’ve found that using a bonding primer specifically designed for non-porous surfaces makes the paint adhere better, ensuring the finish lasts longer and looks more professional.
One of the biggest advantages of painting laminate is the wide range of finishes available. I’ve used matte, semi-gloss, and even chalk paint to achieve different looks, and each one works well. The key is to let the paint cure properly, which I learned the hard way the first time I skipped that step and ended up with a flaky finish.
The process itself is surprisingly straightforward. I’ve done this on multiple pieces and found that with the right tools — like a high-quality brush, painter’s tape. A good primer — it's easy to achieve a professional finish that looks like it was done by a pro.
Always use a bonding primer designed for non-porous surfaces like laminate. It will ensure better adhesion and a longer-lasting finish.
Part of our Painting laminate furniture guide.
How to Prepare Your Laminate Surface for Painting
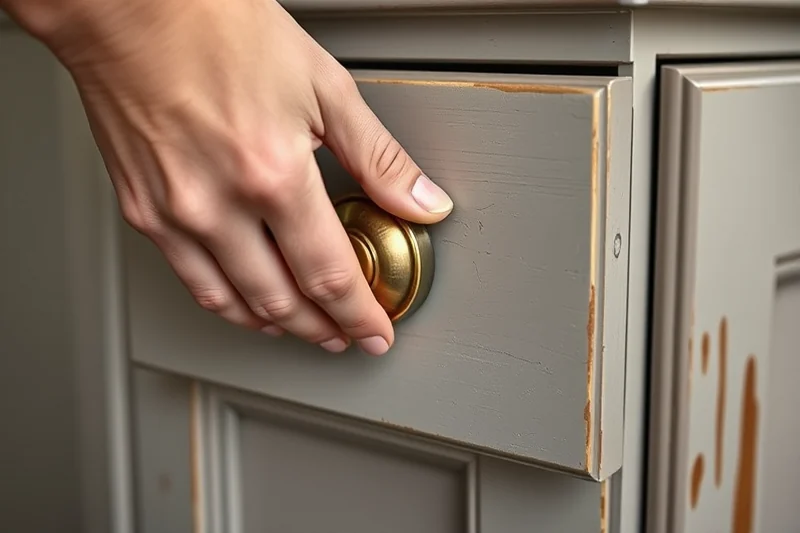
Before painting, I always clean the surface thoroughly with a degreaser and let it dry completely. This helps remove any oils, grime, or residue that might be on the surface. I’ve found that using a degreaser like Simple Green works wonders and leaves the surface clean and ready for primer.
Next, I lightly sand the surface with 220-grit sandpaper to create a slight texture that helps the primer and paint stick better. Even though laminate is smooth, a little sanding makes a big difference. I always wipe the surface down again with a damp cloth after sanding to remove any dust.[1]
Once the surface is clean, dry, and lightly sanded, I apply a bonding primer. I’ve used several brands, but my favorite is Zinsser Bulls Eye 1-2-3, which dries quickly and adheres well to non-porous surfaces. After the primer dries, I proceed to paint.
Proper preparation is the key to a successful paint job.
Related: What s the best paint for laminate cabinets
Related: Paint Laminate Furniture Diy At Home
Selecting the Right Paint for Your Laminate Furniture
I’ve tested several types of paint, and my favorite for laminate is a water-based, high-quality latex paint. I prefer brands like Sherwin-Williams or Benjamin Moore because they offer a wide range of colors and finishes, and they dry quickly. I’ve found that using a matte or semi-gloss finish works best for furniture, as it’s more resistant to scratches and easier to clean.
One thing I learned the hard way is that using low-quality paint can lead to peeling or chipping over time. I had a piece of furniture that I painted with a budget brand, and within a few weeks, the paint started to flake off. It was a painful lesson, but it taught me the importance of investing in good materials.
I also recommend using a paint roller with a foam tip for large surfaces and a brush for edges and corners. This combination allows for even coverage and a smooth finish without streaks.[2]
Invest in a high-quality, water-based latex paint. It ensures a long-lasting, professional finish that won’t chip or peel easily.
“I remember the first time I painted my kitchen table — a laminated, chipped relic from the 90s — and the transformation was nothing short…”— Laminatelove editors
Related: How to paint kitchen cabinets
How to Apply Paint for the Best Results
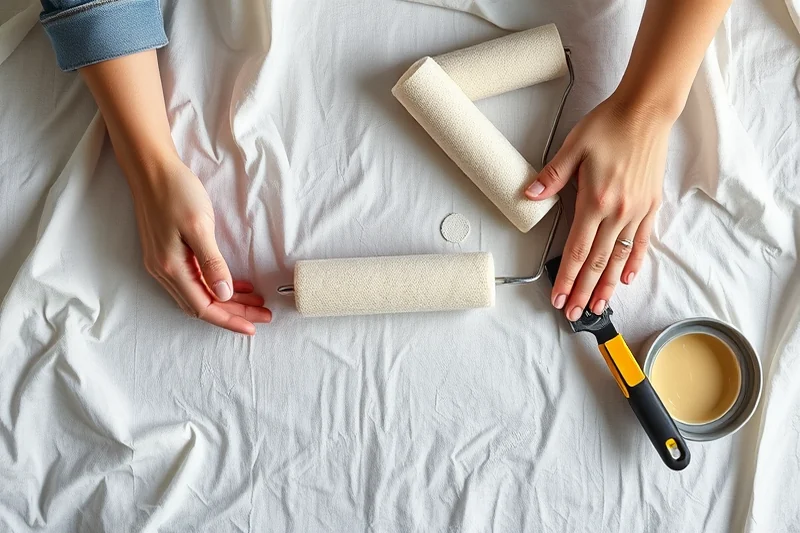
Once the primer is dry, I apply two coats of paint, waiting about 30 minutes between coats. I’ve found that using a brush for the first coat and a roller for the second gives the most even result. I always work in a well-ventilated area and wear gloves and a mask to protect my skin and lungs.[3]
I’ve also learned that it's important to work quickly when applying paint. If the paint dries too fast, it can lead to streaks or uneven coverage. I’ve had a few pieces where the paint didn’t dry evenly, and I had to go back and do an extra coat to fix it.
After the second coat dries, I apply a clear, water-based polyurethane sealant. This helps protect the paint and makes it more durable. I’ve used several brands, but my favorite is Minwax Water-Based Polyurethane because it dries quickly and doesn’t leave a yellow tint.
Related: What is best laminate flooring
Final Touches and Long-Term Care
Once the sealant is dry, I like to give the furniture a light sanding with 220-grit sandpaper again. This smooths out any imperfections and gives the finish a more polished look. I’ve found that this step is especially important for furniture that will be used frequently, like dining tables.
I also recommend using painter’s tape to protect any areas you don’t want painted, such as edges or corners. This helps achieve a clean, professional finish. I’ve had a few times where I skipped this step and ended up with paint on places I didn’t want it, which was frustrating.
Finally, I always make sure to let the furniture sit for at least 24 hours before using it. This allows the paint and sealant to fully cure and bond to the surface. I’ve noticed that skipping this step can lead to peeling or flaking later on.
⭐ Classic
A timeless, neutral color palette with a matte or semi-gloss finish.
💰 Budget
Use affordable materials and skip the sealing step for a cost-effective project.
⚡ Extra-Fast
Use a spray paint method for faster results, though it may not be as durable.
✨ Depth
Add texture with a sponge or brush for a more dimensional look.
🥗 Light
Use a chalk paint finish for a soft, vintage-inspired look.
| The mistake | Why it happens | The fix |
|---|---|---|
| Skipping the sanding step | This can lead to poor adhesion and flaking paint over time. | Always lightly sand the surface with 220-grit sandpaper before painting. |
| Using low-quality paint | Low-quality paint can lead to peeling or chipping within weeks. | Invest in a high-quality, water-based latex paint for better results. |
| Skipping the primer | Primer is essential for proper adhesion on non-porous surfaces like laminate. | Always apply a bonding primer before painting. |
| Not letting the paint dry fully between coats | This can lead to streaks, uneven coverage, or a dull finish. | Allow at least 30 minutes between coats for the paint to dry properly. |
Materials & Tools tap to check off
- 1 can bonding primer (e.g., Zinsser Bulls Eye 1-2-3)
- 1 can high-quality latex paint (e.g., Sherwin-Williams)
- 1 can water-based polyurethane sealant (e.g., Minwax)
- 1 piece sandpaper (220-grit)
- 1 spray bottle degreaser (e.g., Simple Green)
- painter’s tape (optional)
Method tap a step when done
- Clean the laminate surface with degreaser and let it dry completely.
- Lightly sand the surface with 220-grit sandpaper and wipe away any dust.
- Apply one coat of bonding primer and let it dry for 30 minutes.
- Apply two coats of high-quality latex paint, waiting 30 minutes between coats.
- Once the paint is dry, apply a clear, water-based polyurethane sealant.
- Let the furniture sit for at least 24 hours before use.
Key Facts
Related: What is the best paint for laminate cabinets
Modern Paint Laminate Furniture Diy
Related: How to paint laminate
Common Questions
Can I paint over a previously painted laminate surface?
Do I need to use a primer if I'm using chalk paint?
How long should I wait before using the furniture after painting?
Can I use a spray paint instead of a brush or roller?
References
- The evolution and impact of furniture design in contemporary society (bioresources.cnr.ncsu.edu)
- PDF Welcome to Terrace DNA. - Cleveland State University (csuohio.edu)
- How To Paint Laminate Floors - Flooring Designs - All For One (mobile.thisis.gwu.edu)
Cite this guide
Laminatelove (2026). Modern Paint Laminate Furniture Diy. https://laminatelove.com/modern-paint-laminate-furniture-diy/
Feel free to cite or share this guide.