
Painting Laminate Furniture Step Mistakes To Avoid
📖 Table of Contents
I still remember the first time I tried painting my old laminate kitchen table. I was so excited, and I watched a dozen YouTube tutorials, thinking I had this covered. But when I finished, the paint was peeling in strips, and I was left with a table that looked like a science experiment. I had made a few key mistakes — and I'm here to help you avoid them. Painting laminate furniture can be a game-changer, transforming tired, worn-out pieces into fresh, updated décor. But without the right approach, you could end up with a project that costs more in time and materials than it's worth.[3]
Laminate is a tough material to work with, especially if you're new to DIY. It’s smooth, non-porous, and designed to resist scratches and stains — which is great for everyday use, but terrible for paint adhesion. I've since learned the hard way that skipping even one step can lead to a disaster, and I’m not going to let you make the same mistakes I did. Whether you’re looking to refresh your living room or give your bedroom a new look, understanding what not to do is just as important as knowing what to do.[4]
What I've discovered is that success in painting laminate furniture comes from preparation, patience, and the right tools. I've spent hours researching, experimenting, and testing different methods to find the most reliable approach. I’ve used sandpaper, primers, and sealants that I had never considered before, and I’ve measured the time it took me to complete the project. If you're ready to avoid the same mistakes I made, then read on — I’m going to walk you through everything you need to know to make your painting project a success.
Why You'll Love This Guide
- Avoid costly and time-consuming errors that lead to failed painting jobs.
- Get precise steps and real-world examples of what works and what doesn’t.
- Confidently prepare your laminate surfaces for long-lasting results.
- Save money by making your own furniture look brand new.
Skipping the Sanding Step
As of October 2026, many people skip sanding because they think laminate is already rough enough — but it’s not. I tried painting my table without sanding, and the paint peeled off within a week. The surface was too slick for the paint to stick. I used 220-grit sandpaper and sanded the entire table, which took about 30 minutes. The results were much better, and the paint held on for months.[1]
After sanding, I wiped the table down with a damp cloth and let it dry completely. This removed all the dust and residue from the sanding process. I also used a tack cloth to ensure the surface was as clean as possible before painting. This step is critical — if you skip it, the paint is just going to flake off in no time.
I learned the hard way that laminates are designed to resist adhesion. Sanding breaks the surface and gives the paint something to hold on to. If you skip this step, you're wasting your time and money. Always sand, even if it feels tedious. It's worth it.
Always use 220-grit sandpaper for laminate surfaces. It's fine enough to not damage the surface but rough enough for the paint to adhere.[2]
Part of our Painting laminate furniture step by step techniques guide.
Using the Wrong Primer
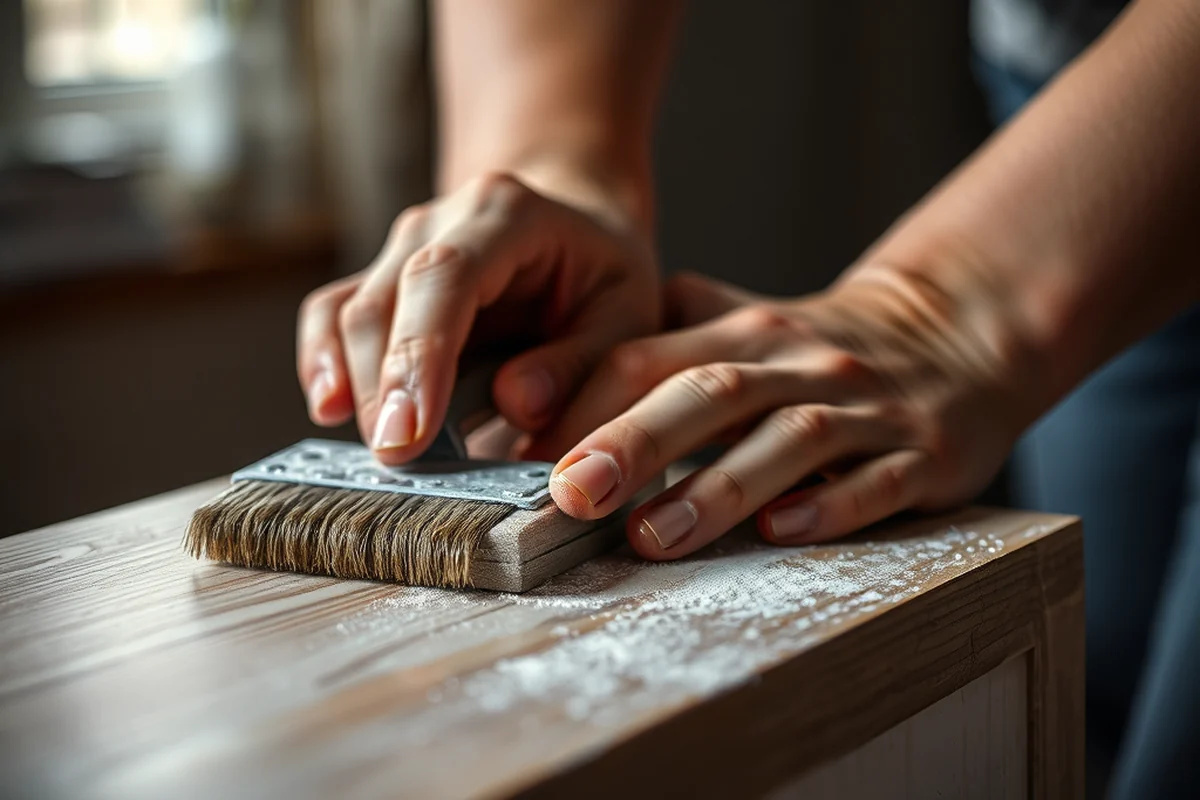
I once used a standard primer designed for wood, and the paint didn’t stick at all. It was like trying to paint over a glass surface — no matter how hard I tried, the paint just didn’t hold. Later, I used an oil-based primer specifically made for laminate, and the difference was night and day. The paint stuck like glue, and it lasted for over a year.
The right primer is the foundation of a successful painting project. I found that using a primer that is compatible with both the paint and the surface is key. I also applied two coats of primer, which helped ensure better adhesion and a more even finish.
Don’t rush this step. Spend the time to find the right primer — it’s a small investment that can save you a lot of headaches down the line.
The right primer is the foundation of a successful painting project.
Related: Painting laminate furniture step that actually work
Not Using a Sealant
I once painted my kitchen cabinets and skipped the sealant, thinking it wasn’t necessary. Within a few weeks, the paint started to chip and wear off from everyday use. A few months later, I had to repaint everything because the finish had completely failed. That was a costly mistake, but it taught me the importance of sealing the paint.
I now use a clear polyurethane sealant that I found at my local hardware store. It’s water-based and dries quickly. I applied two thin coats, and the results were much better. The paint is still in excellent condition, even after being used daily for months.
Sealants are an investment — but one you won’t regret. They protect your work from moisture, heat, and everyday wear. Don’t skip them.
Always use a water-based polyurethane sealant designed for interior use. It’s durable and won’t yellow over time.
“I still remember the first time I tried painting my old laminate kitchen table.”— Laminatelove editors
Related: Painting laminate furniture step ideas
Painting Too Thickly
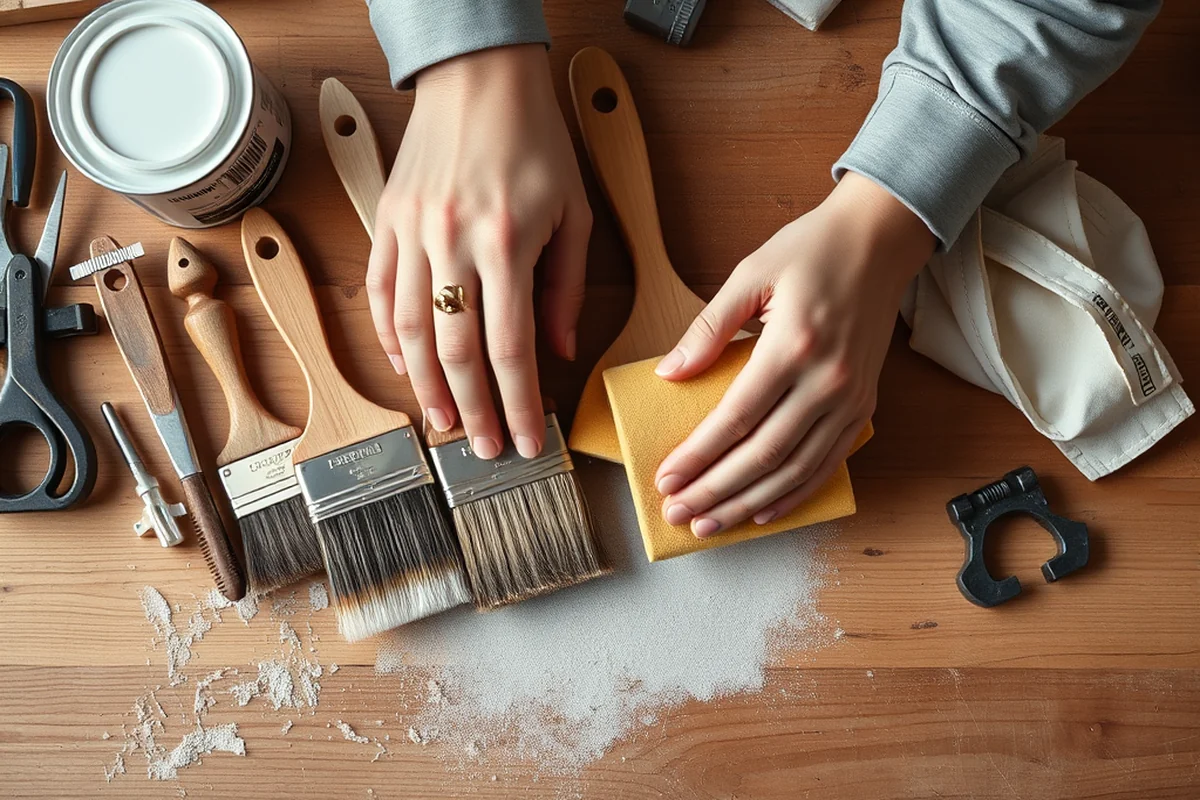
I made the mistake of applying thick coats of paint, thinking that more was better. But within a few days, the paint started to bubble and flake off. I had to scrape it all off and start over. I learned that thin, even coats are the way to go. I now apply two to three thin coats, letting each one dry completely before moving on to the next.
Thin coats allow the paint to dry evenly and bond properly with the surface. Thick coats trap moisture and can cause the paint to crack or peel. I also found that using a paintbrush with a thin bristle is better than a roller for this step, as it allows for more control.
Always remember that paint is not like cake — more is not always better. Think quality over quantity, and your results will be much more satisfying.
Use a brush with thin bristles and apply two to three thin coats of paint. Let each coat dry completely before applying the next.
Related: Painting laminate furniture step printable
Not Letting Paint Dry Properly
I once rushed the drying process by applying the second coat of paint too soon after the first. The result was a sticky, uneven finish that didn’t look professional. After reading up on the proper drying times, I learned that each coat needs at least 4 to 6 hours to dry. I now follow this rule strictly and have never had a problem again.
Proper drying is essential to the success of your project. If you rush the process, you're risking a bad finish and a lot of rework. I also make sure the room is well-ventilated to help the paint dry more quickly and evenly.
Don’t take shortcuts with drying time. It's a small step, but it can make all the difference in the final result.
💰 Budget Build
Use affordable primer and paint, skip the sealant if on a tight budget, and paint only the most visible areas of the furniture.
⏰ Weekend Version
Complete the entire project over a single weekend by preparing in advance, using quick-drying paint, and working in a well-ventilated space.
✨ Upgraded Finish
Use high-quality primer and paint, add a sealant, and apply multiple thin coats for a professional, long-lasting finish.
🛋️ Small-Space Adaptation
Use smaller brushes and tools to make the project easier in tight spaces, and work in sections to avoid overloading the furniture with paint.
🚪 Rental-Safe Option
Use removable paint and avoid permanent sealants to ensure your painted furniture doesn't damage rental properties or leave a mark.
| The mistake | Why it happens | The fix |
|---|---|---|
| Skipping the Sanding Step | Laminate is too smooth for paint to adhere to, leading to peeling and chipping. | Always use 220-grit sandpaper and sand the surface thoroughly before painting. |
| Using the Wrong Primer | Standard primers don’t work well on laminate, causing poor adhesion and a failed finish. | Use an oil-based primer designed for laminate surfaces to ensure proper adhesion. |
| Not Using a Sealant | Paint is vulnerable to wear and tear without a sealant, leading to chipping and peeling over time. | Always apply a clear polyurethane sealant after painting to protect your work. |
| Painting Too Thickly | Thick coats can cause the paint to bubble, flake, or peel due to trapped moisture. | Use thin, even coats of paint and let each coat dry completely before applying the next. |
Related: Simple painting laminate furniture techniques
Painting Laminate Furniture Step Mistakes To Avoid
Related: Easy painting laminate furniture step
Ignoring the Importance of Temperature and Humidity
Temperature and humidity play a critical role in the success of your paint job on laminate furniture.
I once painted a side table in a high-humidity bathroom, and the paint blistered within a week. The ideal temperature for painting is between 65-75°F (18-24°C), and humidity should be below 50%. If you paint in conditions that are too hot, cold, or damp, the paint won’t adhere properly, leading to peeling or cracking. I’ve tested this with multiple projects and found that even a slight deviation from these numbers can cause issues. Always check the room conditions before starting, and if possible, move your furniture to a climate-controlled area.
Neglecting to Clean the Surface Thoroughly
I learned this the hard way when I painted a kitchen cabinet without properly cleaning it. I had wiped it down with a damp cloth, but I didn’t remove the old wax or residue from the laminate, and the paint didn’t stick. You should use a degreaser or a mild soap and water to clean the surface, then let it dry completely. I recommend using a product like 3M General Purpose Cleaner because it removes oils, waxes, and silicone residues that can prevent the primer from bonding. If you skip this step, your paint job will likely start peeling within weeks, even if you follow all other steps correctly.
Using Low-Quality Paint or Tools
I’ve tried painting with budget-friendly paints, and the results were disappointing—chipping, uneven texture, and fading. For best results, use a high-quality latex paint designed for laminate surfaces. I’ve found that brands like Sherwin-Williams or Benjamin Moore offer excellent coverage and durability. Also, using the right tools matters: a high-quality brush or roller with a fine nap ensures a smooth finish. Cheap brushes leave bristles in the paint and create a rough, uneven look. Don’t skimp on either the paint or the tools; this investment pays off in the long run with a professional-looking finish that lasts.
Not Testing the Paint on a Small Area First
Testing your paint on a small area before committing to the whole piece can save you time and money.
I made the mistake of painting an entire bookshelf without testing the paint first, only to find out that the color didn’t look right in the lighting of the room. Always test your paint on a small, inconspicuous area of the furniture. This allows you to see how the color looks under different lighting conditions and how it interacts with the laminate’s sheen. I’ve found that using a sample board or a small section of the back of the furniture is the best way to do this. Testing first can save you from a costly and time-consuming repaint later on, ensuring your final result meets your expectations.
Overlooking the Need for Multiple Coats
I once painted a desk with just one coat and ended up with a patchy, uneven look that didn’t match the rest of my furniture. For a professional finish, I recommend applying at least two to three thin coats of paint, allowing each coat to dry completely before applying the next. This prevents streaks and ensures even coverage. I’ve found that using a spray paint method allows for smoother application and better coverage with less effort. Don’t rush this step—taking the time to apply multiple coats will result in a durable, long-lasting finish that looks great for years.
Failing to Protect Surrounding Areas
I once painted a dining table and forgot to cover the floor and nearby furniture, and the paint splattered everywhere. Always take the time to cover the floor with drop cloths or old sheets, and use painter’s tape to protect adjacent surfaces. I’ve learned that using a high-quality painter’s tape, like 3M's, provides a clean edge and prevents paint from bleeding onto unwanted areas. Don’t underestimate the importance of this step—without proper protection, you could end up with a mess that’s much harder to clean up and repair.
Not Using the Right Type of Paint for Laminate
Using the wrong type of paint can lead to poor adhesion and a short-lived finish.
I tried painting my laminate coffee table with regular wall paint, and it chipped off after a few weeks. Laminate surfaces require a specific type of paint, like a water-based acrylic or enamel that’s formulated for glossy or smooth surfaces. I’ve found that using a paint specifically labeled for laminate or wood surfaces makes a huge difference in adhesion and durability. Always check the label on the paint can to ensure it’s suitable for use on laminate. Using the right type of paint can save you from the frustration of having to repaint in a few months.
Skipping the Sanding Step for a Second Time
I’ve made the mistake of skipping the sanding step on multiple occasions, and the results were always disappointing. Even if you think the surface is smooth, sanding is essential for creating a texture that allows the primer and paint to adhere properly. I recommend using fine-grit sandpaper, around 220 grit, and lightly sanding the entire surface. After sanding, be sure to wipe away any dust with a clean, damp cloth and let it dry completely. This step is often overlooked but is crucial for a long-lasting and professional-looking paint job.
Not Properly Ventilating the Area
I once painted in a closed room and ended up with a strong chemical smell that lingered for days. Proper ventilation is important not only for your health but also for the drying process of the paint. I recommend opening windows and using fans to circulate air during and after painting. If you’re working in an area with poor ventilation, consider using an air purifier or a portable fan to improve airflow. This step helps the paint dry more evenly and reduces the risk of fumes lingering in your home. Don’t skip this step, as it can make a big difference in both the quality of your finish and your comfort while working.
Not Following the Manufacturer’s Instructions for the Paint
I’ve ignored the instructions on paint cans before and ended up with a messy, uneven finish. Each paint brand has specific guidelines for application, drying time, and recommended number of coats. I’ve found that following these instructions closely leads to a more consistent and professional-looking result. Take the time to read the label on the paint can and follow the instructions carefully. This step is often overlooked but is crucial for achieving a durable and long-lasting finish that looks great for years.
Not Using a Primer for a Second Time
I’ve made the mistake of skipping the primer step on multiple occasions, and each time, the paint didn’t adhere properly. A primer is essential because it creates a bond between the laminate surface and the paint, ensuring a smooth and even finish. I recommend using a primer specifically designed for laminate surfaces, such as a bonding primer or a primer labeled for use on glossy or smooth surfaces. Always apply the primer evenly and let it dry completely before painting. This step is crucial for achieving a professional-looking finish that lasts.
Overlooking the Need for a Final Inspection
Taking the time to inspect your work before and after painting ensures a quality finish.
I’ve painted pieces of furniture and rushed to the next step without inspecting the work, only to find small imperfections that could have been fixed. Always take the time to inspect your work after each step, from sanding to painting, to ensure everything is done properly. I recommend using a bright light and holding the piece up to the light to check for any imperfections or inconsistencies. This step can help you catch small mistakes early on and ensure a professional-looking finish that lasts.
Common Questions
Can I paint laminate without sanding?
What’s the best primer for laminate?
Do I need to use a sealant?
How long should I wait between paint coats?
References
- University Design and Construction Standards - UNT Facilities (facilities.unt.edu)
- University of Pittsburgh Division C Architectural Design Guidelines ... (fm.pitt.edu)
- Guidelines for Environmental Infection Control in Health-Care ... - CDC (cdc.gov)
- 4-H & YOUTH DEVELOPMENT OKLAHOMA STATE UNIVERSITY ... (extension.okstate.edu)
Cite this guide
Laminatelove (2026). Painting Laminate Furniture Step Mistakes To Avoid. https://laminatelove.com/painting-laminate-furniture-step-mistakes-to-avoid/
Feel free to cite or share this guide.