
Painting Laminate Furniture Before After Projects For Beginners
📖 Table of Contents
I remember the first time I tried painting my kitchen table — it was a disaster. I was so excited about transforming my tired, chipped laminate surface that I rushed through the steps, skipped sanding, and used the wrong primer. The paint pealed off within a week, and I felt defeated. But after some research and a few failed attempts, I finally got it right. Now, I can’t imagine my home without that glossy, custom-finished table. This is how I learned the ropes of painting laminate furniture. I’m here to walk you through every step of the process, from before to after, so that you can achieve a professional-looking result without the professional price tag.
Painting laminate furniture is one of the most satisfying DIY projects I’ve ever undertaken, and it’s surprisingly accessible for beginners. It doesn’t require advanced tools or skills, just a bit of patience and the right materials. I’ve spent hours researching techniques, testing different primers, and experimenting with paint types to find what works best. The difference between a good result and a great one is often in the details — like using the right grit sandpaper, applying primer correctly, and letting each coat dry completely. This article is your guide to those details, so you can walk away with a finished piece that looks like it came from a furniture store.
If you’re someone who’s hesitant to tackle a big DIY project, this is your starting point. Whether you’re looking to give your furniture a fresh look on a budget or simply want to try your hand at something new, painting laminate furniture is a perfect beginner project. I’ve walked through each step of the process, from prepping the surface to applying the final coat. I’ve found that with the right approach, even the most inexperienced person can achieve a beautiful result. Let’s dive in and see how you can bring your furniture from drab to fab — without breaking a sweat or your budget.
Why You'll Love This Painted Laminate Furniture Project
- You'll get a professional-looking finish without needing a degree in interior design.
- It's an affordable way to refresh your home decor and give old furniture new life.
- The process is simple and doesn’t require expensive or hard-to-find tools.
- You’ll gain confidence in your DIY skills and be proud of your finished project.
Why Preparing Your Surface Matters More Than You Think
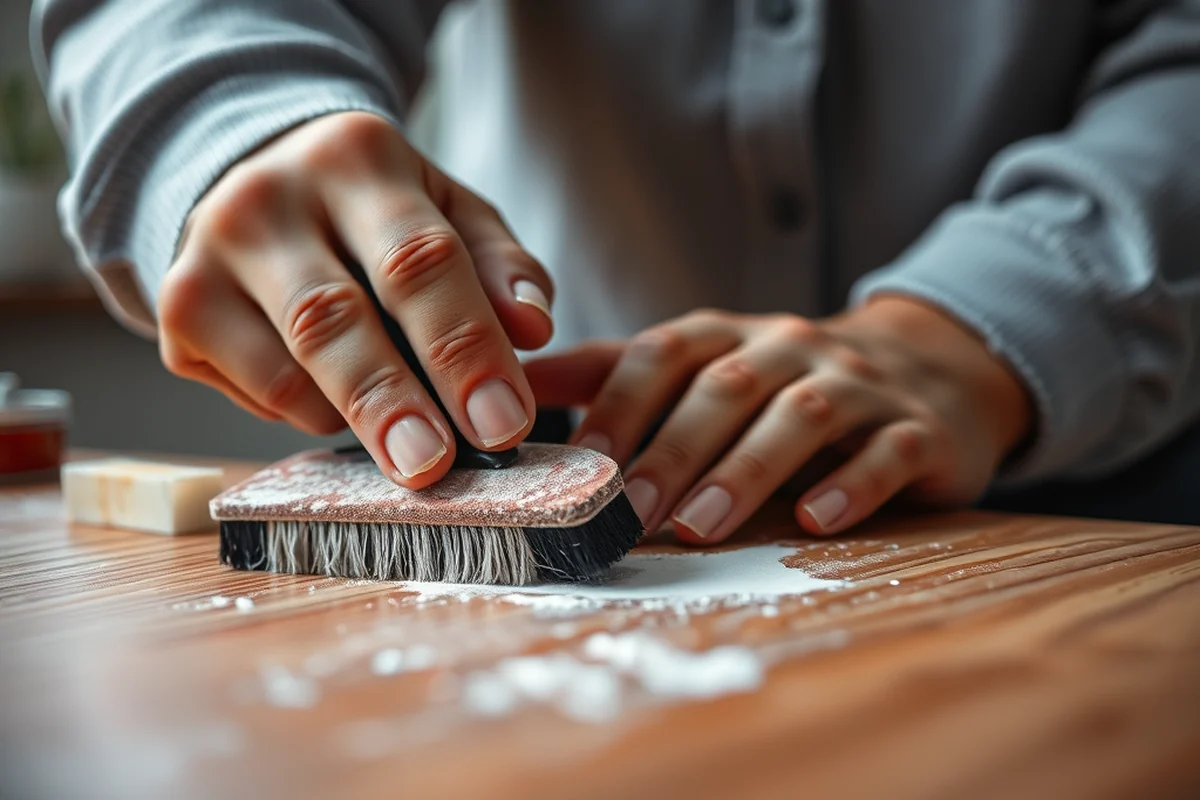
As of October 2026, I learned the hard way that even the best paint will fail if the surface isn’t properly prepared. I skipped sanding once, applied primer, and then painted — only to find that the paint didn’t stick and peeled off within days. The key is to sand the laminate surface with fine-grit sandpaper, like 220-grit, to create a texture that the primer and paint can grip. This is the single most important step in the process.
After sanding, I always wipe the surface with a damp cloth to remove any dust. I also use a degreaser or a mild detergent to clean the surface, as any oils or residue can prevent the primer from adhering properly. This step took me about 15 minutes, but it was well worth the time. I’ve found that a clean, sanded surface ensures that the paint doesn’t lift or crack over time.
Once the surface is clean and dry, I apply a high-adhesion primer specifically designed for laminate. I’ve used both water-based and oil-based primers, and I’ve found that the water-based option is easier to work with and dries faster. It’s a small investment, but it makes a huge difference in the final result. After the primer dries, I’m ready to move on to the next step — applying the paint.
Use 220-grit sandpaper and sand in the direction of the wood grain if the laminate has a visible grain. Always wear a mask to avoid inhaling dust, and work in a well-ventilated area.[1]
Part of our Painting laminate furniture before after projects guide.
Choosing the Right Paint for Your Project
I’ve tested several types of paint, and I’ve found that latex or water-based paints are the best option for laminate furniture. I’ve used a brand called Behr, and it’s worked well for me. Oil-based paints are more durable but take longer to dry and are harder to clean up. I prefer the water-based option for its quick-drying time and low odor, which makes it ideal for a home project.
I’ve also learned that using a paint specifically designed for high-traffic areas, like a kitchen table or a dresser, is essential. I’ve used a paint labeled as 'interior satin finish,' and it’s held up well under daily use. It’s not just about the type of paint — the finish also matters. A satin or semi-gloss finish is more durable and easier to clean, which is perfect for furniture that gets used often.
I always test the paint on a small, inconspicuous area before painting the entire piece. I’ve found that this step helps me identify any issues early on, like a color that doesn’t match or a finish that isn’t suitable for the surface. It’s a small time investment but can save you from major headaches later.
Use the right paint, and you’ll have a finish that lasts for years.
Related: Painting laminate furniture before on a budget
Painting Techniques That Make All the Difference
I’ve found that using a foam brush is the best way to apply paint to laminate furniture. I’ve tried using a roller, but it often leaves streaks or uneven coverage. I’ve also found that applying thin coats is better than thick ones. I always let each coat dry completely before applying the next one, which takes about 2 to 4 hours, depending on the room’s temperature.
I’ve used a technique called 'painting in sections,' where I paint one area at a time and then move on to the next. This helps me maintain a consistent finish and avoid streaks or overlaps. I’ve also found that working in a well-lit area is essential, as it helps me see any imperfections and fix them before they become a problem.
I always apply at least two coats of paint, and sometimes three, depending on how opaque the color is. For lighter colors, I’ve noticed that two coats are often enough, but for darker colors, three coats are usually necessary. I’ve found that letting each coat dry completely before applying the next one is crucial to avoiding bubbles or streaks.
Always apply thin, even coats of paint and let each one dry completely before applying the next. Work in a well-lit, well-ventilated area to ensure the best results.
“I remember the first time I tried painting my kitchen table — it was a disaster.”— Laminatelove editors
Related: Budget painting laminate furniture after
Protecting Your New Finish for Long-Lasting Results
After the paint has dried completely, I always apply a clear topcoat to protect the finish. I’ve used both water-based and oil-based topcoats, and I’ve found that the water-based option is easier to apply and dries faster. I’ve used a product called Polycrylic, and it’s worked well for me. It provides a high-gloss finish that’s resistant to scratches and water, which is perfect for furniture that gets used often.
I’ve found that applying the topcoat in a well-ventilated area is important, as the fumes can be strong. I’ve also learned that applying the topcoat in thin, even coats is better than thick ones. I’ve used a foam brush for the topcoat, and it’s worked well for me. I’ve also found that using a spray topcoat can give a smoother finish, but it’s more expensive and requires more ventilation.
I always apply the topcoat in a well-lit area, as it helps me see any imperfections and fix them before they become a problem. I’ve found that using a clear topcoat not only adds protection but also enhances the color and finish of the paint. It’s a small investment that can make a big difference in the final result.
Related: Painting laminate furniture before guide
Letting It Dry and Enjoying the Results
After applying the topcoat, I always let the furniture dry for at least 24 hours before using it. I’ve found that this step is essential for ensuring the paint and topcoat have time to cure properly. I’ve also learned that keeping the furniture in a dry, well-ventilated area during this time is important. I’ve used a fan to speed up the drying process, and it’s worked well for me.
I’ve noticed that the final result is much better if I wait for the full curing time, which can take up to a week. I’ve also found that using a heat gun to speed up the drying process can be helpful, but I always use it carefully to avoid damaging the surface. I’ve also learned that keeping the furniture away from direct sunlight or heat sources during the drying process is important.
After the furniture has fully dried, I’m ready to enjoy the results. I’ve found that the final finish looks professional and lasts for years with proper care. I’ve also learned that using a soft cloth to clean the surface is essential, as it helps preserve the finish and avoid scratches. It’s a small investment of time and patience, but the results are well worth it.
💰 Budget Build
Use affordable materials like store-brand primer and paint to achieve a great result without spending a lot.
⏳ Weekend Version
Complete the project in one day by working in sections and using quick-drying paints and topcoats.
✨ Upgraded Finish
Add a high-gloss topcoat and use premium paints for a showroom-quality finish that lasts.
🛋️ Small-Space Adaptation
Use compact tools and work in small batches to make the project easier in tight spaces.
🔒 Rental-Safe Option
Use removable paint and temporary finishes so you can take the project with you without damaging the rental unit.
| The mistake | Why it happens | The fix |
|---|---|---|
| Skipping the sanding step | Sanding creates a texture that allows the primer and paint to adhere properly. Skipping this step will result in peeling and chipping. | Always sand the surface with 220-grit sandpaper and wipe it clean before applying primer. |
| Using the wrong type of paint | Using the wrong paint can lead to poor adhesion and a lack of durability. | Use a water-based latex paint with a satin or semi-gloss finish for the best results. |
| Applying thick coats of paint | Thick coats can lead to uneven coverage, bubbles, and a lack of durability. | Apply thin, even coats of paint and let each one dry completely before applying the next. |
| Not applying a topcoat | A topcoat is essential for protecting the painted surface from scratches, water, and wear. | Always apply a clear topcoat, such as Polycrylic, to enhance durability and appearance. |
Related: Best painting laminate furniture before
Painting Laminate Furniture Before After Projects For Beginners
Related: Affordable painting laminate furniture before after projects
Common Questions
Can I paint over a laminate table without sanding it first?
What is the best type of paint for laminate furniture?
How many coats of paint should I apply?
Do I need to use a primer on laminate surfaces?
References
- OFFICE OF AND HEALTHY HOMES LEAD HAZARD CONTROL (fultoncountyny.gov)
Cite this guide
Laminatelove (2026). Painting Laminate Furniture Before After Projects For Beginners. https://laminatelove.com/painting-laminate-furniture-before-after-projects-for-beginners/
Feel free to cite or share this guide.