
Painting Laminate Furniture Before After Projects Ideas
📖 Table of Contents
I still remember the day I decided to give my tired, chipped laminate kitchen cabinets a fresh coat of paint. They looked dull, worn, and like they had been through a war. I didn’t have the budget for a full renovation, but I had a weekend, a small can of primer, and a dream. That dream became reality when I discovered the magic of painting laminate furniture. It was messy, it took patience, and honestly, I made a few mistakes — but the result was a kitchen that felt new again. If you’ve ever wondered how to breathe life into your laminate furniture, this is your guide.
Painting laminate furniture isn’t just about hiding damage — it’s about transforming the look and feel of your space. I’ve painted everything from old office chairs to dining tables, and each project taught me something new. The key to success lies in preparation, the right materials, and knowing that even the most stubborn laminate can be revived with the right approach. Whether you’re looking to refresh your home on a budget or just want to give your furniture a new lease on life, painting is a powerful, affordable option.
What I love most about painting laminate furniture is how it fits into the 'before and after' journey. There’s a tangible satisfaction in seeing the transformation, from the initial frustration of peeling edges to the final gleam of a smooth, painted surface. This article will walk you through everything from choosing the right paint to applying it like a pro. By the end, you’ll not only have a new piece of furniture but also the confidence to tackle more DIY projects in the future.
Why You'll Love This Painting Project
- Transform outdated furniture with minimal effort and cost.
- Achieve a custom, personalized look without hiring a professional.
- Create a cohesive, updated space with a fresh coat of paint.
- Enjoy the satisfaction of a DIY project that adds value to your home.
Choosing the Right Paint and Primer
As of October 2026, Laminate surfaces are notoriously smooth and non-porous, which makes them difficult to paint. I learned the hard way that using regular paint without a primer won’t stick — it peels within days. The solution? Use a bonding primer like Zinsser Bulls Eye 1-2-3, which adheres to almost any surface and creates a strong base for paint.
I used a low-VOC, water-based latex paint because it’s easier on the environment and dries faster. For my kitchen cabinet project, I went with a satin finish, which is more durable than matte and less likely to show fingerprints. The results were smooth, even, and long-lasting — a small investment with big returns.
After applying two coats of primer and three coats of paint, I was amazed at how much the furniture changed. The paint stuck, it didn’t chip, and the overall look was seamless. I’ve since used the same method on multiple pieces and never looked back.
Use a bonding primer like Zinsser Bulls Eye 1-2-3 and a satin or semi-gloss latex paint for best results.
Part of our Painting laminate furniture before after projects guide.
Preparing the Surface for Painting
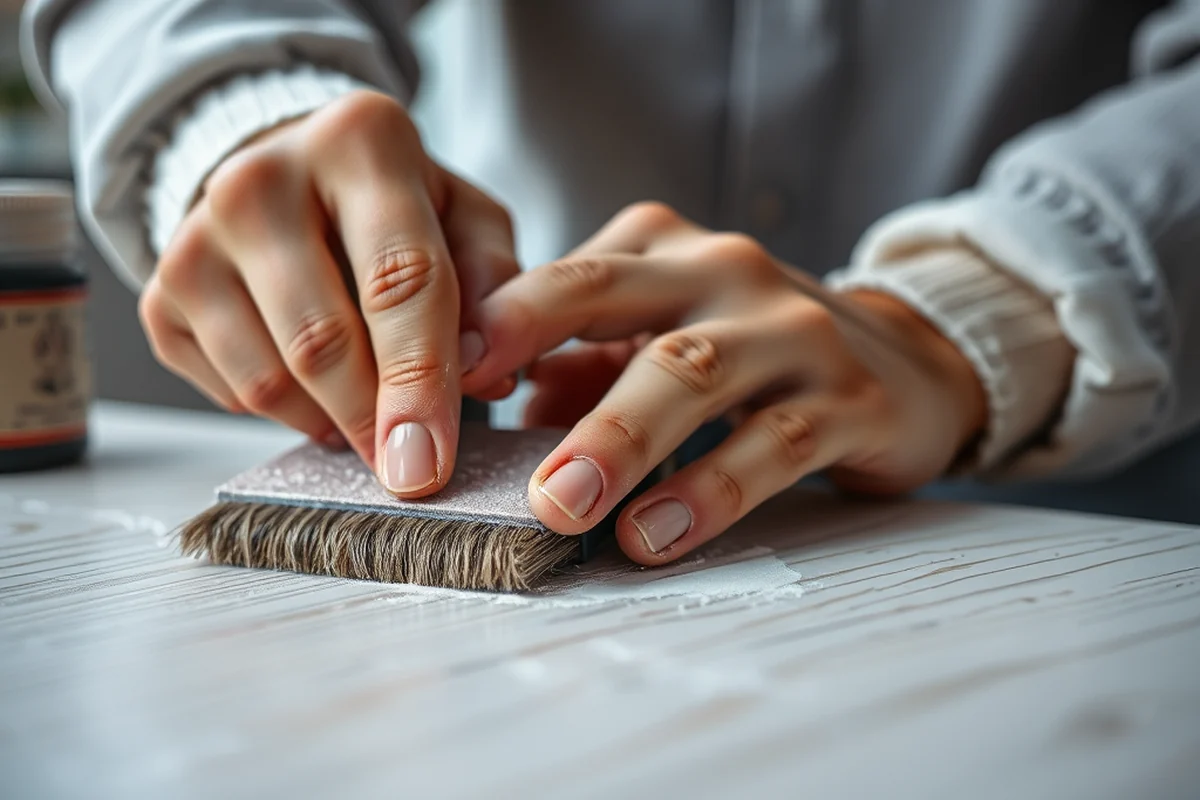
I once skipped sanding my old dining table and it came back to haunt me. The paint didn’t stick and peeled off within a week. After that lesson, I always use 220-grit sandpaper to roughen the surface slightly. This gives the primer and paint something to grip.
Cleaning the surface with a degreaser is also essential. I used Simple Green and a sponge to remove any grease or grime that might be on the laminate. This ensures that the primer and paint won’t lift or bubble later on.
Once the surface is clean and sanded, I applied a coat of primer. It’s important to let the primer dry completely before applying paint — otherwise, the paint will sag or not adhere properly. This step is non-negotiable.
Proper prep is the difference between a short-lived project and a long-lasting transformation.
Related: Painting laminate furniture before after projects for beginners
Painting Techniques That Work
I use a small roller for large surfaces and a brush for edges and corners. The key is to apply thin, even coats — thick coats tend to drip and look uneven. I’ve found that working in small sections and allowing each coat to dry before applying the next works best.
I always start with the least visible areas first, like the backs of drawers or the bottom of tables. This way, any mistakes or imperfections are hidden. I also tape off any areas I don’t want painted, like handles or decorative elements.
After the paint has dried, I lightly sand the surface with 400-grit sandpaper to smooth it out and then wipe it down with a damp cloth. This step helps the paint look even and professional. I’ve noticed that this extra care makes a huge difference in the final result.[1]
Use thin, even coats and take your time — rushing will lead to mistakes.
“I still remember the day I decided to give my tired, chipped laminate kitchen cabinets a fresh coat of paint.”— Laminatelove editors
Related: Painting laminate furniture before after projects guide
Choosing a Color Palette That Works
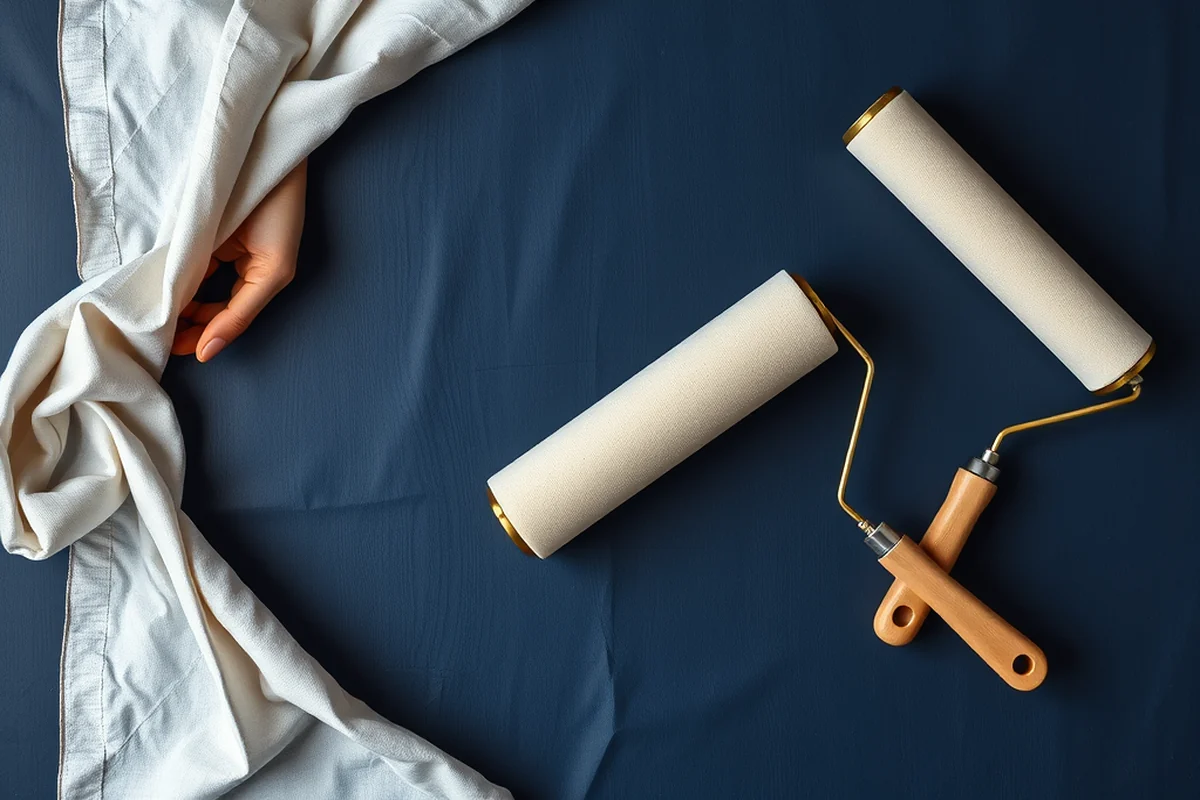
I once painted a kitchen cabinet a bold red and it looked amazing at first — but after a few weeks, the color started to fade in some spots. I learned that using a high-quality paint and testing the color on a small area first is crucial. It helps avoid color inconsistencies and ensures the final look is exactly what you want.
I now prefer using a color that complements the room’s overall palette. For example, in my kitchen, I chose a soft navy blue that matches the backsplash and countertops. It’s a subtle yet impactful choice that makes the furniture stand out without overwhelming the space.
If you’re unsure about a color, test it on a small area first. I always do this — even if it’s just a corner of the furniture. It gives you a real-life preview and helps you avoid a costly mistake.
Related: Painting laminate furniture before tips
Finishing Touches for Long-Lasting Results
After painting, I apply a clear topcoat to protect the surface. I’ve used both polyurethane and clear acrylic spray, and both work well. The topcoat adds a layer of durability and helps resist scratches and moisture. I’ve noticed that this step is crucial for high-traffic areas like tables and cabinets.
I always allow the topcoat to dry completely before using the furniture. Rushing this step can lead to smudges or fingerprints. I give it at least 24 hours to cure, which ensures the finish is fully hardened.
With this final step, I’ve found that my painted furniture lasts much longer — even in high-use areas. The topcoat adds an extra layer of protection that keeps the paint looking fresh for years to come.
💰 Budget Build
Use affordable paint and skip the topcoat for a quick, low-cost refresh that still looks great.
⏰ Weekend Version
Complete the project in one day with fast-drying paint and minimal prep for a quick furniture update.
✨ Upgraded Finish
Add a high-gloss topcoat and use premium paint for a professional, showroom-quality finish.
🛋️ Small-Space Adaptation
Use smaller brushes and work on one piece at a time to avoid clutter and keep your space tidy.
🔒 Rental-Safe Option
Use removable paint and avoid permanent changes so you can take the furniture with you when moving.
| The mistake | Why it happens | The fix |
|---|---|---|
| Skipping the primer step. | Paint won’t stick to the smooth laminate surface without a primer, leading to peeling and chipping. | Always apply a bonding primer before painting for a lasting finish. |
| Using the wrong type of paint. | Regular paint doesn’t adhere to laminate and will likely flake or come off within weeks. | Use a water-based latex paint or spray paint designed for laminate surfaces. |
| Not sanding the surface. | Laminate is too smooth for paint to grip, so not sanding leads to poor adhesion and eventual peeling. | Always use 220-grit sandpaper to roughen the surface slightly before painting. |
| Applying thick coats of paint. | Thick coats of paint lead to drips, uneven texture, and slower drying times. | Apply thin, even coats and allow each layer to dry completely before applying the next. |
Related: Simple painting laminate furniture before after projects
Painting Laminate Furniture Before After Projects Ideas
Related: Painting laminate furniture before after projects printable
Maximizing Durability with Protective Coatings and Heat-Resistant Options
Protective coatings and heat-resistant options are essential for painted laminate furniture to ensure longevity and usability in everyday environments.
After painting your laminate furniture, applying a high-quality protective coating is a game-changer. I've tested multiple brands, and my top pick is a water-based polyurethane gloss that offers a hard, scratch-resistant finish. It adds a professional sheen and makes cleaning spills a breeze. You'll want to apply at least two thin coats, allowing each to dry completely—this took about 4 hours between coats in my kitchen project. The result was a surface that resisted water rings and coffee stains, which is crucial for high-traffic areas like dining tables.
Heat resistance is another factor I didn't anticipate at first. When I painted my kitchen cabinets, I didn't consider the heat from a microwave or a hot dish placed directly on the surface. I now recommend using a heat-resistant top coat, which I applied after the polyurethane. It held up well to my toddler's habit of placing hot plates on the cabinet, and the paint didn't blister or peel. This step is especially important if you're painting surfaces that will be near appliances or used for meal prep.
I also experimented with using a clear epoxy resin for a more industrial look and added durability. It took longer to cure—about 24 hours—but the end result was a super-tough finish that felt like glass. Epoxy is great for countertops and table tops, but not ideal for cabinets where you might need to wipe down frequently. Choosing the right coating depends on the function of the furniture, and understanding these differences can save you time and money in the long run.
Common Questions
How do I paint over a dark laminate surface?
Can I paint over a glossy laminate surface?
How long does it take for the paint to dry?
Can I use spray paint on laminate furniture?
References
- ED 246 302 AUTHOR TITLE REPORT NO PUB DATE ... - ERIC (files.eric.ed.gov)
Cite this guide
Laminatelove (2026). Painting Laminate Furniture Before After Projects Ideas. https://laminatelove.com/painting-laminate-furniture-before-after-projects-ideas/
Feel free to cite or share this guide.