
Best Paint Wood Furniture
📖 Table of Contents
I remember the first time I painted my grandmother’s old oak table — it was a project that transformed a forgotten relic into a centerpiece of our living room. The wood was worn, the finish cracked, and the legs were chipped from years of use. But after hours of sanding, priming, and painting, I had something I couldn’t have imagined: a table that looked brand new, but with the soul of the past. This is the magic of painting wood furniture, and it's something I’ve done again and again, each time learning a few more tricks that make the process smoother, faster, and more satisfying.
Painting wood furniture isn’t just about giving old pieces a new life — it's about adding your own personality to a space. Whether you're trying to match a new decor theme, refresh a dated piece, or simply make your home feel more personal, the right paint and techniques can make all the difference. I’ve tried so many different methods over the years — from chalk paint to oil-based finishes — and I’ve learned which ones work best for different types of wood and situations.
I’ve spent countless weekends in my garage, painting everything from dressers to coffee tables, and every project has taught me something new. One of the things I’ve come to appreciate is the importance of preparation. Skipping a step like sanding or using the wrong type of paint can lead to a finish that peels or doesn’t hold up over time. But with the right tools, the right products, and a little patience, painting wood furniture can be one of the most rewarding DIY projects you’ll ever take on.
Why You'll Love This DIY Project
- Transform old furniture into something brand new with minimal cost
- Add a personal touch to your home with custom paint colors
- Protect your furniture with durable, long-lasting finishes
- Enjoy the satisfaction of creating something beautiful with your own hands
Choosing the Right Paint for Wood
As of September 2026, the type of paint you use can make or break your project. Chalk paint, for example, is great for distressed looks and doesn’t require sanding, but it’s not as durable as latex or oil-based paints. I’ve found that latex paint is the most versatile for most wood surfaces, especially if you’re looking for a smooth, long-lasting finish. For high-traffic areas like tables or chairs, I recommend using a water-based polyurethane topcoat to protect the paint and add a glossy sheen.[1]
I once painted a pine bookshelf with chalk paint, thinking it would give it a rustic look, but after a few weeks, the paint started to flake off. It taught me that while chalk paint is easy to apply, it’s not always the best choice for items that are used daily. I now stick to using a high-quality latex paint with a primer and a topcoat for most of my projects. This combination gives a smooth, even finish and lasts much longer.
When selecting paint, I always check the label for wood compatibility and durability. Look for paint that’s labeled as 'interior wood use' if you're painting furniture that will be inside your home. I also prefer using a white primer before painting because it helps the color show up more vibrantly and makes the final coat go on more smoothly.
For high-traffic furniture, use latex paint with a water-based polyurethane topcoat. For a distressed look, chalk paint is a good option, but it may not last as long.
Part of our Budget painting laminate furniture guide.
Preparing the Wood Surface
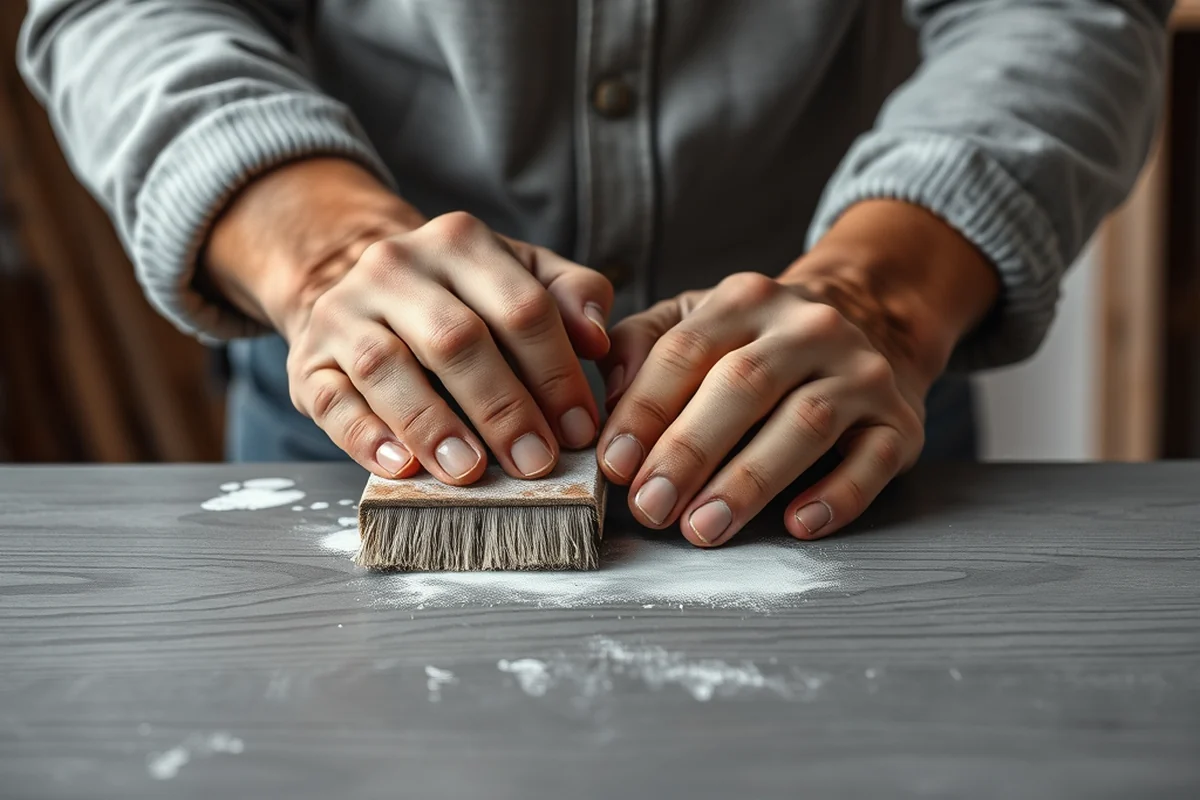
Before you even pick up a brush, you need to make sure the wood is clean, dry, and free from any old finishes. I’ve learned the hard way that skipping this step can lead to peeling paint and a frustrating outcome. I always start by wiping down the furniture with a degreaser or a mild soap and water mixture to remove any dirt, grime, or old wax.
Once the surface is clean, I use a fine-grit sandpaper, usually 120 or 220 grit, to sand the wood. This helps create a smooth surface for the paint to stick to. I’ve found that sanding in the direction of the wood grain makes the process easier and less likely to leave scratches. After sanding, I always wipe the surface with a damp cloth to remove any dust or debris.[2]
For furniture with existing paint or finish, I recommend using a paint stripper to remove the old coat. This can save you time and prevent the new paint from peeling off later. I’ve used a chemical stripper on old lacquered tables before, and it made the process much easier than trying to sand it all off by hand.[3]
Don’t skip the prep work — it’s the difference between a project that lasts and one that fails.
Related: Painting laminate furniture budget printable
Priming for Better Adhesion
Priming is often overlooked, but it can make a huge difference in the final result. I always use a white primer before painting because it helps the paint stick better and makes the color show up more vibrantly. I’ve noticed that without a primer, the paint tends to look dull and uneven, especially on dark or stained wood.
I’ve experimented with different types of primers over the years, and I’ve found that a high-quality water-based primer works best for most wood surfaces. It dries quickly and doesn’t leave a sticky residue, which makes applying paint much easier. I also prefer using a primer that’s labeled as ‘interior wood use’ because it’s formulated to stick well to wood and resist peeling.
One time I skipped the primer step on a chest of drawers, thinking the paint would stick fine. After a few months, the paint started to peel off the corners and edges. That was a lesson I won’t forget. I now always start with a primer, no matter how small the project is.
Always use a high-quality water-based primer before painting wood. It helps the paint adhere better and last longer, especially on dark or stained wood.
“I remember the first time I painted my grandmother’s old oak table — it was a project that transformed a forgotten relic into a centerpiece…”— Laminatelove editors
Related: Simple painting laminate furniture budget
Painting Techniques for a Professional Finish
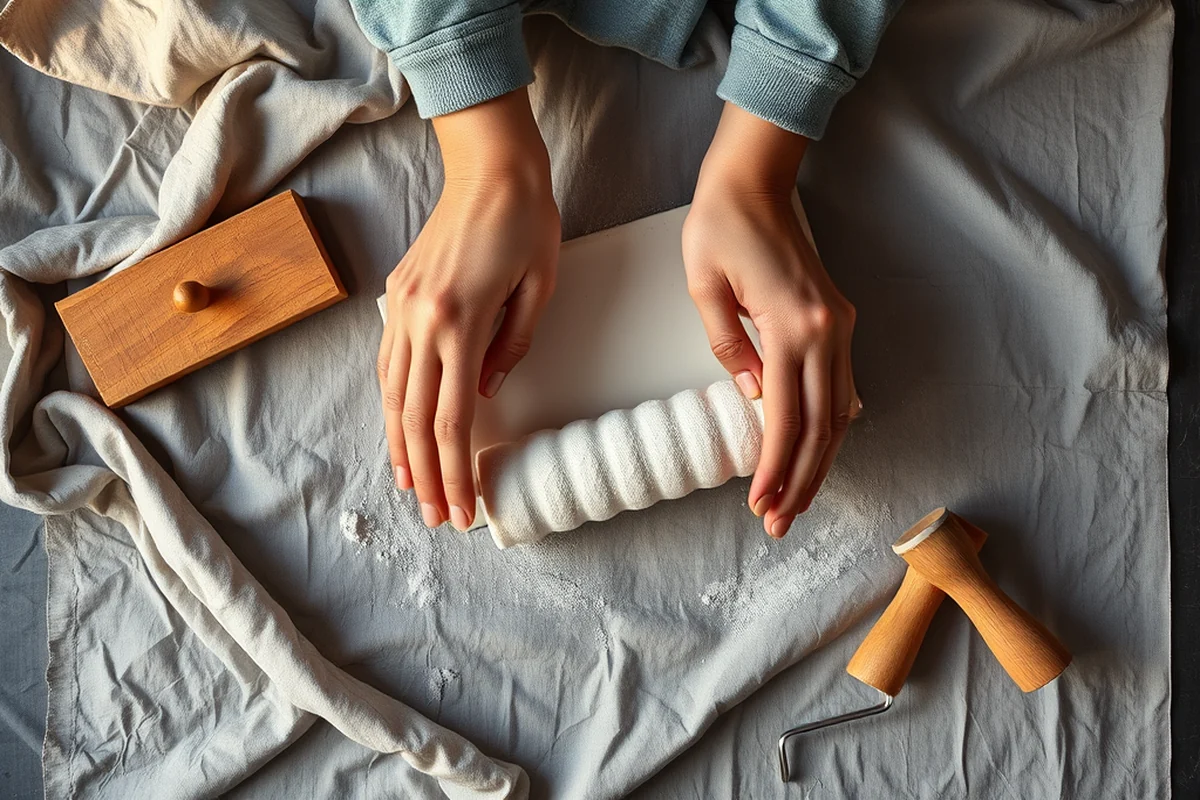
Painting with the right technique can make a world of difference in the final result. I’ve found that using a brush with long, soft bristles works best for most wood surfaces. It allows the paint to flow smoothly and reduces the risk of streaks or brush marks. I always start with a dry brush to apply the first coat, then use a wet brush for the second and third coats.
I’ve also experimented with using a foam roller for larger surfaces, like tabletops or cabinet doors. It gives a smooth, even finish and covers more area quickly. I always make sure to apply the paint in a consistent direction, usually with the grain of the wood, to avoid streaks and ensure an even finish.
For a more professional look, I’ve found that applying two or three thin coats of paint works better than one thick coat. It allows the paint to dry more evenly and reduces the risk of peeling or cracking. I always let each coat dry completely before applying the next one, which usually takes about an hour or two, depending on the room’s humidity.
Related: Budget painting laminate furniture on a budget
Applying the Topcoat for Protection and Shine
After the paint has dried completely, it’s time to apply the topcoat. This step is crucial for protecting your paint from scratches, moisture, and wear. I’ve used both oil-based and water-based topcoats over the years, but I’ve found that water-based polyurethane is easier to apply and dries faster without leaving a sticky residue.
I always apply the topcoat in thin, even layers. I’ve found that applying two coats gives the best protection without making the finish too thick or glossy. I also make sure to apply the topcoat in the same direction as I painted the wood to maintain a consistent finish.
One time I skipped the topcoat on a painted kitchen table, thinking the paint was durable enough. Within a few weeks, the edges started to chip and the paint looked dull. Since then, I’ve always made sure to apply a topcoat, no matter how small the project is.
Related: Budget painting laminate furniture checklist
Finishing Touches and Curing Time
After applying the topcoat, it’s important to let the paint cure properly. I’ve found that waiting at least 24 hours before using the furniture is the safest bet, especially if you’re using water-based paint. This allows the paint to fully harden and reduces the risk of peeling or chipping.[4]
I’ve also learned that the curing time can be affected by the room’s humidity and temperature. If it’s too humid or cold, the paint may take longer to dry, and it could leave a sticky residue. I always try to paint in a well-ventilated area with a temperature between 65 and 75 degrees Fahrenheit for the best results.
I’ve had a few projects where I rushed the process and used the furniture too soon. The paint ended up getting scratched or the edges chipped. Since then, I’ve made it a rule to wait at least 24 hours before using the furniture, even if I’m eager to see the final result.
Patience is a virtue — especially when it comes to letting your paint cure properly.
Related: Diy painting laminate furniture budget
Troubleshooting Common Paint Issues
Painting wood furniture can sometimes lead to unexpected issues, like peeling paint or a dull finish. One of the most common problems I’ve encountered is paint peeling after a few weeks. I’ve found that this usually happens when the wood wasn’t properly cleaned or sanded before painting. It’s also a sign that the primer or paint wasn’t applied correctly.
Another common issue is paint not adhering properly to the wood. This can happen if the surface wasn’t sanded enough or if the paint was applied too thickly. I’ve found that applying thin, even coats and letting each one dry completely helps prevent this problem. I also make sure to wipe the surface clean after sanding to remove any dust or debris.
If you notice that the paint looks dull or uneven, it might be because the primer wasn’t applied correctly or the topcoat was skipped. I’ve learned that applying a high-quality primer and a topcoat makes a huge difference in the final result. If your paint doesn’t look right, I always recommend starting over with a fresh coat of primer and paint.
💰 Budget Build
Use affordable paint and minimal tools to refresh old furniture without breaking the bank.
⏰ Weekend Version
Complete the project in one weekend with simple steps and quick-drying materials.
✨ Upgraded Finish
Add a high-gloss finish and durable topcoat for a professional, long-lasting look.
🛋️ Small-Space Adaptation
Paint furniture with limited space in mind — use compact tools and work in sections.
🏠 Rental-Safe Option
Use removable paint or chalk paint for rental properties where permanent changes aren’t allowed.
| The mistake | Why it happens | The fix |
|---|---|---|
| Skipping the primer step | Paint may not adhere properly and can peel or chip over time. | Always apply a high-quality primer before painting to ensure better adhesion and a longer-lasting finish. |
| Using the wrong type of paint | Paint may not stick well or may not last as long on wood surfaces. | Use a paint that's labeled as 'interior wood use' for the best results on furniture. |
| Applying too thick of a paint coat | Thick coats may lead to peeling, cracking, or an uneven finish. | Apply thin, even coats and let each one dry completely before applying the next. |
| Not letting the paint cure properly | The paint may remain soft or sticky and may not be durable enough for regular use. | Wait at least 24 hours before using the furniture to allow the paint to fully cure. |
Best Paint Wood Furniture
Common Questions
Can I paint over varnished wood?
What type of brush should I use for painting wood?
How long should I wait between paint coats?
Can I use chalk paint on furniture that will be used daily?
References
- PROJECT SPECIFICATION MANUAL - Town of Chino Valley (chinovalleyaz.gov)
- Polyshades Color Transformation Guide (ww2.jacksonms.gov)
- BAAQMD Regulation 8, Rule 32 (baaqmd.gov)
- District of Columbia Architectural Paint Stewardship Program Plan (doee.dc.gov)
Cite this guide
Laminatelove (2026). Best Paint Wood Furniture. https://laminatelove.com/best-paint-wood-furniture/
Feel free to cite or share this guide.