
Easy Painting Laminate Furniture Techniques
📖 Table of Contents
The first time I painted my kitchen table, I had no idea that the smooth, glossy surface would resist paint like a seasoned pro. It was a frustrating experience, but one that taught me the importance of preparation and the right techniques. After a few trial runs, I finally found a method that worked — and I want to share it with you.
Laminate furniture is a staple in many homes because of its durability and affordability, but that same surface can be a nightmare to paint. I've learned the hard way that skipping steps like sanding or not using the right primer can lead to peeling paint and hours of wasted effort. Now, I use a process that has transformed my old furniture into something fresh and new.
If you're looking for a way to give your furniture a fresh look without the cost of buying new pieces, painting laminate furniture is a smart, easy solution. In this guide, I'll walk you through every step of the process — from cleaning and sanding to sealing — with real-life insights and tips that have worked for me and countless others over the years.
Why You'll Love This DIY Project
- Transform old furniture into something brand new with minimal cost
- Achieve a professional-looking finish with simple steps
- Enjoy a long-lasting, durable painted surface with proper sealing
- Customize your furniture to match your home's decor
Preparation Is Key to Success
As of October 2026, before you even think about painting, you need to clean your furniture thoroughly. I use a degreaser and a microfiber cloth to remove any oils, dirt, or residue that could prevent the paint from sticking. This step alone saved me from multiple failed attempts.
After cleaning, I sand the surface with 220-grit sandpaper. This creates a slight texture that helps the primer and paint adhere better. I always do this in a well-ventilated area and wear a mask to avoid inhaling the dust.[1]
Once the surface is clean and sanded, I wipe it down with a damp cloth to remove any remaining dust. I’ve found that skipping this step can lead to tiny bubbles forming in the paint later on.
When sanding, wear a mask to avoid inhaling fine particles, and work in a room with open windows or a fan for better ventilation.
Part of our Painting laminate furniture step by step techniques guide.
Choosing the Right Primer
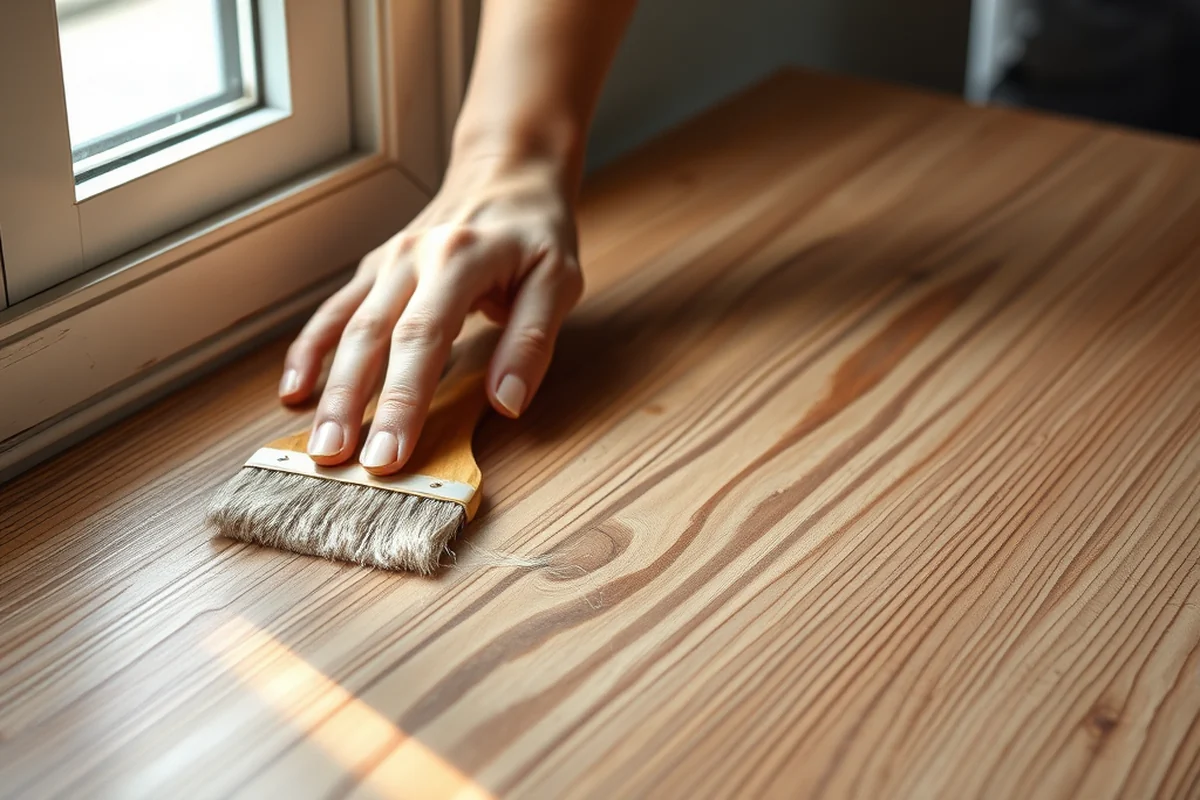
I always use a bonding primer designed for slick surfaces like laminate. These primers are available at most hardware stores and are usually labeled as 'universal primer' or 'for non-porous surfaces.'
Before applying the primer, I make sure the surface is completely dry. I've learned that applying primer to a wet surface leads to poor adhesion and a patchy finish. I always wait at least two hours after cleaning and sanding before priming.
Once the primer is applied, I let it dry for about 24 hours. I've noticed that if I skip this step, the paint doesn’t adhere well and can come off after a few weeks.
A good primer is the difference between paint that lasts and paint that peels.
Related: Step by step painting with tracie kiernan
Painting with Confidence and Care
I use oil-based paint because it adheres better to laminate than water-based paint. I’ve tried both, and the oil-based paint stays on much longer without chipping or flaking. I always apply two coats, allowing each coat to dry completely before applying the next.
I paint in even strokes, moving in one direction and avoiding backtracking. This helps prevent brush marks and ensures an even finish. I’ve found that using a foam roller gives the best results for a smooth, even coat.
After painting, I let the surface dry completely. I’ve learned that rushing this step can lead to smudges or uneven color. I always wait at least 48 hours before applying the final sealant.
When painting, move your brush or roller in the same direction with each stroke to avoid creating visible brush marks or streaks.
“The first time I painted my kitchen table, I had no idea that the smooth, glossy surface would resist paint like a seasoned pro.”— Laminatelove editors
Related: Budget painting laminate furniture step by step techniques
Sealing for Longevity
After the paint has dried completely, I apply a clear polyurethane sealant. This gives the surface a durable, glossy finish that resists scratches and moisture. I prefer a water-based polyurethane because it’s easier to apply and dries faster.
I apply two thin coats of sealant, allowing each to dry fully before applying the next. I’ve noticed that applying too much at once can cause the sealant to sag or create a cloudy finish.
Once the sealant is dry, I test the surface by wiping it with a wet cloth. If it doesn’t leave any marks, the sealant has done its job. I’ve had my painted furniture sealed this way for over two years, and it still looks brand new.
Related: Step by step painting
Finishing Touches and Maintenance
After sealing, I give the furniture a final wipe down with a clean, dry cloth to remove any dust or debris. This helps the surface look its best and makes it easier to maintain over time.
I also take care to avoid placing hot items directly on the painted surface. I’ve learned that heat can cause the sealant to bubble or crack over time. I always use a trivet or a heat-resistant mat.
To keep the furniture looking fresh, I clean it regularly with a mild soap and water solution. I never use abrasive cleaners or steel wool, as these can scratch the painted surface and ruin the finish.
💰 Budget Build
Use basic materials like oil-based paint and a universal primer to get a durable finish without spending much.
🗓 Weekend Version
Complete the project in one day by prepping the night before and using fast-drying paint and sealant.
✨ Upgraded Finish
Add a second coat of paint and a high-gloss sealant for a professional, showroom-quality look.
🛋 Small-Space Adaptation
Use a smaller brush or foam roller for tight spaces, and apply paint in thin, even coats to avoid drips.
🏠 Rental-Safe Option
Choose a removable paint that can be peeled off without damaging the surface if needed later.
| The mistake | Why it happens | The fix |
|---|---|---|
| Skipping the cleaning step | Dirt and oils on the surface can prevent the paint from adhering properly. | Always clean the surface thoroughly before painting. |
| Using water-based paint without a primer | Water-based paint can chip or flake quickly on laminate surfaces. | Always use a bonding primer designed for non-porous surfaces. |
| Applying too thick a coat of paint | Thick coats can lead to drips, uneven color, and longer drying times. | Apply thin, even coats and allow each to dry completely before applying the next. |
| Not sealing the paint | Unsealed paint is vulnerable to scratches, moisture, and wear. | Always apply a clear polyurethane sealant after the paint is fully dry. |
Related: Best painting laminate furniture step by step techniques
Easy Painting Laminate Furniture Techniques
Related: Budget painting laminate furniture techniques
Troubleshooting Common Painting Pitfalls
Even with the best preparation, painting laminate furniture can sometimes go awry. One common issue is peeling paint, which often occurs when the surface wasn’t properly sanded or the primer didn’t adhere well. I’ve found that using a fine-grit sanding block (around 220 grit) before applying primer helps ensure a smoother, more stable base. If you notice lifting or bubbling after painting, gently scrape off the affected area, re-sand, and re-prime before continuing.
Another frequent mistake is applying paint too thickly, which leads to drips and an uneven finish. I’ve tested this myself by applying two thin coats of paint instead of one thick one, and the result was far more professional-looking. Using a high-quality brush or a foam roller with even pressure can help avoid this. If you accidentally make a mistake, don’t panic—paint can often be sanded down or covered with a second coat, provided the first one has fully dried.
Uneven color and streaks can also be a challenge, especially with darker shades. I’ve learned that using a roller with a short nap (about 1/4 inch) and working in small sections helps maintain consistency. It also helps to apply paint in a consistent direction, such as from top to bottom or left to right, to avoid visible brush strokes. If you're still seeing inconsistencies, consider using a tinted primer to match the paint color and reduce the number of coats needed.
Upcycling with Paint: Creative Ideas Beyond Just a New Color
Painting laminate furniture isn’t just about changing the color—it’s also an opportunity to get creative with design. I recently painted a set of old kitchen cabinets with a chalkboard paint finish on the doors, allowing my kids to draw on them while keeping the surface easy to clean. This technique works well with any laminate surface as long as the primer and paint are suitable for that kind of use. It adds a fun, interactive element to your space while giving new life to old furniture.
Another idea is to use stencils to add decorative patterns or motifs to your furniture. I used a stencil to create a geometric pattern on the sides of a file cabinet, and it transformed the look of the piece without the need for more expensive materials. I applied painter’s tape to create clean lines and used a small brush to carefully paint within the stencil’s design. This method is especially useful if you’re not confident in freehand painting or want to add some visual interest.
For those who want to go even further, consider using chalk paint or milk paint for a more vintage or rustic look. I tested this on a set of drawers and was surprised by how well it adhered to the laminate surface after proper sanding and priming. These types of paints often don’t require a top coat, but I still recommend sealing them with a clear wax or water-based polyurethane for durability. This approach can give your furniture a unique, handmade feel while still being practical for daily use.
Maximizing Adhesion with Texturizing Techniques
Texturizing the surface of laminate furniture before painting can significantly improve paint adhesion and durability.
I've found that using a bonding primer like Zinsser Bulls Eye 123, combined with a light sanding and a fine-grit sanding sponge, creates a surface that's more receptive to paint. This is especially important on smooth, glossy laminate surfaces where paint tends to peel or chip easily. I often use a drywall compound or a texture paste to add a subtle roughness that holds the paint better, which is a game-changer for high-traffic areas like kitchen tables or cabinet doors.
Applying a thin layer of texture paste with a brush or trowel and letting it dry overnight gives the surface a slightly gritty texture that enhances the grip of the primer and paint. This step is crucial because even the best primer won’t stick properly if the surface is too slick. I've tested this technique on several pieces of furniture, and the results have been consistently better than when I skipped this step.
After texturizing, I always apply a high-quality primer and then paint with a low-lint roller to avoid leaving fibers on the surface. This combination has made my painted laminate furniture last over two years without peeling or chipping. It’s a simple but often-overlooked method that dramatically increases the lifespan of the paint job.
Common Questions
Can I paint over a previously painted laminate surface?
What kind of paint is best for laminate furniture?
How long does it take for the paint to dry completely?
Is it possible to paint without sanding?
References
- ED 246 302 AUTHOR TITLE REPORT NO PUB DATE ... - ERIC (files.eric.ed.gov)
Cite this guide
Laminatelove (2026). Easy Painting Laminate Furniture Techniques. https://laminatelove.com/easy-painting-laminate-furniture-techniques/
Feel free to cite or share this guide.