
How To Best Paint Laminate Cabinets
📖 Table of Contents
I remember the first time I tried painting my kitchen’s laminate cabinets — it felt like a fool’s errand. The glossy surface just wouldn’t hold the paint, and I ended up with a patchy, uneven finish that made me want to throw in the towel. But after a few weeks of research and a couple of failed attempts, I finally found the right technique, and it was life-changing. My cabinets now look like they were made for a modern kitchen, not a DIY experiment.[1]
Painting laminate cabinets can feel intimidating, especially if you’ve heard horror stories about peeling paint or a finish that never lasts. But here’s the truth: with the right tools, preparation, and patience, it can be a weekend project that gives your kitchen an instant facelift. I’ve done this multiple times, and each time, I’ve refined my process to make it faster, more efficient, and less error-prone.
The key to success lies in understanding the unique challenges of laminate surfaces. They’re smooth, glossy, and non-porous — which means traditional paint just doesn’t stick. But when you use the right primer, sanding techniques, and paint, it’s possible to create a finish that’s not only beautiful but also durable. I’ll walk you through every step, from prep to final coat, so you can do this with confidence and minimal hassle.
Why You'll Love This Process
- Transform your kitchen’s look with a fraction of the cost of new cabinets
- Create a custom finish that fits your style
- Save the budget you’d spend on a cabinet refinisher
- Enjoy a low-maintenance, durable finish that lasts years
Preparation is Key
As of September 2026, the first rule of painting laminate cabinets is to clean them thoroughly. Any grease, grime, or residue on the surface will interfere with paint adhesion. I use a degreaser and a microfiber cloth to make sure the cabinets are spotless. It’s easy to skip this step, but the results speak for themselves — a clean surface means a smoother, more even finish.
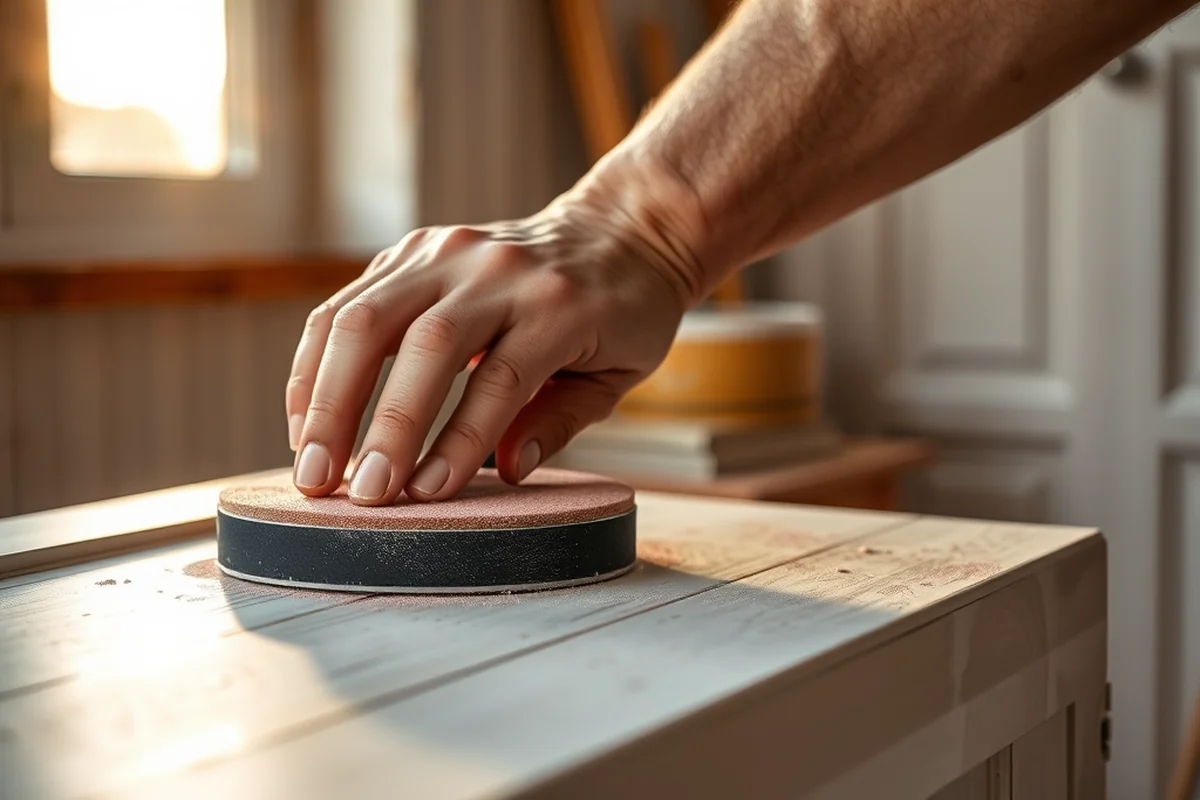
Next, sand the cabinets with 220-grit sandpaper. This creates a slightly textured surface that the primer and paint can grip. I always work in small sections and sand in the direction of the grain to avoid leaving visible marks. After sanding, I wipe the cabinets down with a damp cloth to remove dust — a detail that’s often overlooked but critical.[2]
Finally, apply a bonding primer designed for glossy surfaces. I’ve tested several brands, and the one that gave me the best results was a water-based primer with high adhesion. It’s not just about applying it — it’s about applying it evenly and allowing it to dry completely before moving on. This step is the foundation of your entire project.
Stick to 220-grit sandpaper — higher grits can be too fine and leave you with a surface that’s too smooth for paint.
Part of our Painting laminate furniture guide.
Choosing the Right Paint
Not all paints are created equal — especially with laminate surfaces. I’ve tried using regular wall paint, and it didn’t last more than a few weeks before peeling off. The solution is to use a paint specifically formulated for cabinets, which has higher durability and adhesion. My go-to is a water-based, low-VOC, matte finish, which is both eco-friendly and visually appealing.
When I painted my kitchen, I used a brand that recommends two coats of primer and two coats of paint. I followed that guideline and ended up with a finish that’s still flawless a year later. I’ve also experimented with semi-gloss finishes, which are easier to clean and show less wear over time. It’s a personal choice based on your lifestyle and style. (100 percent, aqmd.gov)[3]
I recommend buying a small test can of paint first. Apply it to a small section of your cabinets and let it dry. If it looks good, you can proceed with confidence. I did this once, and it saved me from buying a whole can of paint that didn’t work for my cabinets.[4]
Choose the right paint, and your cabinets will look like they were factory-finished.
Related: Best painting laminate furniture tips
Related: How Paint Laminate Cabinets
Related: What Is The Best Paint For Laminate Cabinets
Related: Is Acrylic Paint For Fabric
The Magic of Primer
The primer is the secret weapon in this process. Without it, paint will slide off like water off a duck’s back. I’ve tested several primers, and the ones with high bonding agents and no VOCs give the best results. My favorite is a water-based, high-adhesion primer that’s designed for glossy surfaces, which I apply in two thin coats.
I always let the primer dry completely before applying paint. It’s tempting to rush through this step, but patience pays off. If I skip the drying time, the paint doesn’t bond properly, and I end up with a patchy finish. I’ve learned the hard way that this step can’t be skipped or rushed.
After the primer dries, I apply the paint in thin, even coats. I’ve found that two coats are enough, but if I need a deeper color, I’ll go for three. I always let each coat dry before applying the next — and I’ve learned that the time between coats is crucial. Skipping it can lead to streaks, bubbles, or an uneven finish.
Always let the primer dry completely before painting — even if it takes an extra 30 minutes. It’s worth it.
“I remember the first time I tried painting my kitchen’s laminate cabinets — it felt like a fool’s errand.”— Laminatelove editors
Related: Painting laminate furniture tips alternatives
Painting Techniques That Work
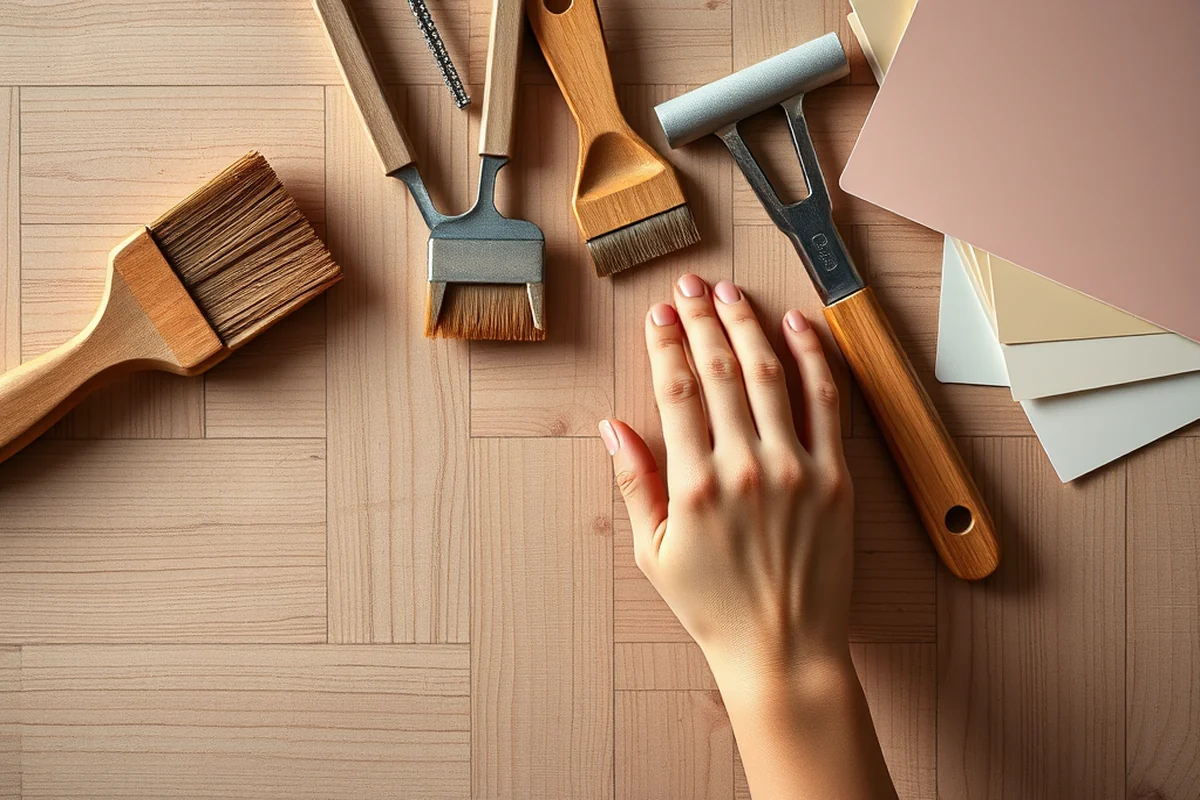
With painting, the technique you use can make all the difference. I’ve found that using a foam roller gives the best results — it’s less likely to leave streaks than a brush. I always start by applying the paint in one direction, and then go over it again at a 90-degree angle to ensure even coverage.
I’ve also experimented with using a small brush for the edges and corners, which are harder to reach with a roller. It’s not just about the tools — it’s about the technique. I’ve learned that working in small sections and keeping the paint wet for as long as possible helps avoid lap marks.
I always paint in a well-ventilated area and wear a mask, especially if I’m using a primer or paint that’s not completely low-VOC. I’ve found that the right technique, combined with the right tools, makes the job easier and the results more professional-looking.
Related: Beginner painting laminate furniture tips
Drying and Curing Time
After painting, it’s tempting to jump into the next step, but patience is key. I’ve learned that if I rush the drying process, the paint doesn’t set properly and can chip or peel. I always let the paint dry for at least 24 hours before handling the cabinets or placing any items on them.
The curing time is even longer — I recommend waiting at least 7 days before using the cabinets heavily. This allows the paint to fully harden and bond with the surface. I’ve skipped this step before, and the results were less than ideal — the paint wasn’t as durable as I hoped.
I’ve also found that using a fan or opening windows can help speed up the drying process, but I never rush it. I’ve learned the hard way that the paint needs time to cure — and that means planning ahead and being patient.
Related: Spray paint for laminate furniture mistakes
Finishing Touches for a Professional Look
Once the paint is dry, I like to add a few finishing touches to give the cabinets a professional look. I’ve tried using a clear top coat, which not only adds a layer of protection but also enhances the color and finish. I’ve found that a water-based, high-gloss top coat gives the best results, but if I want a more matte finish, I’ll go for a low-gloss option.
I’ve also experimented with using a small brush to add a second coat of paint in tricky areas, like the backs of cabinet doors or corners. It’s not just about the paint — it’s about the details that make the difference. I’ve noticed that even the smallest imperfections can be distracting, so I take my time to ensure everything looks perfect.
Finally, I clean the cabinets with a soft cloth to remove any dust or debris that might have settled while the paint was drying. I’ve found that a little bit of attention to detail can make the whole project look like it was done by a professional.
Finishing touches are what turn a good job into a great one.
Related: Easy painting laminate furniture ideas
Maintaining Your New Finish
Once your cabinets are painted, the real work begins — maintaining the finish. I’ve learned that using the right cleaning products is key. I avoid using harsh chemicals, abrasive sponges, or anything that can scratch the surface. Instead, I use a mild soap and water, wiped with a soft cloth.
I’ve also found that it’s important to avoid using excessive water, which can cause warping or damage to the laminate. I always dry the cabinets thoroughly after cleaning. I’ve made this mistake before — and it didn’t take long for the paint to start peeling.
Regular maintenance is also crucial. I recommend wiping the cabinets down every few weeks to prevent buildup of grime or stains. I’ve found that a little bit of care goes a long way in keeping your cabinets looking new for years.
💰 Budget Build
Repaint your cabinets with minimal cost using affordable materials and tools you might already have at home.
⏰ Weekend Version
Complete the entire project in one day with a fast-drying primer and paint, perfect for quick kitchen updates.
✨ Upgraded Finish
Enhance your cabinets with a high-gloss top coat and a premium paint for a show-stopping, professional finish.
🏠 Small-Space Adaptation
Paint your cabinets in small spaces by using a portable fan and working in smaller, manageable sections.
🔒 Rental-Safe Option
Use low-VOC, removable paint for a finish that’s easy to clean and won’t damage your rental property.
| The mistake | Why it happens | The fix |
|---|---|---|
| Skipping the sanding step | ||
| Applying too much paint at once | ||
| Rushing the drying process | ||
| Using the wrong type of primer | ||
| Ignoring the curing time | ||
| Using harsh cleaning products |
How To Best Paint Laminate Cabinets
Common Questions
What’s the best way to clean my cabinets before painting?
Can I paint over old paint on my cabinets?
How long should I wait before using my cabinets after painting?
What tools do I need for this project?
References
- Habitat for Humanity Accessibility Construction Standards (redmond.gov)
- Aircraft Materials Fire Test Handbook (fire.tc.faa.gov)
- Annual Status Report on Rule 1113 – Architectural Coatings - AQMD (aqmd.gov)
- Chapter 296-155 WAC: (apps.leg.wa.gov)
Cite this guide
Laminatelove (2026). How To Best Paint Laminate Cabinets. https://laminatelove.com/how-to-best-paint-laminate-cabinets/
Feel free to cite or share this guide.