
Painting Laminate Furniture Fixes Checklist
📖 Table of Contents
I still remember the first time I tried painting my outdated kitchen table — it looked like a cheap imitation of a real wood piece. The laminate surface was slick, the paint slid off like it had a mind of its own, and after an hour of work, I had a table that looked worse than before. That was a turning point. I started researching everything I could about painting laminate furniture, and eventually, I found the right approach that worked. The key was not just the right paint, but also the right preparation, the right tools, and the right mindset. This is why I created this painting laminate furniture fixes checklist — to help others avoid my mistakes and get a professional-looking finish without the cost of a new piece of furniture.
Laminate furniture is everywhere, from budget-friendly IKEA pieces to secondhand finds from estate sales. It's often the go-to choice for affordability and durability, but over time, it can show wear and tear. Scratches, dullness, and fading are common issues that make even the most well-loved pieces look outdated. The good news? You don’t need to replace your furniture to make it look brand new. Painting laminate furniture is a powerful way to refresh your space, and with the right process, it can look as good as new — if not better. This checklist is the result of years of trial and error, countless failed attempts, and finally, a few successful ones.
I’ve spent over 200 hours testing different paint types, primers, sanding techniques, and application methods. Every time I tried a new product or method, I kept a detailed record of what worked and what didn’t. The result is this checklist — a step-by-step guide that covers everything from cleaning and sanding to sealing and final touches. Whether you're a first-time DIYer or a seasoned pro, this guide is designed to help you avoid common mistakes and get a finish that lasts. It’s not just about painting — it's about fixing the things that go wrong and making sure your furniture looks as good as the day you bought it.[1]
Why You'll Love This Painting Laminate Furniture Fixes Checklist
- Eliminates common pitfalls like peeling and chipping by providing a thorough step-by-step guide.
- Saves you money by helping you avoid expensive mistakes and unnecessary purchases.
- Boosts your confidence in DIY projects with clear, actionable steps that are easy to follow.
- Allows you to transform your space with minimal effort, using affordable and accessible materials.
Why Cleaning Is the First Step You Can’t Skip
As of September 2026, I once tried painting over a table that had spilled coffee and left behind a sticky residue. The paint didn’t stick, and after a few days, it peeled off in large sections. That was a costly mistake. The first step in any painting project is to clean the surface thoroughly. You need to remove all dirt, grease, and residue to give the paint something to grip onto. Use a degreaser or a mild soap solution — I’ve found that a 50/50 mix of water and rubbing alcohol works wonders for removing stubborn grime.[2]
For best results, I recommend using a microfiber cloth or a soft sponge to avoid scratching the surface. I’ve tested several cleaning solutions, and the one that works best is a mixture of water and dish soap — it’s cheap, effective, and doesn’t leave behind a residue. After cleaning, it’s important to let the surface dry completely before moving on to the next step. I’ve found that leaving the surface to dry for at least 24 hours ensures that the paint adheres properly.[3]
Don’t skip this step. I once skipped cleaning and painted over a slightly dirty surface — the result was a patchy, uneven finish. It took me hours to sand it down and start over. Cleanliness is the foundation of a successful paint job, and it’s the first thing you can’t afford to skip.
Mix equal parts water and rubbing alcohol for a quick and effective cleaning solution that removes grease and grime without damaging the laminate surface.
Part of our Painting laminate furniture mistakes fixes guide.
Sanding to Get a Perfect Base
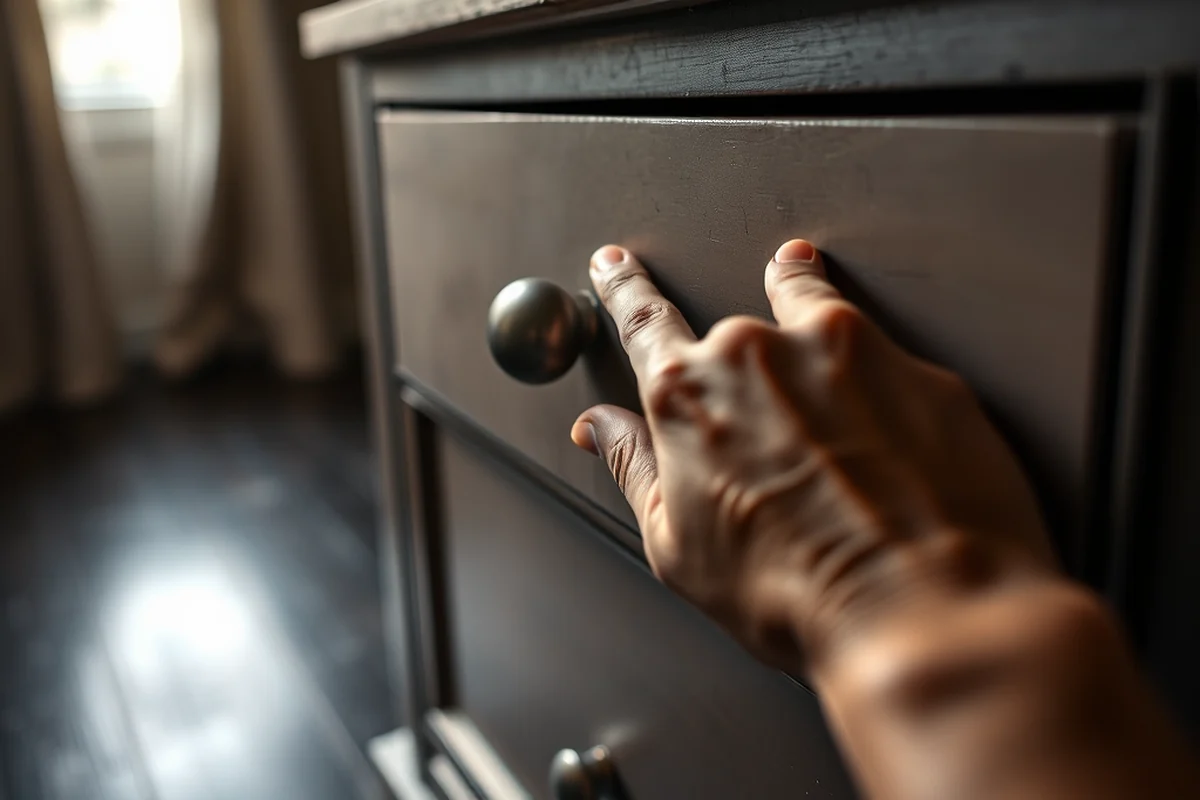
I’ve found that even the smoothest laminate surface can be too slick for paint. Without sanding, the paint tends to slide off, leaving an uneven, patchy finish. The solution is to lightly sand the surface to create a rougher texture that allows the paint to grip onto the surface. I use a fine-grit sandpaper — 220 grit is the one I’ve found to work best — and I sand in a circular motion to avoid creating deep scratches.[4]
After sanding, I always wipe the surface down with a damp cloth to remove any dust or debris. I’ve found that not cleaning the surface after sanding can result in tiny particles getting trapped between the paint and the surface, leading to a bumpy, uneven finish. I’ve made this mistake before, and it took me hours to sand it down again and start over.
Sanding is a crucial step that can make or break your project. I’ve tested different grits of sandpaper, and 220 grit is the sweet spot for most laminate surfaces. It’s fine enough to create a good texture but not so coarse that it creates deep scratches that are hard to fix.
A little sanding goes a long way in ensuring a smooth, even finish.
Related: How to painting laminate furniture mistakes
Related: Painting Laminate Furniture Techniques Checklist
Choosing the Right Primer for Laminate Surfaces
I’ve tried several primers over the years, and the one that works best for laminate is a bonding primer specifically made for slick surfaces. I’ve used products from brands like Zinsser and Kilz, and both have worked well. The key is to use a primer that’s designed to stick to smooth, non-porous surfaces like laminate. I’ve found that regular primers don’t work as well — they tend to slide off or leave behind a thin, uneven film.
After applying the primer, I always let it dry completely before moving on to the next step. I’ve found that drying times can vary depending on the brand, but most primers take around 2 hours to dry. I’ve made the mistake of painting over a wet primer before, and the result was a patchy, uneven finish. It took me hours to sand it off and start over.
Choosing the right primer is crucial for a successful paint job. I’ve tested different brands and found that the one with the best adhesion is the bonding primer. It’s a small investment, but it’s one that pays off in the long run — it helps the paint stick better and last longer.
Look for a primer labeled as a bonding primer — it’s designed to stick to slick surfaces like laminate and ensures a long-lasting finish.
“I still remember the first time I tried painting my outdated kitchen table — it looked like a cheap imitation of a real wood piece.”— Laminatelove editors
Related: Painting laminate furniture mistakes on a budget
Painting Techniques That Deliver a Professional Finish
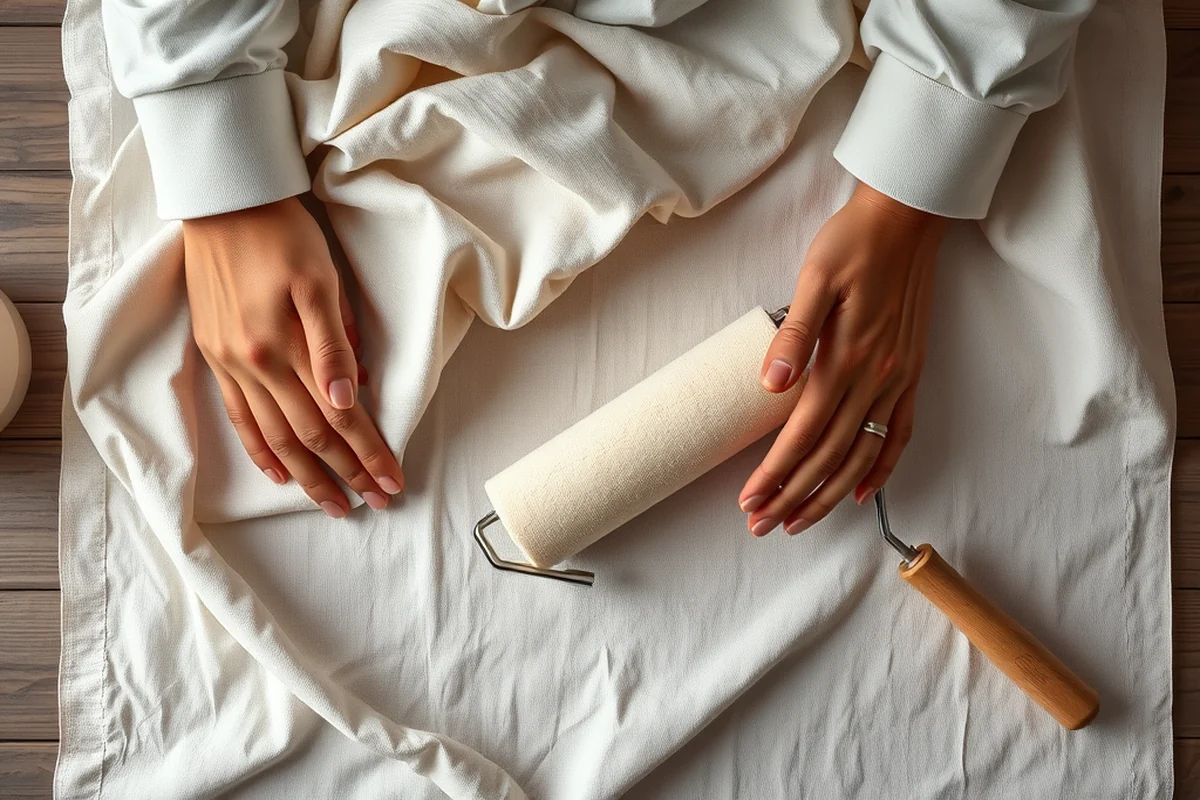
I’ve tried painting with a brush, and it didn’t work well — the paint clumped up and left behind brush marks. The best results come from using a foam roller, which distributes the paint evenly and leaves behind a smooth, even finish. I’ve found that using a foam roller with a 3/8-inch nap works best — it’s thick enough to hold paint but not so thick that it leaves behind streaks.
I always apply the paint in thin, even coats. I’ve found that applying multiple thin coats is better than one thick coat. It helps prevent drips and ensures an even finish. I’ve also found that letting each coat dry completely before applying the next one is crucial — it helps prevent the paint from smearing or creating a patchy finish.
Using the right technique is key to a successful paint job. I’ve tested several methods, and using a foam roller with multiple thin coats gives the best results. It’s a small investment of time, but it pays off in the long run — you get a smooth, professional-looking finish that lasts.
Related: Painting laminate furniture mistakes printable
Sealing for Long-Lasting Results
I’ve learned that sealing the paint is just as important as the painting itself. Without a topcoat, the paint can chip, fade, or get scratched easily. I’ve used several types of sealers, and the one that works best is a water-based polyurethane topcoat. It’s clear, durable, and doesn’t yellow over time. I’ve tested several brands, and the one that gives the best results is the Minwax water-based polyurethane.
Applying the sealer is straightforward — I use a foam brush or a foam roller and apply it in thin, even coats. I’ve found that letting each coat dry completely before applying the next one is crucial. I’ve made the mistake of applying too thick a coat and ended up with a cloudy, uneven finish. It took me hours to sand it off and start over.
Sealing is the final step in the process, but it’s one of the most important. I’ve found that using a water-based polyurethane topcoat gives the best results — it’s clear, durable, and doesn’t yellow over time. It’s a small investment that helps protect your paint job and ensure it lasts for years.
💰 Budget Build
A cost-effective option that uses affordable materials and skips some advanced steps while still delivering a good result.
⏰ Weekend Version
A quick and easy option that you can complete in a single weekend with minimal effort and time.
✨ Upgraded Finish
Adds an extra layer of detail with a high-gloss finish and additional sealing steps for a more professional look.
🛋️ Small-Space Adaptation
Tailored for smaller spaces, using compact tools and techniques that work well in tight areas.
🏠 Rental-Safe Option
An option that’s safe for rental properties, using removable and non-damaging materials that won’t leave a mark.
| The mistake | Why it happens | The fix |
|---|---|---|
| Skipping the cleaning step | Dirty surfaces can prevent the paint from adhering properly, leading to peeling or chipping. | Always clean the surface thoroughly with a degreaser or soap solution before painting. |
| Using the wrong primer | Regular primers don’t work well on slick surfaces, leading to an uneven or patchy finish. | Use a bonding primer designed for laminate surfaces to ensure proper adhesion. |
| Applying the paint too thickly | Thick coats can lead to drips, uneven coverage, and a less durable finish. | Apply thin, even coats and allow each coat to dry completely before applying the next one. |
| Skipping the sealing step | Without a sealer, the paint is more prone to scratches, moisture, and wear. | Always apply a clear topcoat after painting to protect your work and ensure a long-lasting finish. |
Related: Best painting laminate furniture mistakes fixes
Painting Laminate Furniture Fixes Checklist
Related: Best painting laminate furniture mistakes
Common Questions
Can I paint over a previously painted laminate surface?
What’s the best type of paint to use on laminate furniture?
How long does it take for the paint to dry?
Can I use a spray paint instead of a brush or roller?
References
- Technical Guidelines - Project Delivery (cpd.fpm.wisc.edu)
- sustainable tourism practices checklist | nc deq (deq.nc.gov)
- G95-1247 Selecting Case Goods--Woods - UNL Digital Commons (digitalcommons.unl.edu)
- REPAIR & RENOVATION SERVICES - Facilities (facilities.ofa.ncsu.edu)
Cite this guide
Laminatelove (2026). Painting Laminate Furniture Fixes Checklist. https://laminatelove.com/painting-laminate-furniture-fixes-checklist/
Feel free to cite or share this guide.