
Painting Laminate Furniture For Beginners Ideas
📖 Table of Contents
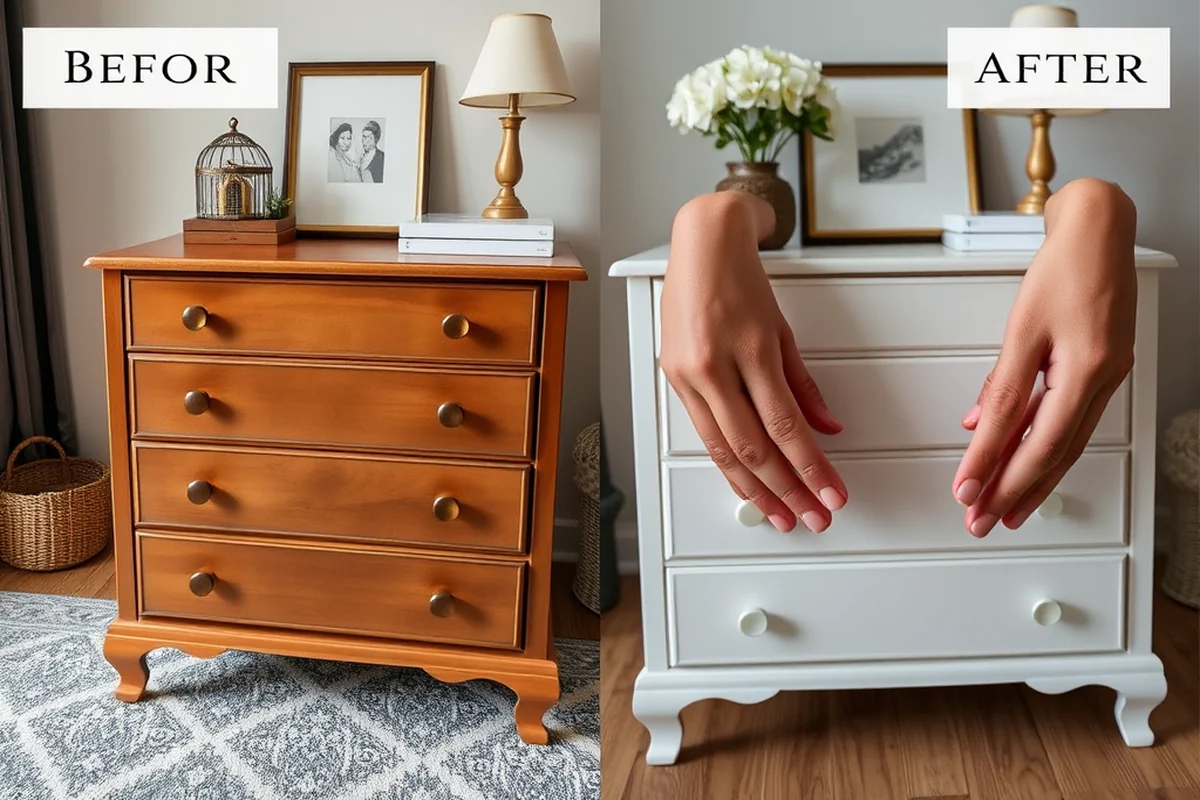
I still remember the first time I decided to paint my old kitchen table. It was a piece of furniture that had seen better days — cracked, chipped, and covered in the scars of years of use. The idea of transforming it into something new and vibrant was both exciting and daunting. I had never painted anything before, let alone furniture, and I was worried I'd mess it up. But after a few hours of research and a few trips to the hardware store, I came home with a can of primer, some spray paint. A sense of curiosity that turned into something much bigger. That table, now a vibrant shade of forest green, is still in my kitchen today — and it's one of my proudest DIY accomplishments.[1]
If you're new to painting laminate furniture, you're not alone. I've walked that path, and I know how intimidating it can feel. Laminate surfaces are notorious for being slippery and hard to paint, and the thought of spending hours only to end up with a finish that peels after a week can be discouraging. But I'm here to tell you that with the right tools, techniques, and a little patience, you can achieve a professional-looking finish that will last for years. Whether you're looking to give your furniture a fresh start or just want to learn a new skill, painting laminate furniture for beginners is a project that’s both achievable and rewarding.[2]
Let me share what I learned along the way — the things that worked, the things that didn't, and the little tricks that can make all the difference. From choosing the right paint to preparing the surface properly, each step plays a role in the final outcome. And trust me, when you see the finished product — that smooth, glossy surface that looks like it was professionally done — you'll be glad you stuck with it. Painting laminate furniture for beginners is not just about changing the color of your furniture; it's about giving your space a new lease on life, one brushstroke at a time.[3]
Why You'll Love This Guide to Painting Laminate Furniture for Beginners
- You'll learn how to prep a laminate surface properly, which is the most critical step in the process.
- You'll discover the best types of paint and tools to use, saving you time and money.
- You'll be able to customize your furniture to match your home's style and color palette.
- You'll gain confidence in your DIY skills, opening the door to more ambitious projects in the future.
The Importance of Surface Preparation
As of October 2026, Laminate surfaces are smooth and non-porous, which makes them incredibly slippery and difficult to paint. If you skip the prep steps, the paint will slide off like water on a boat, and you'll be left with a messy, uneven finish. The first thing I did was clean the table thoroughly with a degreaser to remove any oils or dirt. I then used fine-grit sandpaper to roughen the surface slightly, giving the paint something to grip onto. It's an easy step, but it's crucial for long-term adhesion.
I also used a primer specifically designed for laminate surfaces. I was amazed at how much of a difference it made — the primer filled in the tiny imperfections and created a stable base for the paint. I applied it in two thin coats, allowing each to dry completely before moving on. The result was a surface that was not only clean and smooth but also ready to accept paint without any issues.
The final step in prep was to tape off any areas that I didn't want to paint, like the edges of the table where I wanted to keep the original finish. This helped me stay neat and avoid making mistakes. After this, I felt confident that I was ready to move on to the next step — actually painting the table.
Using a primer is the single most important step in painting laminate furniture. It ensures that the paint adheres properly and lasts longer.
Part of our Painting laminate furniture guide.
Choosing the Right Paint and Tools
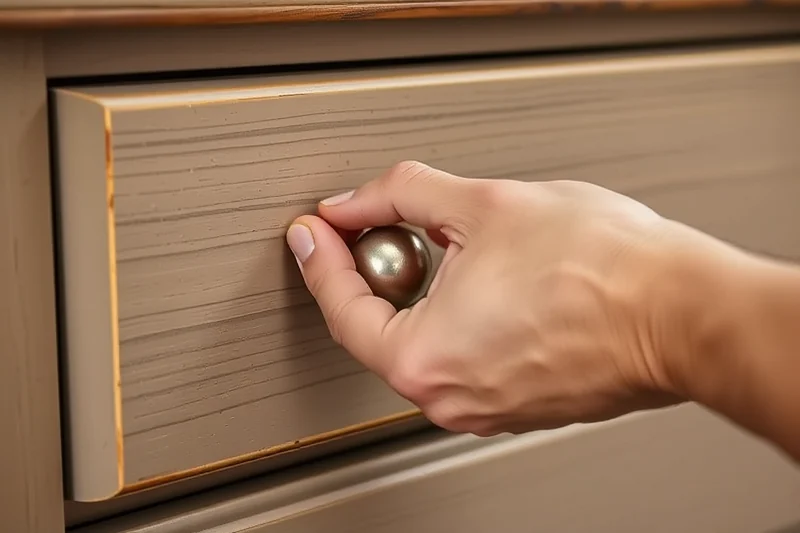
When I set out to paint my table, I wasn't sure which type of paint to use. I eventually went with a water-based spray paint that was labeled as suitable for laminate surfaces. It was a bit pricier than the standard spray paint I had used before, but I was happy with the results. The paint was easy to apply and gave a smooth, even finish with minimal effort.
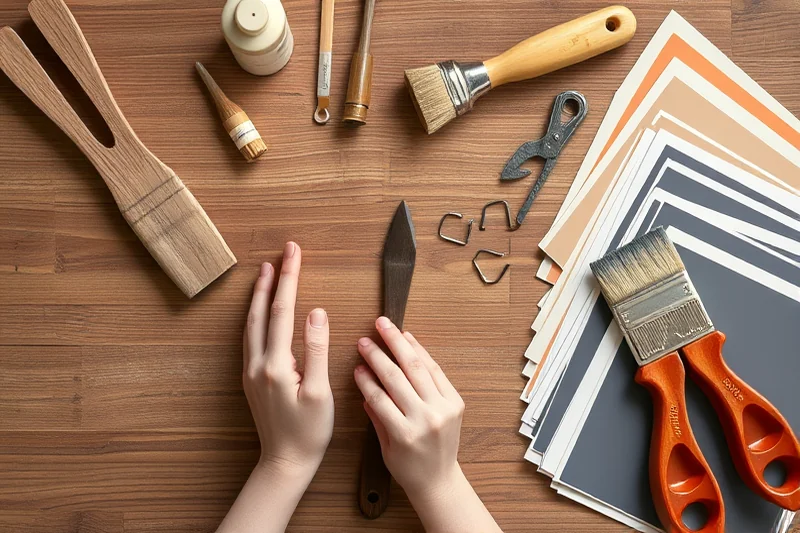
I also invested in a few quality tools, like a spray paint gun and a set of fine brushes for touch-ups. The spray gun made the process much faster and more efficient, and the brushes were perfect for getting into tight corners and edges. I also used a small roller for the larger flat areas, which helped me cover more ground quickly.
One thing I learned was that using the wrong type of paint can be a disaster. I tried a few different brands and found that some of them didn't stick well to the laminate, even after priming. I ended up going with a paint that was specifically formulated for use on laminate, and it made all the difference in the final outcome.
The right paint and tools make all the difference — don't skimp on quality.
Related: How to paint cheap laminate furniture
Applying the Paint with Confidence
I started by applying the paint in thin, even coats. I was careful not to apply too much at once, as that can lead to drips and runs. I worked in a well-ventilated area and made sure to keep the can at a consistent distance from the surface. It took me about two coats to get the color right, and I let each coat dry completely before applying the next. I was surprised at how quickly the paint dried — it was almost like magic.
I also used a heat gun to speed up the drying process, which was especially helpful during the colder months. However, I was careful not to hold the heat gun too close to the surface for too long, as that could cause the paint to bubble or crack. I moved it in a steady, sweeping motion, and it worked wonders in getting the paint to dry faster without damaging the surface.
After applying the final coat, I let the paint cure for a few days before using the table again. This allowed the paint to fully set and ensured that it would last as long as possible. I was thrilled with the final result — it looked professional and felt solid under my hands.
Apply thin, even coats of paint and allow each one to dry completely before moving on. Rushing the process can lead to poor results.
“I still remember the first time I decided to paint my old kitchen table.”— Laminatelove editors
Related: Paint cheap laminate furniture on a budget
Finishing Touches and Long-Term Care
I applied a clear topcoat after the paint had fully dried. This helped protect the surface from scratches and wear and also gave it a glossy, professional finish. I used a water-based polyurethane topcoat that was specifically designed for use on painted surfaces. It was easy to apply and gave the table a beautiful sheen without any noticeable brush marks.
I also took a few extra steps to protect the edges of the table. I used a small brush to apply the topcoat to the edges, making sure that the finish was even and complete. This helped prevent the edges from chipping or peeling over time.
Finally, I made sure to keep the table out of direct sunlight and away from moisture, as both can affect the longevity of the paint. I've been using the table for over a year now, and it still looks as good as the day I painted it. It's a testament to the care and attention to detail that went into the project.
Related: Cheap painted laminate floor ideas
Inspiration and Ideas for Your Own Projects
After painting my table, I felt inspired to take on other projects around the house. I painted my old kitchen cabinets, my dining room chairs, and even my bookshelf. Each project was different, and each one gave me a chance to experiment with colors, finishes, and techniques.
One of the most fun parts of the process was experimenting with different color combinations. I found that light, neutral colors worked well for a modern, minimalist look, while bold, bright colors added a pop of personality to the room. I also tried using different types of paint, like chalk paint, which gave the furniture a more vintage look.
The best part of all this was seeing how much my space had transformed. The furniture that had once looked tired and worn now looked fresh and stylish. It was a great reminder that even the simplest DIY projects can make a big difference in the way your home looks and feels.
⭐ Classic
The tried-and-true method of painting with a spray gun and primer for a professional finish.
💰 Budget
Use affordable paint and skip the primer if you're working on a tight budget.
⚡ Extra-Fast
Use a heat gun to speed up the drying process and complete the project in a day.
✨ Depth
Add a second coat of paint and a high-gloss topcoat for a deeper, more vibrant finish.
🥗 Light
Use chalk paint and a matte finish for a softer, more vintage look.
| The mistake | Why it happens | The fix |
|---|---|---|
| Skipping the primer step | The primer is essential for creating a stable base that helps the paint adhere properly to the laminate surface. | Always use a primer designed for laminate surfaces before applying paint. |
| Using too much paint in one coat | Applying too much paint at once can lead to drips and an uneven finish. | Apply thin, even coats of paint and allow each coat to dry completely before applying the next. |
| Not taping off edges | Failing to tape off edges can result in messy, uneven paint that looks unprofessional. | Use painter's tape to cover areas you don't want to paint and keep your work neat. |
| Using the wrong type of paint | Using paint that isn't formulated for laminate surfaces can lead to poor adhesion and peeling. | Always choose paint that is specifically labeled for use on laminate surfaces. |
Materials & Tools tap to check off
- 1 lb Spray Paint
- ½ cup Primer
- Sandpaper (fine grit) to taste
Method tap a step when done
- Gather your materials — primer, spray paint, sandpaper, and a few clean rags.
- Clean the surface of the laminate furniture with a degreaser and let it dry completely.
- Use fine-grit sandpaper to roughen the surface slightly, giving the paint something to grip onto.
- Apply two thin coats of primer, allowing each to dry completely.
- Once the primer is dry, apply two to three thin coats of spray paint, working in a well-ventilated area.
- Allow the paint to dry fully and apply a clear topcoat for added protection and shine.
Key Facts
Related: Paint laminate furniture without sanding
Painting Laminate Furniture For Beginners Ideas
Related: What is best laminate floor cleaner
Common Questions
What type of paint should I use for painting laminate furniture?
Do I need to use a primer?
Can I use regular paint instead of spray paint?
How long does it take for the paint to dry?
References
- PDF AC 20-178 - Flammability Testing of Aircraft Cabin Interior Panels ... (faa.gov)
- Furniture and building material reuse events - Hennepin County (hennepincounty.gov)
- PDF Formaldehyde - Proposition 65 Warnings Website (p65warnings.ca.gov)
Cite this guide
Laminatelove (2026). Painting Laminate Furniture For Beginners Ideas. https://laminatelove.com/painting-laminate-furniture-for-beginners-ideas/
Feel free to cite or share this guide.