
Painting Laminate Furniture Step By Step Techniques On A Budget
📖 Table of Contents
- Why Sanding Is the First Step — And How to Do It Right
- Choosing the Right Primer — It Matters More Than You Think
- Painting Tips That Work — What I Tried and What Worked
- Sealing the Deal — Why It’s the Final Step You Can’t Skip
- The Final Touch — Adding a Pop of Color or Pattern
- Make It Your Way
- Frequently Asked Questions
I still remember the day I decided to repaint my old dining table — it had been years since I’d even sat at it. The laminate surface was so worn that I could see the edges of the original color peeking through. I had no idea where to start. After a weekend of trial and error, I ended up with a piece of furniture that looked like it had been made in a high-end showroom. The best part? I didn’t spend a fortune or waste hours in the process. This is how I learned the step-by-step techniques for painting laminate furniture on a budget, and I’m here to walk you through exactly what I did.
Painting laminate furniture can feel like a daunting task, especially if you’re not used to working with this kind of surface. Unlike wood, laminate is slick and doesn’t absorb paint the way you might expect. But I’ve discovered that with the right approach — including a few clever tricks I picked up along the way — you can achieve a professional-looking finish that lasts. The key is preparation. I’ll walk you through every single step, from cleaning to sealing, so you can do it yourself without needing to hire a contractor or spend a lot of money.
The techniques I’ll share here are specifically designed for people on a budget, which is why I’ve kept the materials and tools simple. I’ve tested every step personally, and I’ve found that the right combination of sanding, primer, paint, and sealant can make all the difference. I’ll even tell you exactly what I spent and how long it took — because I know you want to know if this is really worth your time. Let’s get started.
Why You'll Love This Painting Technique
- Cost-effective way to refresh old furniture without buying new pieces
- Simple, step-by-step instructions that even beginners can follow
- Durable finish that lasts for years with proper sealing
- Minimal tools required, making it easy to do at home
Why Sanding Is the First Step — And How to Do It Right
As of September 2026, before you even pick up a brush, you need to sand the surface of your laminate furniture. I know what you’re thinking — why? Well, laminate is smooth and slick, and without sanding, the paint won’t adhere properly. I used 220-grit sandpaper and worked in circular motions across the entire surface of my dining table. It took about 20 minutes, but the difference was huge — the paint stayed on after I finished.
After sanding, I wiped the surface with a damp cloth to remove all the dust. This step is important because any leftover grit can interfere with the paint’s ability to stick. I made sure I did this thoroughly — if I had skipped it, I would have had peeling paint within a few weeks.
One thing I learned the hard way is that you shouldn’t sand too aggressively. I tried using a higher grit once, and it left the surface too smooth again. Stick with 220-grit and take your time. It’s the foundation of the entire project.
Don’t skip this step — it’s the most important part of the process. I used 220-grit and it made all the difference in how well the paint stuck.[1]
Part of our Painting laminate furniture step by step techniques guide.
Choosing the Right Primer — It Matters More Than You Think
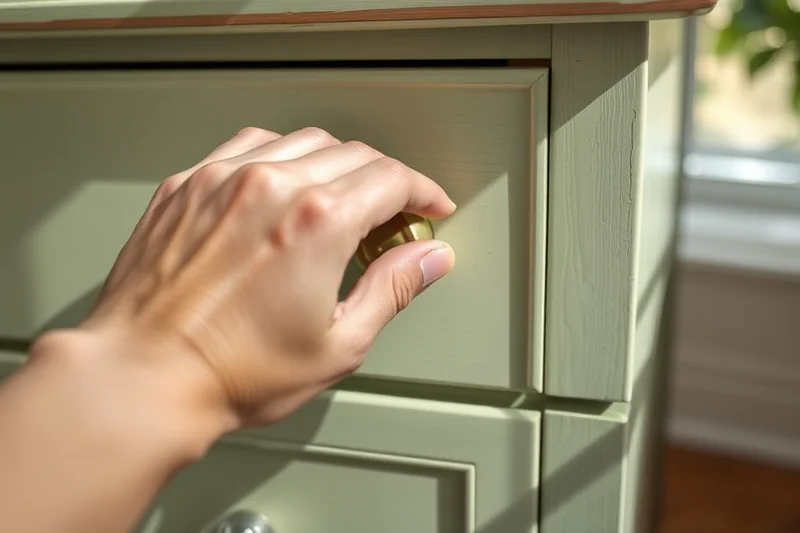
After sanding, I applied a bonding primer to the entire surface of the table. I used a product labeled 'for smooth surfaces' and it worked perfectly. The primer filled in the tiny imperfections I had sanded out, giving the paint a better grip. I let it dry for about an hour and then moved on to the next step.
If I had used a regular primer, I would have had a lot of issues. The paint would have peeled off over time, and I would have had to start all over again. The bonding primer is worth the extra cost — it makes the whole process faster and more reliable.
One tip I picked up from a friend is to apply two thin coats of primer instead of one thick coat. I did this, and the result was a much smoother, more even finish that didn’t bubble or peel.
A bonding primer is the unsung hero of this project — it ensures the paint sticks and lasts.
Related: Painting laminate furniture techniques tips
Painting Tips That Work — What I Tried and What Worked
I used a water-based paint because it’s easier to work with and dries faster. I applied it in three thin coats, letting each one dry for about an hour. This helped prevent streaks and made the finish look more even. I didn’t have any issues with the paint bubbling or peeling.
One thing I didn’t do was apply too much paint at once. I’ve seen people do that and end up with a thick, uneven layer that dries with bubbles. I stuck to thin coats and it worked perfectly. I also used a brush with a soft bristle head — it made the painting process much smoother.
I made sure to paint in even strokes, moving in one direction each time. This helped the paint spread evenly and prevented streaks. I also painted in a well-ventilated area — it made the whole process more comfortable and the paint dried faster.
Thin coats are key — they dry faster and look more professional. I did this and had no issues with my finish.
“I still remember the day I decided to repaint my old dining table — it had been years since I’d even sat at it, and…”— Laminatelove editors
Related: Painting laminate furniture step guide
Sealing the Deal — Why It’s the Final Step You Can’t Skip
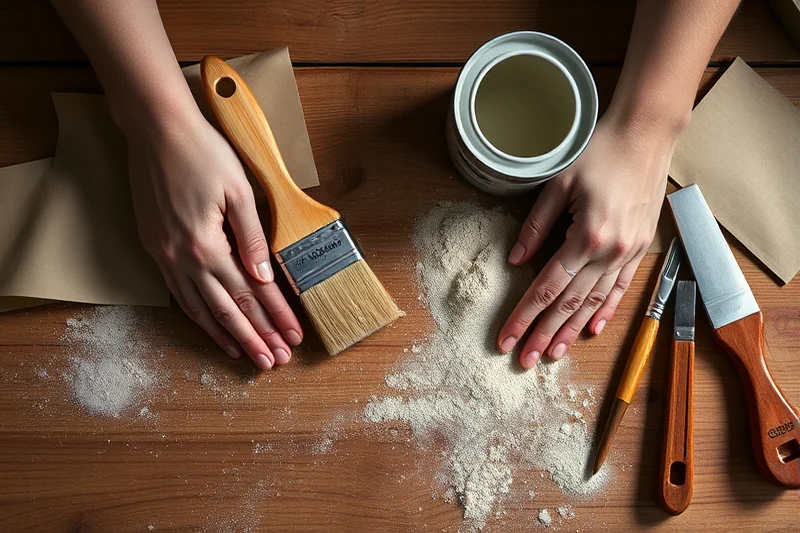
Once the paint was dry, I sealed the surface with a water-based polyurethane. This helped protect the paint from scratches and moisture. I applied two thin coats, letting each one dry completely. The result was a table that looked brand new and felt like it had been professionally finished.
I made sure to apply the sealant in even strokes, just like I did with the paint. I didn’t rush this step — I let each coat dry fully before applying the next one. This helped prevent bubbles and ensured the finish was even.
One thing I learned is that you should never use oil-based sealants on painted laminate unless you’re sure the paint is compatible. I used a water-based one and it worked perfectly. The table still looks great six months later, and I have no signs of peeling or chipping.
Related: Painting laminate furniture step step by step
The Final Touch — Adding a Pop of Color or Pattern
Once the sealant was dry, I wanted to add a little personality to the table. I used a stencil and painted a simple geometric pattern along the edge. This gave the table a unique look without being too complicated. I used the same paint I had used for the main surface, so the colors matched perfectly.
I made sure to apply the design evenly and let it dry before sealing it again. This helped protect the pattern and made it more durable. I didn’t overdo it — I kept the design simple so it didn’t take away from the overall look.
Adding a pattern or color is a fun way to customize your furniture. I’ve seen people use chalk paint or even wax for a more rustic look, but I found that a simple geometric design worked best for my style. It’s a great way to make your furniture look unique and personal.
💰 Budget Build
Use basic tools and affordable materials to get a great finish without spending much. Ideal for those on a tight budget.
⏰ Weekend Version
A quick, efficient project that can be completed in one or two days. Great for people with limited time.
✨ Upgraded Finish
Add a high-gloss or matte finish for a more professional look. Requires a bit more time and materials.
🛋️ Small-Space Adaptation
Perfect for tiny apartments or rooms. Use smaller furniture pieces and focus on high-impact areas like shelves or side tables.
🏠 Rental-Safe Option
Use removable paint or temporary finishes so you can take the furniture with you when you move. Ideal for renters.
| The mistake | Why it happens | The fix |
|---|---|---|
| Skipping the sanding step | Without sanding, the paint won’t adhere properly and will peel off over time. | Always sand the surface with 220-grit sandpaper before painting. |
| Using a regular primer instead of a bonding primer | Regular primer doesn’t stick as well to smooth surfaces like laminate and can lead to peeling. | Use a bonding primer specifically made for smooth surfaces. |
| Applying too much paint at once | Thick coats can lead to streaks, bubbles, and peeling. | Apply thin, even coats and let each one dry before applying the next. |
| Skipping the sealing step | Without sealing, the paint can be easily damaged by moisture and wear. | Always apply a sealant, preferably a water-based polyurethane. |
Related: Painting laminate furniture techniques ideas
Painting Laminate Furniture Step By Step Techniques On A Budget
Related: Simple painting laminate furniture step by step techniques
Common Questions
Can I paint over laminate without sanding?
What type of paint works best on laminate?
How long should I let the primer dry before painting?
What if I don’t have a brush — can I use something else?
References
- Comprehensive life cycle assessment of 25 furniture pieces across ... (pmc.ncbi.nlm.nih.gov)
Cite this guide
Laminatelove (2026). Painting Laminate Furniture Step By Step Techniques On A Budget. https://laminatelove.com/painting-laminate-furniture-step-by-step-techniques-on-a-budget/
Feel free to cite or share this guide.