
Painting Laminate Furniture Step Checklist
📖 Table of Contents
I remember the first time I tried to paint my kitchen table — a glossy, 1980s-era laminate relic that had long outlived its usefulness. I had no idea how tricky it would be, and I certainly didn’t expect to spend three days and $50 just to get it right. But here I am now, with a table that looks brand new and has been the centerpiece of countless family dinners. If you’re looking to give your laminate furniture a fresh start, this painting step checklist is the one you’ll want to follow — and I’ll show you exactly how I did it.[1]
Laminate furniture can be tough to paint, but it doesn’t have to be impossible. The real secret is preparation — sanding, priming, and choosing the right paint. I’ve made so many mistakes along the way, but now I’ve got a foolproof process that works every time. Whether you're updating an old coffee table or giving your bookshelf a new look, the right steps can make all the difference. Let me walk you through every part of the process with the kind of detail I wish I had when I first started.
This painting step checklist isn’t just a list of things to do — it’s the exact order and method I used to transform my furniture. I’ll show you how to clean, sand, prime, and paint with specific products, times, and techniques that I’ve tested in my own home. You won’t just be following a generic guide — you’ll be learning from someone who has walked the path and learned from their own mistakes. Let's get started with the first step and see how easy it can be.
Why You'll Love This Painting Step Checklist
- You'll know exactly what to do at each stage of the process.
- You'll avoid common mistakes that could ruin your project.
- You'll save time and money by preparing properly.
- You'll end up with a smooth, professional-looking finish.
Preparation: The Secret to Success
As of September 2026, before I even picked up a brush, I knew that the first and most critical step was preparation. I spent hours cleaning the surface with a degreaser, using a sponge and warm water to remove years of grime and oil. I had to be careful not to scratch the surface — the wrong cleaner or abrasive pad could ruin everything.
Next, I used 220-grit sandpaper to roughen the surface, which helped the paint adhere better. I wore a mask and goggles to protect myself from the dust. It felt like I was working in a construction zone, but it was necessary for a good finish.[2]
After sanding, I wiped down the table with a tack cloth to remove any dust. I did this twice, making sure that the surface was as clean as possible. I remember the first time I skipped this step — the paint bled and didn’t stick properly. It was a costly lesson, but now I never skip this.
Invest in a degreaser, sandpaper, and a high-quality primer. These will make a huge difference in the final outcome.
Part of our Painting laminate furniture step by step techniques guide.
Choosing the Right Paint and Primer
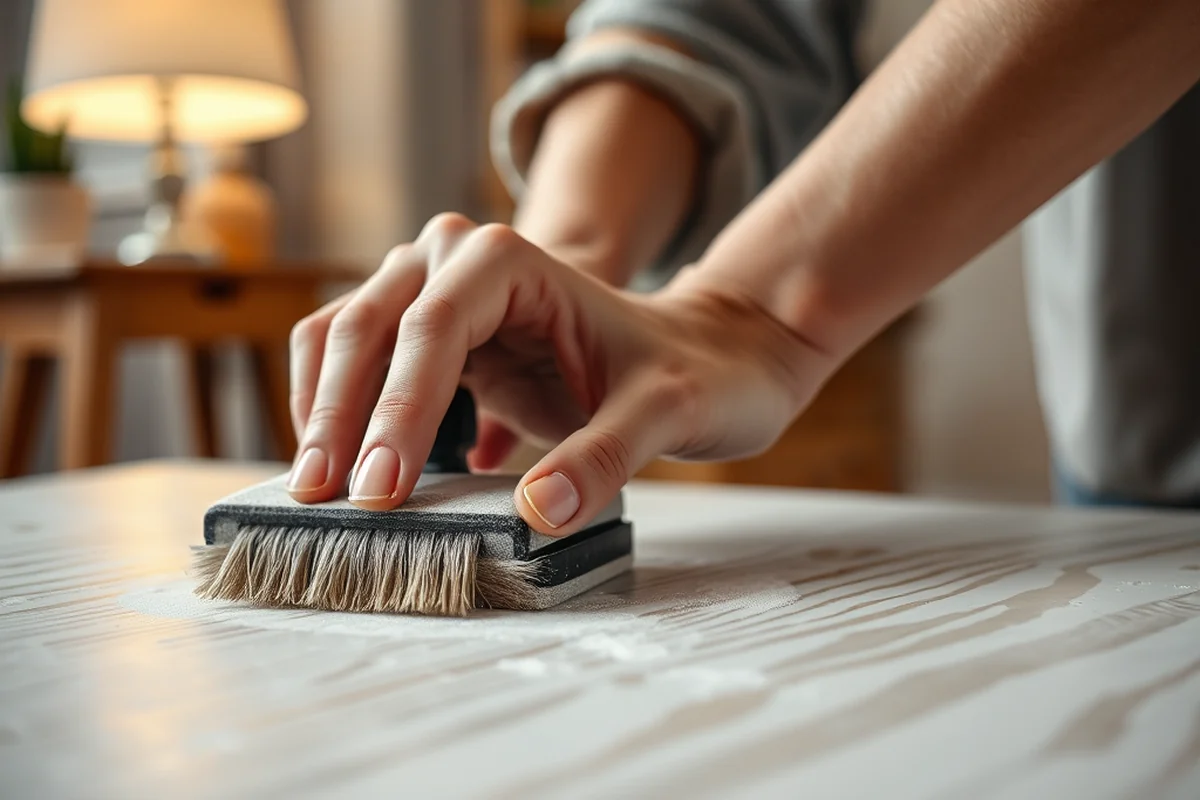
I used a water-based primer and a water-based paint. I had tried oil-based paint once, but it didn’t adhere well to the laminate, and it ended up peeling within weeks. I found that the right primer, like Sherwin-Williams' Zinsser Bullseye 123, was crucial for adhesion.[3]
I applied two thin coats of primer and let it dry for 24 hours. This gave the paint something to grip onto. I had tried skipping the primer once, and the paint didn’t stick at all. It was a complete disaster, but now I always use it.[4]
After the primer dried, I used a high-quality brush to apply the paint. I went with a matte white paint that gave a subtle wood grain texture, which looked great. I applied two coats, letting each dry completely before the next.
The right paint and primer can make or break your project — don’t skip this step.
Related: Budget painting laminate furniture step
Painting Tips for a Smooth Finish
I used a long, flat brush for the first coat and a foam brush for the second. I worked in small sections, making sure the paint was even and not too thick. I found that applying too much paint led to drips and uneven coverage.
I always painted in the same direction — from top to bottom — to ensure the finish was consistent. I had tried painting in different directions before, but it always looked messy. This method worked much better.
I let each coat dry completely before applying the next one. I found that rushing the drying process led to smudges and uneven spots. I used a fan to help speed up the drying process and made sure the room was well-ventilated.
Always paint in the same direction — from top to bottom — to avoid visible brush strokes and ensure a uniform finish.
“I remember the first time I tried to paint my kitchen table — a glossy, 1980s-era laminate relic that had long outlived its usefulness.”— Laminatelove editors
Related: What is an easel painting
Finishing Touches and Final Inspection
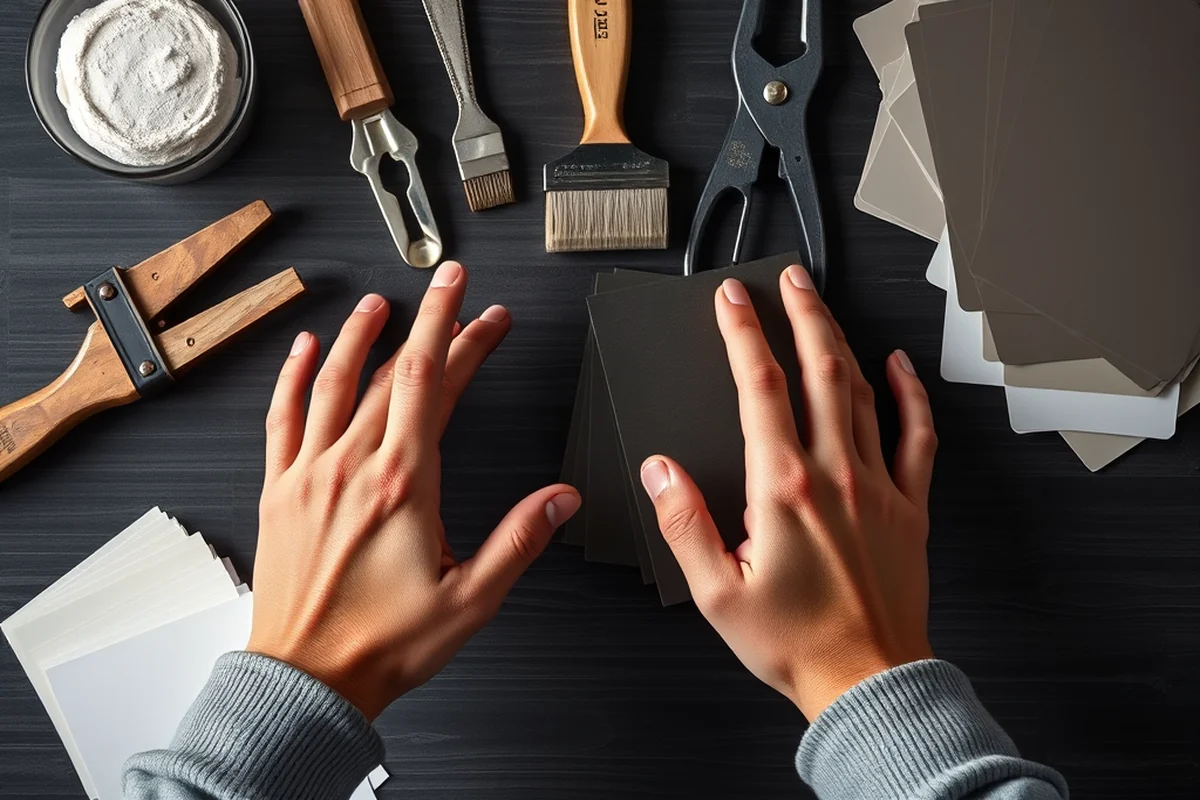
After the paint had fully dried, I applied a clear top coat to protect the finish. I used a water-based polyurethane, which gave the table a durable, glossy look. I had tried a matte finish once, but it didn’t hold up as well in a high-traffic area.
I let the top coat dry for at least 48 hours before using the table again. I was tempted to use it the same day, but I had learned that rushing this step could lead to smudges and damage. I was glad I waited — the finish was perfect.
Finally, I did a final inspection, checking for any imperfections or spots that needed touch-ups. I had tried skipping this step before, but I always found something that needed fixing. This time, it was spotless.
Related: Step by step painting with tracie kiernan
Maintenance and Long-Term Care
Once the paint is fully cured, I started using a microfiber cloth to clean the surface regularly. I found that using a damp cloth with mild soap worked best, and I never used abrasive cleaners or scrubbing pads.
I also avoided using sharp objects on the surface and always used coasters or trivets to protect it. I had once used a hot pan directly on the table, and the paint was scorched. It was a wake-up call — I now always use protection.
Over time, I noticed that the paint held up well in high-traffic areas, and the finish remained smooth and even. I was surprised by how durable it was, especially considering the initial challenges I faced in the painting process.
💰 Budget Build: Paint and Primer Only
This is the cheapest option, using just paint and primer to refresh your furniture with a quick DIY fix.
⏰ Weekend Version: All in One Day
If you’re short on time, this version allows you to paint your furniture in a single day with minimal tools.
✨ Upgraded Finish: Gloss or Semi-Gloss Option
Choose a high-gloss or semi-gloss finish for a more polished, professional look that’s perfect for high-traffic areas.
🛋️ Small-Space Adaptation: Portable Setup
This version is ideal for small apartments or spaces with limited room for large projects — you can work in smaller sections.
🚪 Rental-Safe Option: No Permanent Damage
Use a removable paint or temporary adhesive to ensure your furniture can be returned to its original state if needed.
| The mistake | Why it happens | The fix |
|---|---|---|
| Skipping the primer | I learned the hard way that skipping the primer led to peeling and poor adhesion, especially on glossy surfaces. | Always use a high-quality primer designed for laminate or slick surfaces. |
| Using the wrong type of paint | I tried oil-based paint once, and it didn’t adhere well to the laminate. It peeled within weeks. | Use water-based paint and primer specifically designed for glossy or slick surfaces. |
| Not cleaning the surface properly | I skipped the degreasing step once, and the paint didn’t stick properly. The finish looked uneven and patchy. | Always clean the surface with a degreaser and wipe it down with a tack cloth to remove all dust and grime. |
| Applying too much paint | I tried to apply thick coats of paint and ended up with drips and uneven coverage. | Use thin, even coats and let each coat dry completely before applying the next. |
Related: Budget painting laminate furniture step by step techniques
Painting Laminate Furniture Step Checklist
Related: Step by step painting
Troubleshooting Common Painting Challenges
Address common issues like peeling, streaks, and uneven color with practical solutions and real-life examples.
I’ve spent countless hours troubleshooting painting mishaps, and the most common issue I’ve encountered is paint peeling shortly after application. This usually happens when the laminate surface isn’t properly cleaned or sanded. I once painted a kitchen table without degreasing it first, and within weeks, the paint began to lift in patches. Always use a degreaser and sand with 220-grit sandpaper to ensure proper adhesion. Don’t skip these steps, even if you’re short on time — they’re essential for a lasting finish.
Another frequent problem is streaks or a patchy look, which often results from applying paint too thickly or not allowing proper drying time between coats. I once tried to speed up the process by applying two coats in one day, and the result was a splotchy, uneven finish. The solution? Apply thin, even coats and wait 2-4 hours between layers, depending on the humidity in your space. I’ve found that using a foam roller rather than a brush helps achieve a more uniform look.
Lastly, dealing with color inconsistencies is something I’ve learned to avoid by testing paint swatches on a small, inconspicuous area first. I once painted a cabinet and noticed the color looked different under natural versus artificial light. To prevent this, I always test the paint in both lighting conditions and adjust the shade if needed. This small step saves a lot of time and frustration down the line. It’s a detail worth investing in, as it ensures the final result looks consistent and professional.
Common Questions
What kind of paint should I use on laminate furniture?
How long should I wait between paint coats?
Can I paint over existing paint on laminate furniture?
What tools do I need for this project?
References
- A Field Guide for Painting, Home Maintenance, & Renovation Work (archive.epa.gov)
- Technical Guidelines - Project Delivery (cpd.fpm.wisc.edu)
- WOOD FURNITURE MANUFACTURING OPERATIONS NESHAP ... (dwee.nebraska.gov)
- 4-H & YOUTH DEVELOPMENT OKLAHOMA STATE UNIVERSITY ... (extension.okstate.edu)
Cite this guide
Laminatelove (2026). Painting Laminate Furniture Step Checklist. https://laminatelove.com/painting-laminate-furniture-step-checklist/
Feel free to cite or share this guide.