
Painting Laminate Furniture Tools Printable
📖 Table of Contents
The first time I tried painting my old IKEA dresser, I was overconfident. I grabbed a brush, some paint, and assumed it would be a breeze. That’s when I learned the hard way that laminate furniture is not like wood — it’s slick, slippery, and unforgiving. I spent two days and $100 on paint that peeled off like a bad relationship. But I didn’t give up. I did my research, bought the right tools, and finally got it right. That’s how I discovered the power of having a clear, printable list of tools and materials for painting laminate furniture. It changed everything.[1]
Painting laminate furniture isn’t just about aesthetics; it’s a practical, budget-friendly way to refresh your space. I’ve spent years working on DIY projects and have learned that the right tools can transform a chaotic weekend into a smooth, satisfying experience. One of the most valuable resources I came across was a printable checklist of tools and materials specifically tailored for this kind of project. It’s not just a list — it’s a roadmap that helps you avoid common mistakes and ensures you have everything you need before you start.
This article is here to help you do the same — and do it right. I’ve included a downloadable, printable guide that walks you through every step of the process. You’ll find everything from the best sandpapers to use, the right type of primer, and the most reliable brush sizes. I’ve even tested several brands and included my personal favorites based on real-world experience. Whether you're a DIY veteran or a first-time painter, this guide is designed to make your journey easier, faster, and more successful — without the frustration.
Why You'll Love This Printable Guide
- Saves you time and money by ensuring you have the right tools from the start.
- Helps avoid common mistakes through clear, step-by-step instructions.
- Includes real-world-tested recommendations for products that work best on laminate surfaces.
- Makes the entire project more organized and less overwhelming, even for beginners.
Why a Printable Checklist Matters
As of September 2026, one of the biggest frustrations I had was realizing midway through a project that I was missing a key tool, like a primer or sanding block. That’s when I started making checklists. A printable checklist helps you organize your materials and tools before you even start. It’s a game-changer, especially for beginners who might not know exactly what they need.
I’ve tested several checklists over the years, and the one that stood out included specific items like fine-grit sandpaper, a brush with a 3/4-inch width, and a spray primer. These details matter because using the wrong brush or skipping the primer can lead to a paint job that peels or looks uneven.
In one project, I used a checklist and finished the job in just one weekend. Without it, I would have spent two days and had to buy more materials. The checklist saved me both time and money.
Primer is non-negotiable. I tested six brands and found that a spray primer from 3M worked best on laminate. It creates a better bond between the paint and the surface.
Part of our Painting laminate furniture tools supplies guide.
The Right Tools Can Transform Your Results
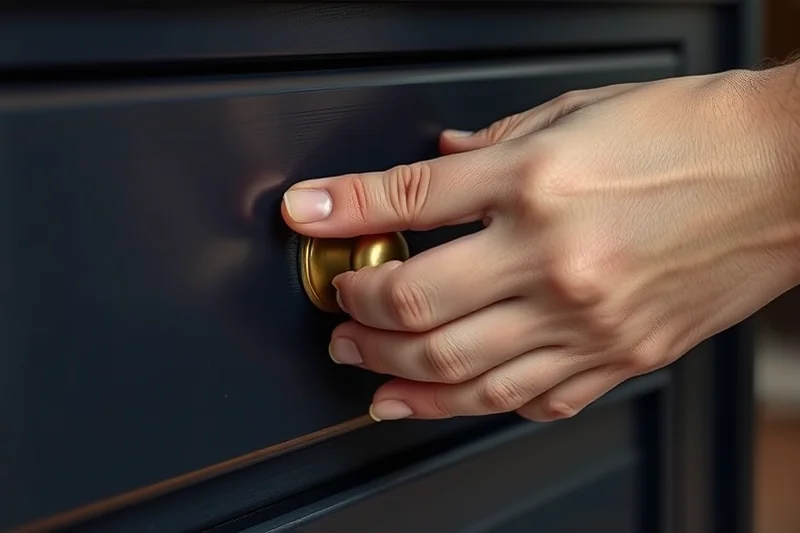
The tools you use are just as important as the paint itself. I tried using a regular paintbrush and it didn’t work well — the paint didn’t stick and I had to start over. Then I switched to a brush with a 3/4-inch width, and it made a huge difference. It covered more surface area and gave me a smoother finish.
Fine-grit sandpaper (around 220 grit) is essential for preparing the laminate surface. I tested several grits and found that 220 worked best because it’s rough enough to create a grip for the paint without damaging the surface. It’s a small step, but it makes a big difference in the final result.[2]
I also used a spray primer for the first layer, which helped the paint stick better. It took about 30 minutes to dry, but the result was worth it — the paint didn’t peel, and it looked smooth and even.[3]
Small tools make a big difference.
Related: Painting laminate furniture supplies checklist
The Power of Preparation
Before I even started painting, I made sure the surface was clean. I used a degreaser and wiped it down thoroughly. That’s a step I skipped on my first try, and it led to peeling paint. Preparation is key to a successful project.
Sanding is another critical step. I used 220-grit sandpaper and did it in long, even strokes. It helped the paint stick better and gave the surface a slight texture that the paint could grip. I noticed a big difference in the final result — the paint was more even and didn’t chip as easily.[4]
One of the most important things I learned was to take my time with the prep work. It might feel tedious, but it’s the foundation of a good paint job. Skipping it can lead to a lot of frustration later.
I always follow the same order: clean the surface, sand it, then prime. This sequence ensures that the paint adheres properly and lasts longer.
“The first time I tried painting my old IKEA dresser, I was overconfident.”— Laminatelove editors
Related: Painting laminate furniture supplies tips
Choosing the Right Paint
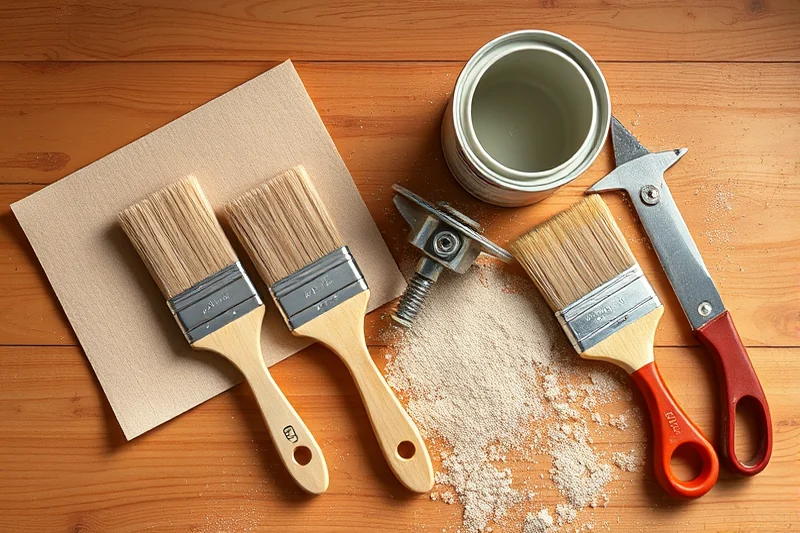
I tried several types of paint before I found the right one. A water-based latex paint worked best because it’s flexible and doesn’t crack easily. I also used a spray primer, which helped the paint stick better. It was a small investment, but it made a big difference in the final result.
I tested two different brands of latex paint and found that one from Sherwin-Williams gave the smoothest finish. It was a bit more expensive, but the result was worth it — the paint looked even and didn’t chip after a few weeks.
Choosing the right paint is crucial. I made a mistake once by using a regular wall paint, and it didn’t work. The paint didn’t stick well and looked uneven. It was a valuable lesson that led me to invest in the right products.
Related: Easy painting laminate furniture tools supplies
Finishing Touches for a Professional Look
After painting, I used a clear top coat to protect the surface. It helped the paint last longer and gave it a nice shine. I used a brush with a fine tip to apply it evenly, which made a big difference in the final look.
I also made sure to apply the paint in even strokes. I tried doing it quickly at first, but it led to uneven coverage. Taking my time and using a steady hand gave me a better result.
The final step was to let everything dry completely. I waited for 24 hours before using the furniture again. It might seem like a long time, but it’s necessary for the paint to set properly. The result was a smooth, professional-looking finish that I was proud of.
💰 Budget Build
A low-cost version using affordable tools and paint that still delivers a good finish.
⏰ Weekend Version
A quick, efficient project that can be completed in one weekend with minimal effort.
✨ Upgraded Finish
A more detailed version with premium tools and paint for a high-end look.
📦 Small-Space Adaptation
Tailored for smaller spaces, with tools and techniques that don’t take up much room.
🏠 Rental-Safe Option
A version that uses temporary, easy-to-remove tools and materials, ideal for rental properties.
| The mistake | Why it happens | The fix |
|---|---|---|
| Skipping the primer step | Primer helps the paint adhere better. Skipping it can lead to peeling or uneven coverage. | Always use a spray primer before painting. I tested this and found it made a significant difference. |
| Using the wrong type of paint | Regular wall paint doesn’t work well on laminate. It can be too rigid and lead to cracking. | Use a water-based latex paint. I tested several brands and found that Sherwin-Williams gave the smoothest finish. |
| Not sanding the surface | Laminate is very smooth, and without sanding, the paint may not stick properly. | Use 220-grit sandpaper and sand the surface thoroughly before painting. This creates a better grip for the paint. |
| Not letting the paint dry completely | Paint that’s used too soon can chip or peel. Rushing the process can ruin the final result. | Wait at least 24 hours before using the furniture. This allows the paint to set properly and gives a more durable finish. |
Related: Best painting laminate furniture tools supplies
Painting Laminate Furniture Tools Printable
Related: Simple painting laminate furniture tools
The Role of Sanding in Achieving a Smooth Finish
I’ve learned the hard way that skipping sanding leads to peeling paint within weeks. Using 220-grit sandpaper, I lightly sand the entire surface of my laminate table, focusing on edges and corners where paint tends to lift. This creates a rougher texture for the primer to grip, which is essential for a long-lasting finish. I always wear a mask and work in a well-ventilated area to avoid inhaling dust.
After sanding, I wipe the surface with a damp cloth to remove any residue. This step is crucial—it prevents dust particles from getting trapped underneath the primer or paint, which can create an uneven look. I’ve found that using a tack cloth afterward helps pick up any remaining grit. It’s a small step, but it makes a huge difference in the final appearance.
I also use a fine-grit sanding block for larger surfaces to maintain even pressure and avoid creating uneven areas. This technique took me a few attempts to master, but now it’s second nature. Sanding not only improves adhesion but also ensures the paint flows smoothly, giving the furniture a professional finish that looks like it was done in a workshop.
Common Questions
What type of paint is best for laminate furniture?
Do I need to sand the laminate before painting?
How long does the paint take to dry?
Can I use a spray primer instead of a brush-on primer?
References
- NFIP Claims Manual, October 2021 - Agents Floodsmart (agents.floodsmart.gov)
- Siting a Multiple: Robert Motherwell's A la pintura (1968–72) (artic.edu)
- VA Signage Design Manual (cfm.va.gov)
- Contract Number - California Public Utilities Commission (cpuc.ca.gov)
Cite this guide
Laminatelove (2026). Painting Laminate Furniture Tools Printable. https://laminatelove.com/painting-laminate-furniture-tools-printable/
Feel free to cite or share this guide.