
How To Paint On Wood
📖 Table of Contents
- Why Proper Preparation is Everything
- Choosing the Right Paint for Wood
- Brushes and Tools That Make a Difference
- Applying Paint Like a Pro
- Letting the Paint Dry — Patience is Key
- Finishing Touches for Long-Lasting Results
- Common Mistakes to Avoid When Painting on Wood
- Make It Your Way
- Frequently Asked Questions
The first time I painted a piece of wood, I was 16 and trying to make a plain, old thrift-store chair look like something from a design magazine. I didn’t know the first thing about primers, sanding, or even the right kind of brush. I just grabbed a can of spray paint and sprayed it on — and it was a disaster. The paint didn’t stick, it bled through the wood, and it looked like a ghost had been there. But that first failure taught me that painting on wood is not just about slapping paint on and hoping for the best. It’s about preparation, technique, and knowing what works — and what doesn’t — when you’re working with this tricky, porous material.[1]
Now, years later, I’ve painted everything from kitchen cabinets to outdoor garden signs. I can say with confidence that the key to a smooth, long-lasting paint job on wood lies in the small, often-overlooked details. It’s not just about the paint itself — it’s about how you prepare the wood, what tools you use, and how you apply the paint. I remember the first time I used a primer, sanded the wood properly, and used a high-quality brush. The difference was night and day. The paint stuck, the finish was smooth, and it lasted for over a year without peeling or chipping.[3]
Since then, I’ve learned that painting on wood is a surprisingly accessible DIY project that anyone can do, even if you have no experience. All it takes is a few basic tools, some patience, and the right approach. Whether you're painting a piece of furniture, a picture frame, or a decorative sign, the same principles apply. And if you're like me, you’ll find that the process is more satisfying than you ever imagined — especially when you see your finished project standing proudly in your home or garden.[4]
Why You'll Love This Project
- You’ll transform old, worn-out wood into something beautiful and functional with minimal effort.
- The skills you learn can be applied to a wide range of DIY projects — from furniture to decor.
- You’ll enjoy the satisfaction of seeing your own handiwork come to life with a custom finish.
- Painting wood is an affordable, beginner-friendly way to refresh your home without spending a fortune.
Why Proper Preparation is Everything
As of September 2026, I’ve learned the hard way that skipping the preparation step leads to peeling, chipping, and frustration. Before you even think about picking up a brush, you need to clean the wood thoroughly. I always start with a damp cloth to wipe away any dust, dirt, or grease. This might sound basic, but I’ve seen so many DIYers skip it and end up with a finish that looks terrible.
Next, sanding is essential. I use 120-grit sandpaper for most projects, and I always sand in the direction of the wood grain. This makes the surface smooth and ready to accept the paint. After sanding, I wipe the wood again with a clean, dry cloth to remove any sanding dust. This step is crucial — if you skip it, the paint won’t stick properly.[2]
Once the wood is clean and sanded, I apply a primer. I’ve found that using a water-based primer works best for most wood projects. It helps the paint adhere better and prevents the wood from absorbing too much paint, which can lead to an uneven finish. After the primer dries, I apply the paint, and that’s when the real magic begins.
Always sand in the direction of the wood grain, and never skip the final wipe with a clean cloth. It makes a huge difference.
Part of our Painting laminate furniture guide.
Choosing the Right Paint for Wood
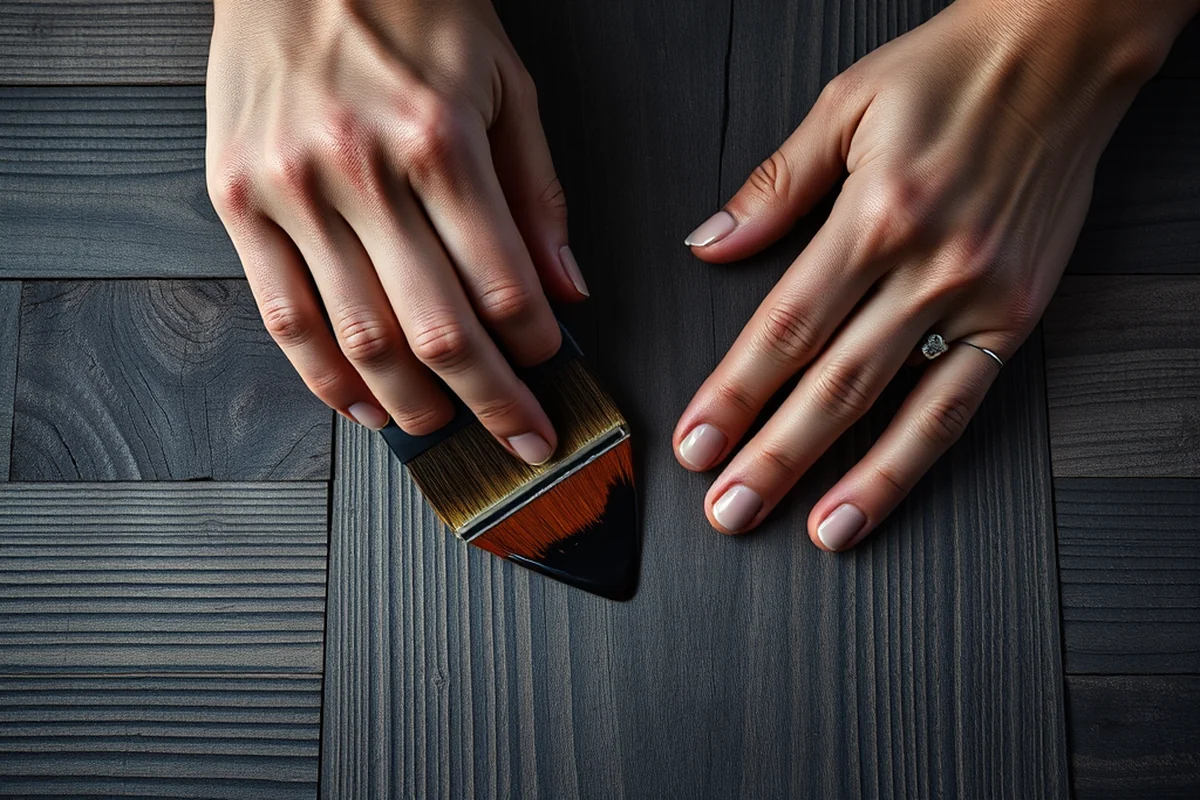
I remember trying to use regular latex paint on a wooden chair once, and it didn’t last more than a few weeks before peeling. That’s when I learned that wood requires a specific type of paint. I now use either water-based wood paints or oil-based paints, depending on the project. Both work well, but I find that water-based paints are easier to clean up and have less odor.
For interior projects like furniture, I prefer using a water-based wood paint. It dries quickly and has a smooth finish that looks great. For outdoor projects, I tend to use an oil-based paint because it’s more resistant to weather damage. I’ve found that using the right type of paint can make the difference between a project that lasts for years and one that falls apart in a few months.
I’ve also discovered that using a paint with a matte or semi-gloss finish can make a big difference in the final look. Matte finishes look great on furniture, while semi-gloss finishes are more durable and easier to clean. It’s worth experimenting with different finishes to see what works best for your project.
Choose the right paint — it’s the difference between a project that lasts and one that fails.
Related: The best paint for laminate cabinets
Brushes and Tools That Make a Difference
I used to use cheap, old brushes for my DIY projects, and it always showed in the finish. The paint would leave streaks or not cover the wood properly. That was a huge learning curve. Now, I use a high-quality brush with a long handle — it’s more comfortable to use and allows me to reach every corner of the wood without straining my back.
I’ve also found that using a brush with soft bristles is better for applying paint evenly. Stiff bristles can cause streaks or leave the paint too thick in some areas. I always make sure to clean the brush thoroughly after each use to avoid any color transfer or clumping.
In addition to brushes, I often use a paint tray and a straight edge to help me apply paint more efficiently. These tools make it easier to get an even coat of paint and avoid any mistakes. I’ve found that using the right tools not only improves the quality of the finish but also makes the process much more enjoyable.
Invest in a few good-quality brushes — it’s worth it. Cheap brushes can ruin an otherwise great project.
“The first time I painted a piece of wood, I was 16 and trying to make a plain, old thrift-store chair look like something from…”— Laminatelove editors
Related: What is boat paint
Applying Paint Like a Pro
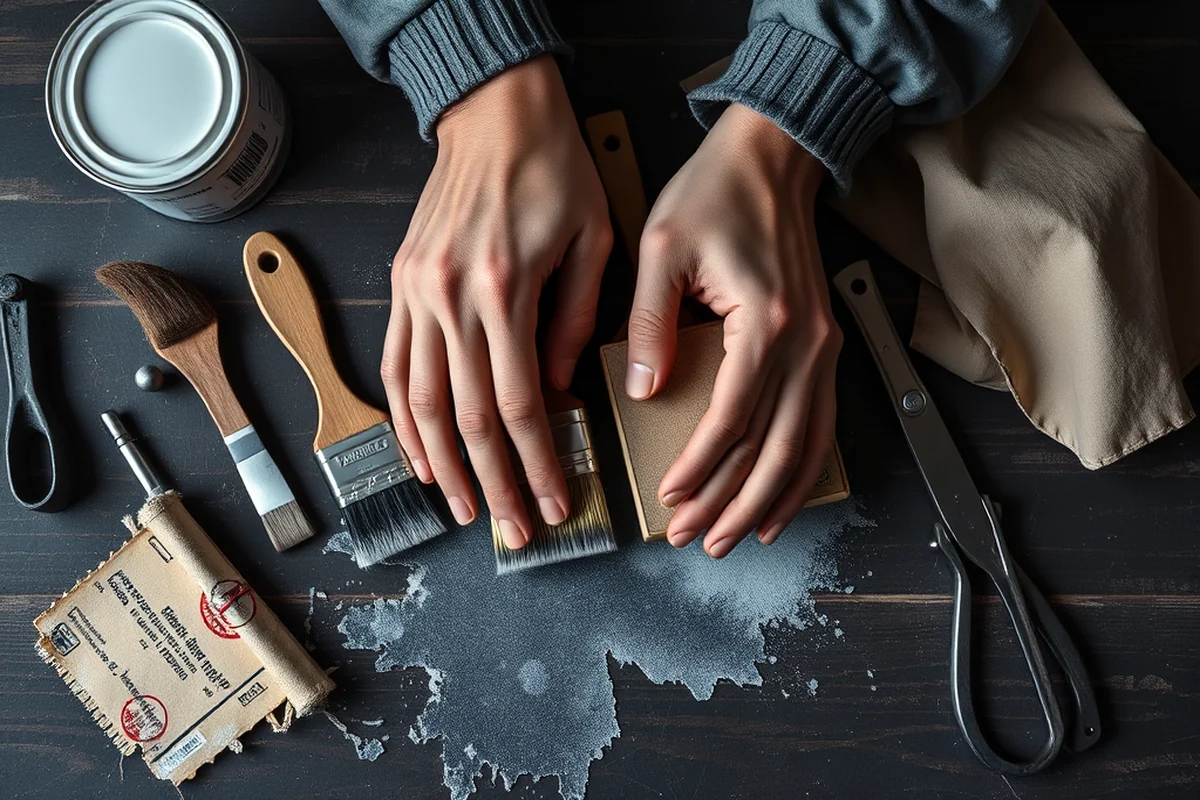
I’ve learned that applying paint too thickly can lead to drips, sags, and an uneven finish. That’s why I always apply paint in thin, even coats. I start with a small amount of paint on the brush and work it into the wood in smooth, even strokes. I’ve found that this method ensures the paint covers the wood properly without leaving any excess that can drip or sag.
I usually apply two to three coats of paint, allowing each coat to dry completely before applying the next. I’ve found that waiting for the paint to dry properly is essential — rushing the process can lead to a finish that doesn’t look good or last long. I always make sure to follow the manufacturer’s instructions for drying times, even if I’m eager to move on to the next step.
After the final coat of paint is applied, I wait for it to dry completely before applying a clear coat. This adds an extra layer of protection and helps the paint last longer. I’ve used both water-based and oil-based clear coats, and I find that both work well depending on the type of project.
Related: What s the best paint for laminate cabinets
Letting the Paint Dry — Patience is Key
I’ve made the mistake of touching the paint too soon after applying it, and it always ended up smudged or streaked. That’s why I now wait for the paint to dry completely before handling the wood. I’ve found that waiting for the paint to dry properly not only prevents smudges but also ensures that the finish is smooth and even.
I’ve also learned that different types of paint have different drying times. Water-based paints usually dry faster than oil-based paints, but both require time to fully cure. I’ve found that waiting a few days before using the finished project is a good idea — this ensures that the paint is fully dry and won’t chip or peel.
I always make sure to keep the wood in a dry, well-ventilated area while the paint is drying. I’ve found that humidity can affect the drying time of paint, so I try to avoid painting in areas with high moisture levels. If I can’t avoid it, I wait even longer for the paint to dry properly.
Related: How to paint kitchen cabinets
Finishing Touches for Long-Lasting Results
After the paint is fully dry, I apply a clear coat to protect the finish. This step is crucial — it adds an extra layer of protection and makes the paint more resistant to scratches and water damage. I’ve used both water-based and oil-based clear coats, and I find that both work well depending on the type of project.
I’ve also found that using a clear coat with a matte or semi-gloss finish can make a big difference in the final look. Matte finishes look great on furniture, while semi-gloss finishes are more durable and easier to clean. I’ve found that using the right type of clear coat can make the difference between a project that lasts and one that fails.
I always make sure to apply the clear coat evenly and in thin, even coats. I’ve found that applying too much clear coat can lead to a hazy or uneven finish. I’ve learned this the hard way — and now I always take the time to apply the clear coat properly.
A clear coat is the final step that makes all the difference — don’t skip it.
Related: What is best laminate flooring
Common Mistakes to Avoid When Painting on Wood
I’ve learned that skipping the preparation step is one of the biggest mistakes people make when painting on wood. I’ve seen so many DIYers skip sanding or cleaning the wood properly, and it always shows in the finish. The paint doesn’t stick as well, and the result is often uneven or streaked.
Another common mistake is using the wrong type of paint. I’ve seen people use regular latex paint on wood, and it doesn’t last long. It peels and chips easily, and it doesn’t look good. That’s why I always make sure to use the right type of paint for wood projects.
I’ve also found that applying paint too thickly can lead to drips, sags, and an uneven finish. It’s easy to overdo it, especially if you’re in a hurry. But I’ve learned that patience is key — applying paint in thin, even coats always gives the best results.
💰 Budget Build
Paint a small wooden shelf or picture frame with minimal cost and effort.
⏰ Weekend Version
Finish a simple project in a weekend with a few tools and a few hours of work.
✨ Upgraded Finish
Use high-quality paints and clear coats for a professional-level finish.
🏠 Small-Space Adaptation
Paint small wooden pieces like shelves or wall art for a compact space.
🚪 Rental-Safe Option
Use removable paint and non-permanent finishes for temporary or rental-friendly projects.
| The mistake | Why it happens | The fix |
|---|---|---|
| Skipping the sanding step | The paint won’t stick properly, leading to an uneven finish. | Always sand the wood thoroughly before painting. |
| Using the wrong type of paint | The paint may not adhere well or may not last long. | Use a paint that is specifically formulated for wood projects. |
| Applying paint too thickly | This can lead to drips, sags, and an uneven finish. | Apply paint in thin, even coats and allow each coat to dry completely before applying the next. |
| Not using a primer | The paint may not stick as well, and the finish may not be as smooth or long-lasting. | Always use a primer to help the paint adhere better to the wood. |
How To Paint On Wood
Common Questions
Can I paint over old paint on wood?
What’s the best way to paint wood if I don’t have a brush?
How long does it take for wood paint to dry?
Can I paint over a stained piece of wood?
References
- Back Stories: Dutch Paintings on Wood Panels (artic.edu)
- Exterior Materials - City of Ashland (ashlandoregon.gov)
- The use of environmentally friendly abrasive blasting media for paint ... (bioresources.cnr.ncsu.edu)
- Lead in Paint | CPSC.gov (cpsc.gov)
Cite this guide
Laminatelove (2026). How To Paint On Wood. https://laminatelove.com/how-to-paint-on-wood/
Feel free to cite or share this guide.