
How To Paint On Wood Furniture
📖 Table of Contents
I remember the first time I painted my grandmother's old oak coffee table — it had a chipped finish and a few stains I couldn’t get out. I was determined to give it new life. After a weekend of sanding, priming, and painting, I watched it transform into something modern and fresh. Painting on wood furniture is one of the most rewarding DIY projects you can tackle, and it's surprisingly simple if you know the right steps. Whether you're updating a thrifted piece or giving your own furniture a face-lift, understanding how to paint on wood furniture can make all the difference in the final result.
Over the years, I've painted everything from dining chairs to bookshelves, and I've learned that the key to a successful paint job lies in preparation. Skipping steps like sanding or priming can lead to peeling paint or an uneven finish, but taking the time to do it right ensures your project lasts for years. Painting on wood furniture isn’t just about aesthetics — it's a way to breathe new life into old pieces and express your personal style without breaking the bank.
In this guide, I'll walk you through every step of the process, from selecting the right paint and tools to applying the final coat and sealing your work. I've tested different methods and products over the past few years, and I’ll share the ones that worked best for me. Whether you're a complete beginner or have some DIY experience, this article will help you achieve a professional-looking result that looks great and lasts long.
Why You'll Love This DIY Project
- Transform outdated furniture into something stylish and modern
- Customize your space with bold colors or subtle tones
- Save money by updating your existing furniture instead of buying new
- Gain confidence in your DIY skills with a project that feels rewarding
Choosing the Right Paint and Primer
As of September 2026, for wood furniture, I always use water-based latex paint or chalk paint, depending on the look I want. Latex paint offers durability and a smooth finish, while chalk paint gives a matte, vintage look with less prep work. I've found that using a high-quality primer like Zinsser Bulls Eye 1-2-3 is crucial for sealing the wood and ensuring the paint adheres properly. Without a primer, the paint can absorb unevenly and lead to a patchy appearance.
When I painted my grandmother’s coffee table, I used a primer first and it made a huge difference. The paint covered the wood evenly and didn’t require multiple coats. I also found that using a primer can save time and money in the long run by reducing the number of paint coats needed. If you're working with a stained or dark piece of furniture, a white primer can help brighten the surface and make the final paint color pop.
I recommend using a brush with a natural bristle for oil-based paints and a synthetic bristle brush for water-based paints. The type of brush you use can impact the final look, so it's worth investing in a good quality one. I've seen a big difference in the finish when using the right tools — it's not just about the paint, it's about how it's applied.[1]
Use chalk paint for a vintage look, and latex paint for a more modern, durable finish. Always start with a quality primer.
Part of our Painting laminate furniture guide.
Prep Work: Sanding and Cleaning
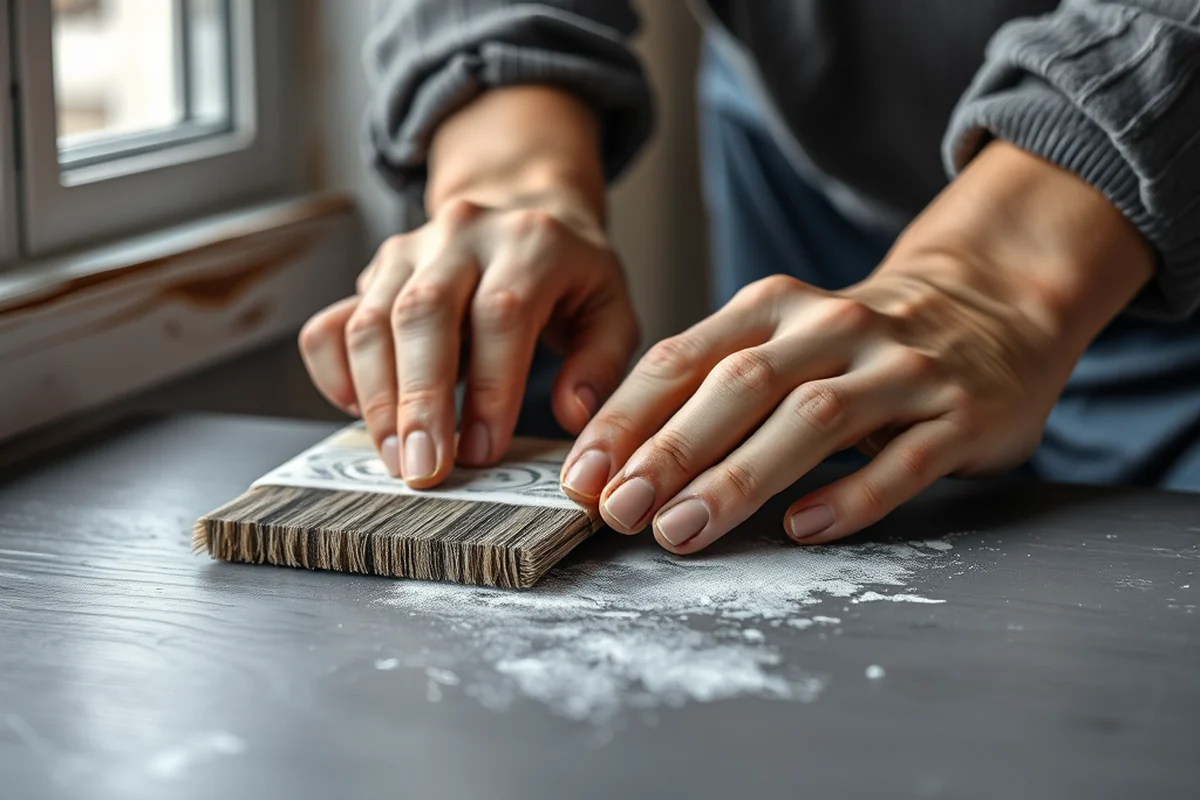
Before painting, I always start by cleaning the furniture thoroughly. I use a damp cloth to wipe away any dust, dirt, or grime, and then I let it dry completely. If the wood has any old wax, polish, or sealant on it, I use a degreaser or a furniture stripper to remove it. I’ve found that skipping this step can lead to peeling paint later on.
Sanding is the next crucial step. I use a medium-grit sandpaper (around 120 grit) to smooth out the surface and remove any old finish or imperfections. I sand in the direction of the wood grain to avoid creating scratches that go against the grain. After sanding, I always wipe the furniture down with a damp cloth to remove any dust and allow it to dry before moving on to the next step.[2]
I’ve learned the hard way that rushing this stage can lead to a subpar finish. Taking the time to sand properly ensures that the paint goes on smoothly and evenly. If you're working with a piece that has a lot of dents or scratches, you may need to sand more aggressively or use a wood filler to smooth out the surface before painting.
Don't skip the sanding — it's the secret to a smooth, long-lasting finish.
Related: The best paint for laminate cabinets
Related: Best Paint Wood Furniture
Priming for a Strong Base
After sanding, I always apply a coat of primer. I use a brush or roller to apply it in even strokes, making sure to cover every part of the furniture. I’ve found that using a primer with a high solids content, like Zinsser Bulls Eye 1-2-3, gives the best results. It dries quickly and creates a strong base for the paint to stick to.
I usually let the primer dry for about 30 minutes before applying the first coat of paint. This allows the primer to set and prevents it from being smudged by the brush. If I’m working with a very porous piece of wood, I might apply a second coat of primer to ensure full coverage. It might seem like an extra step, but it's worth it for a durable finish.[3]
Priming can make a big difference in how well your paint holds up over time. I’ve had pieces of furniture that I painted without primer, and within a year, the paint started to chip and peel. With a proper primer, my painted furniture has lasted for years without needing touch-ups.
Priming is just as important as the paint itself — it ensures your work lasts and looks great for years.
“I remember the first time I painted my grandmother's old oak coffee table — it had a chipped finish and a few stains I couldn’t…”— Laminatelove editors
Related: What is boat paint
Painting Techniques for a Professional Look
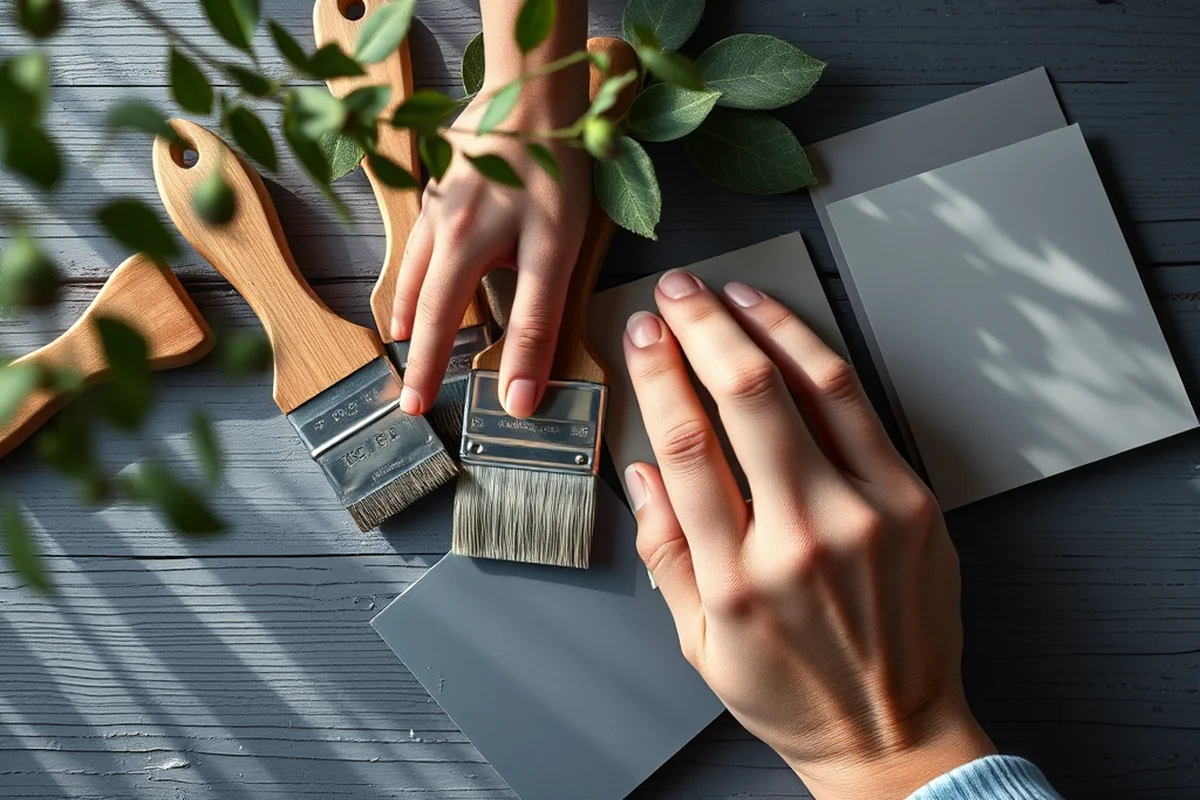
With painting, I use a brush and apply the paint in long, even strokes. I start with the sides and back of the furniture, then move on to the top. I always paint in the direction of the wood grain to avoid leaving brush marks. I've found that using a brush with a flat tip works best for covering large areas without leaving streaks.
I apply two to three thin coats of paint, letting each coat dry completely before applying the next. I've learned that applying too much paint at once can lead to drips and uneven coverage. If I'm using a darker color, I usually apply a white primer first, which helps the final color appear more vibrant and even.
I’ve also experimented with using a roller for larger, flat surfaces like shelves or tabletops. It gives a more even finish and covers large areas quickly. I always test the paint on a small, inconspicuous area first to make sure I'm happy with the color and finish.
Related: What s the best paint for laminate cabinets
Sealing the Paint for Longevity
After the final coat of paint is dry, I apply a clear sealant to protect the finish. I’ve used both water-based polyurethane and wax-based sealants, and I’ve found that the water-based option is easier to apply and dries faster. I always apply two thin coats, letting each coat dry before applying the next.
I’ve noticed that using a sealant can significantly extend the life of your painted furniture. Without a sealant, the paint is more prone to chipping, peeling, or fading over time. I’ve had a few pieces that didn’t get sealed, and within a year, the paint started to look dull and worn.
If you’re using a matte or chalk paint, I recommend using a wax-based sealant, as it can give a more natural, vintage look. I’ve found that a water-based polyurethane gives a more durable, glossy finish that’s perfect for high-traffic areas like kitchen tables or dining chairs.[4]
Related: How to paint kitchen cabinets
Troubleshooting Common Paint Issues
One of the most common issues I’ve encountered is paint bubbling or peeling. This usually happens if the surface wasn’t properly cleaned or sanded before painting. To fix this, I recommend stripping the paint back to the bare wood and starting over with proper prep work.
Another issue is brush marks or streaks in the paint. This can happen if you apply too much paint at once or if you’re not using the right brush. To fix this, I recommend using a high-quality brush and applying thin, even coats. If the problem persists, you can sand the surface lightly and repaint.
If your paint looks uneven or patchy, it might be due to an uneven primer or paint application. I’ve found that applying a second coat of primer and then repainting can help even out the finish. It might take a bit more time, but it’s worth it for a professional-looking result.
Don’t panic if something goes wrong — it's all part of the process.
Related: What is best laminate flooring
Finishing Touches: Adding Texture and Details
After the paint and sealant are dry, I sometimes add texture or details to make the piece more unique. I’ve used painter’s tape to create clean, straight lines or to add patterns like stripes or geometric shapes. I’ve also experimented with stenciling and using different brush strokes to create a more artistic look.
If I want to add a bit of texture, I use a sponge or a dry brush technique to create a distressed look. This is especially popular with chalk paint and can give your furniture an antique or vintage feel. I’ve found that this technique works best on pieces that are already in good condition and don’t need a lot of repairs.
Adding details like handles, knobs, or decorative elements can also enhance the look of your painted furniture. I’ve used hardware that matches the paint color or I’ve even painted the hardware to match the furniture. It’s a small detail, but it can make a big difference in the overall look.
💰 Budget Build
Use affordable paints and minimal tools to achieve a fresh look without breaking the bank.
⏰ Weekend Version
Complete the project in a single day with quick prep and paint techniques.
✨ Upgraded Finish
Add a high-gloss polyurethane finish for a professional, long-lasting look.
🛋️ Small-Space Adaptation
Paint small furniture pieces like side tables or shelves for a quick update.
🚪 Rental-Safe Option
Use removable paint or chalk paint that can be easily cleaned or removed at the end of your rental stay.
| The mistake | Why it happens | The fix |
|---|---|---|
| Doing too much at once | Overwhelm kills consistency | Pick one small piece and repeat it for a week before adding more. |
| Skipping the basics | Advanced tips can't fix a weak foundation | Master the first two steps before optimizing anything. |
How To Paint On Wood Furniture
Common Questions
What type of paint is best for wood furniture?
Do I need to sand the furniture before painting?
How long does it take to paint a piece of furniture?
What tools do I need for painting wood furniture?
References
- (DOC) Paint and vanishes -word - Academia.edu (academia.edu)
- Salvaging Furniture - Alabama Cooperative Extension System - (aces.edu)
- Keeping U.S. Senate Historic Furniture Looking New | AOC (aoc.gov)
- WAC 296-62-07477: - Washington State Government (app.leg.wa.gov)
Cite this guide
Laminatelove (2026). How To Paint On Wood Furniture. https://laminatelove.com/how-to-paint-on-wood-furniture/
Feel free to cite or share this guide.