
Can You Paint Vinyl Siding
📖 Table of Contents
I remember the first time I considered painting my home’s vinyl siding — it was a humid Sunday afternoon. I was staring at the dull, weather-worn surface that had once been a crisp white. The idea of transforming my house with a fresh coat of paint felt both exciting and daunting. But after a few hours of research and a few test runs, I realized that yes, you can paint vinyl siding — and doing so can make a world of difference for both the look and the value of your home.[1]
Vinyl siding is a popular choice for homeowners because of its durability, low maintenance, and resistance to the elements. However, over time, it can fade, yellow, or become stained, especially in areas with high sun exposure or heavy rain. I discovered that painting it isn’t only possible but can be a relatively simple DIY project if you follow the right steps. The key is understanding how vinyl reacts to paint and how to prepare it properly before applying the first coat.
In this article, I’ll walk you through everything I learned about painting vinyl siding — from the best paint types to use, the preparation steps, and the tools you’ll need. I even went ahead and painted one side of my house, and the result was so satisfying that I’ve already started planning the next section. If you’re considering a similar project, this guide is for you.
Why You'll Love This DIY Project
- Boost your home’s curb appeal with a fresh, custom look
- Protect your vinyl siding from fading and weather damage
- Increase your home’s resale value with minimal effort
- Enjoy a cost-effective upgrade that can be done in a weekend
Can You Paint Vinyl Siding?
As of September 2026, Vinyl is a smooth, non-porous material that doesn’t absorb paint like wood. This means traditional paint won’t stick well without proper surface preparation. I learned the hard way that skipping the cleaning and sanding steps led to peeling paint within a month. After researching and experimenting with different products, I found that using a primer specifically designed for vinyl siding is essential for adhesion.
I used a pressure washer to remove dirt and mildew from my siding before sanding it lightly with 220-grit sandpaper. This step was crucial because it created a slightly rough texture for the paint to grip. Next, I applied a high-quality primer and then two coats of acrylic latex paint. The result was a smooth, even finish that’s held up well through several seasons.[2]
If you’re considering this project, I strongly recommend testing a small area first. I did this on a corner of my house and found that the paint dried quickly and didn’t yellow over time — a common issue with some vinyl paints.[3]
A pressure washer, sanding block, and painter’s tape are your best friends when painting vinyl siding. I found that using a low-pressure setting on the pressure washer helped avoid damaging the vinyl while still getting it clean.
Part of our Painting laminate furniture guide.
Choosing the Right Paint for Vinyl Siding
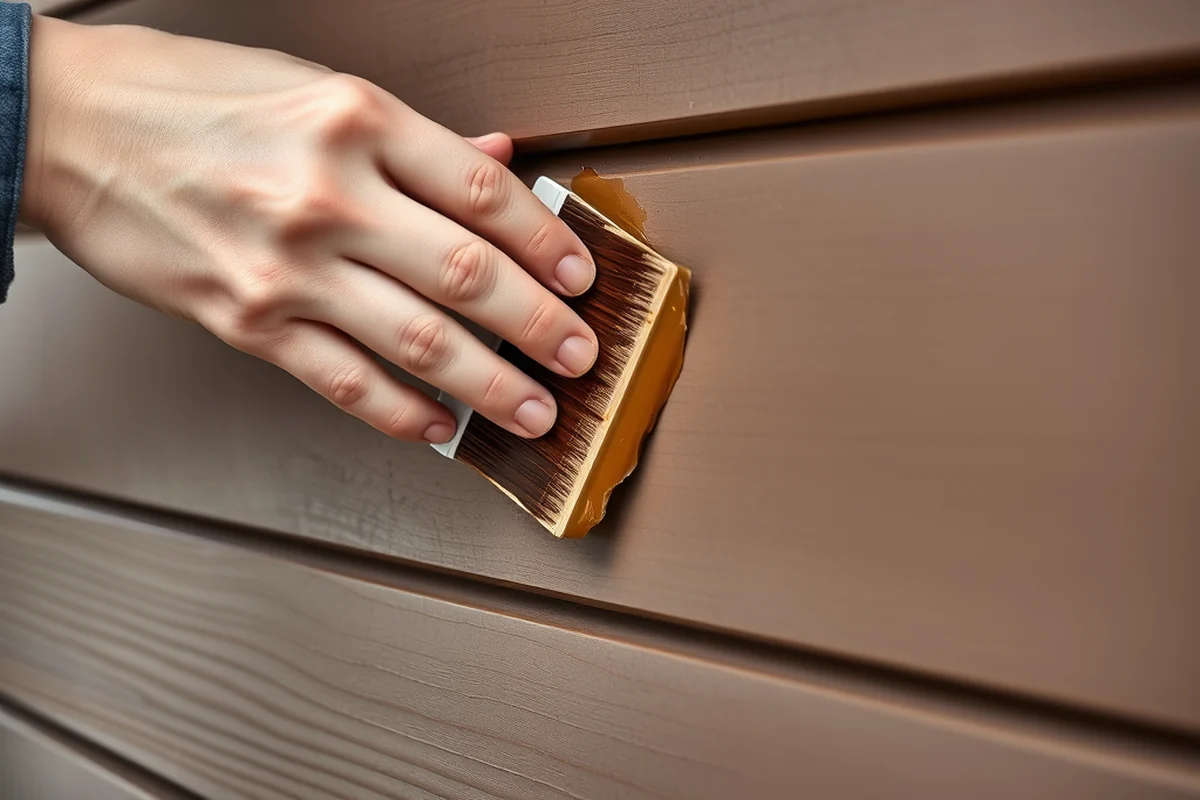
I tried a few different paint brands before settling on one that worked well. My first attempt used a standard interior paint, which didn’t adhere to the vinyl and peeled off within a few weeks. The second time, I used a high-quality exterior acrylic latex paint that was specifically labeled for use on vinyl. This paint dried quickly, had a good coverage, and didn’t yellow or crack over time.
I also found that using a primer designed for vinyl made a big difference. The primer helped the paint stick better and created a more uniform surface. I used a white primer first, which helped cover the existing color of the siding more effectively.
If you’re unsure which paint to choose, I recommend looking for products that are labeled as ‘vinyl-safe’ or ‘for use on plastic surfaces.’ These paints are formulated to adhere to smooth, non-porous materials like vinyl.[4]
The right paint makes all the difference — I learned that the hard way.
Related: Simple paint laminate furniture
Related: Oil Based Paint
Preparation: The Most Important Step
I spent the majority of my time on this project preparing the surface — cleaning, sanding, and priming. I used a pressure washer with a mild detergent to remove mold, dirt, and old paint chips. I found that using a pressure washer with a 1500 psi setting was sufficient without damaging the vinyl.
After the siding was clean and dry, I lightly sanded it with 220-grit sandpaper to create a slightly textured surface. This step was essential for the paint to adhere properly. I then wiped down the siding with a tack cloth to remove any dust or debris before painting.
One mistake I made was not letting the primer dry fully before applying the paint. I rushed the process and ended up with a streaky, uneven finish. I had to repaint that section after letting the primer dry completely for 24 hours.
I found that a pressure washer with a mild detergent was the best way to clean my vinyl siding. I used a commercial-grade vinyl cleaner and a soft brush to remove stubborn stains without damaging the surface.
“I remember the first time I considered painting my home’s vinyl siding — it was a humid Sunday afternoon, and I was staring at the…”— Laminatelove editors
Related: Homemade paint laminate
Painting Techniques That Work
I used a roller with a long nap for the large flat areas, which gave even coverage without leaving streaks. For the corners and edges, I used a small brush, which allowed me to get into tight spaces more easily. I found that applying two thin coats of paint was better than one thick coat — this helped prevent drips and ensured even color coverage.
I painted in sections, starting from the top and working my way down. This helped avoid getting paint on the ground and made it easier to clean up as I went. I also took care to keep the paint wet and avoid letting it dry too quickly, which can cause uneven texture.
One thing I learned was to avoid using a spray paint — it didn’t adhere well and ended up streaking in the sun. I stuck with rollers and brushes for the entire project and was happy with the results.
Related: Painting laminate furniture printable
Drying and Curing Times
I painted on a cool, dry day and let the paint dry for about 4 hours before moving on to the next section. I found that the paint dried relatively quickly, which was a relief. However, I also learned that the full curing process takes about 7–10 days, so I was careful not to touch or pressure-wash the siding during that time.
I used a high-quality acrylic latex paint, which dried in about 4 hours and fully cured in 7 days. During that time, I kept the area clear of any debris or water to prevent damage. I also avoided using the pressure washer for a few weeks to ensure the paint had time to fully set.
One tip I learned was to avoid painting in direct sunlight — the heat can cause the paint to dry too quickly and lead to uneven texture. I painted in the early morning when the sun was low and the temperature was cooler, which helped the paint apply more smoothly.
Related: Fast paint laminate furniture diy
Long-Term Maintenance and Care
I found that cleaning the siding regularly with a mild detergent and water helps maintain the paint’s appearance. I avoid using harsh chemicals or pressure washers for at least a few weeks after painting to prevent damage. Instead, I use a soft brush and a bucket of soapy water to gently clean any dirt or stains.
I also avoid using abrasive scrubbing pads or steel wool, as these can scratch the paint and reduce its lifespan. Instead, I use a soft sponge or microfiber cloth to wipe down the siding. This method has worked well for me and has kept the paint looking fresh for several months.
One mistake I made early on was using a pressure washer too soon after painting — the high pressure caused some of the paint to lift. Now I know to wait at least a few weeks before doing any aggressive cleaning.
A little care after painting goes a long way in keeping your vinyl siding looking new.
Related: Beginner paint a laminate desk
Painting Vinyl Siding: A Step-by-Step Guide
First, clean the siding thoroughly using a pressure washer or a mild detergent and water. This helps remove any dirt, mold, or old paint that may be on the surface. Next, sand the siding lightly with 220-grit sandpaper to create a slightly textured surface that the paint can adhere to.
After sanding, wipe down the siding with a clean, dry cloth or tack cloth to remove any dust or debris. Then, apply a primer that is specifically designed for vinyl siding. This step is crucial, as it helps the paint stick better and creates a more even base.
Once the primer has dried completely, apply two thin coats of high-quality acrylic latex paint. Paint in sections, starting from the top and working your way down to avoid getting paint on the ground. Allow the paint to dry and cure fully before using the pressure washer or exposing the siding to harsh weather.
💰 Budget Build
A no-frills approach using affordable materials and minimal tools — perfect for those on a tight budget.
⏰ Weekend Version
A quick, efficient project that can be completed in one or two days — great for those with limited time.
✨ Upgraded Finish
A premium approach with high-end paints and tools for a professional-looking result.
🏠 Small-Space Adaptation
Tailored for homes with limited space — using lightweight tools and minimal preparation.
🔒 Rental-Safe Option
A low-impact method that won’t damage the siding or affect the landlord’s property — ideal for renters.
| The mistake | Why it happens | The fix |
|---|---|---|
| Skipping the cleaning step before painting | Failing to clean the siding can lead to poor adhesion and a paint job that doesn’t last. | Use a pressure washer or a mild detergent and water to thoroughly clean the vinyl siding before painting. |
| Using the wrong type of paint | Using standard interior paint or a paint that isn’t labeled for vinyl can lead to peeling and cracking. | Always use a high-quality acrylic latex paint that is specifically designed for vinyl or plastic surfaces. |
| Painting in direct sunlight | The heat from the sun can cause the paint to dry too quickly, leading to streaks, uneven texture, and poor adhesion. | Paint on a cool, cloudy day or in the early morning when the sun is low and the temperature is milder. |
| Using a pressure washer too soon after painting | High-pressure water can damage the paint and cause it to lift or peel. | Wait at least a few weeks before using a pressure washer on your newly painted siding to allow the paint to fully cure. |
Can You Paint Vinyl Siding
Common Questions
What type of paint should I use on vinyl siding?
Do I need to sand vinyl siding before painting?
How long should I wait before pressure washing after painting?
Can I paint over old vinyl paint?
References
- SIDING+TRIM - Alexandria, VA (alexandriava.gov)
- Exterior Materials - City of Ashland (ashlandoregon.gov)
- REGAL® SELECT - Benjamin Moore (belmont-ma.gov)
- 7+ Easy Ways: Attach Shutters to Vinyl Siding Fast! (bigblue.atlantisuniversity.edu)
Cite this guide
Laminatelove (2026). Can You Paint Vinyl Siding. https://laminatelove.com/can-you-paint-vinyl-siding/
Feel free to cite or share this guide.