
Oil Based Paint
📖 Table of Contents
I still remember the first time I used oil-based paint on an old wooden bookshelf — the smell alone was enough to transport me back to my grandfather’s garage, where he’d spent hours working on furniture. There’s something about the way oil-based paint clings to surfaces, the deep, rich finish it leaves behind, and the way it feels under your fingers after it dries. It’s not the kind of paint you’d choose for a quick project, but for the right job, it’s unmatched.[2]
Oil-based paint isn’t as common these days, but it still holds a special place in the hearts of DIYers who know its value. I’ve used it on everything from cabinets to picture frames. Each time, I’ve been reminded of its unique qualities — the way it fills in imperfections, the way it resists moisture, and the way it ages beautifully over time. It’s not for everyone, but for those who understand its power, it’s a game-changer.[3]
The last time I worked with oil-based paint, I spent a whole weekend on a small kitchen cabinet project, and by the end of it, I was hooked. The finish was smooth, the color was vibrant, and the durability was impressive. I’ve since used it on other pieces, and each time, I’ve learned something new — like how to thin it properly or how to avoid common mistakes. If you’re considering oil-based paint for your next project, this is the guide you’ll want to read.[4]
Why You'll Love This DIY Project
- Oil-based paint offers a durable, long-lasting finish that resists scratches and moisture.
- It provides a smooth, professional-looking finish that’s hard to achieve with other types of paint.
- It works well on a variety of surfaces, including wood, metal, and concrete.
- It enhances the natural grain and texture of wood, making it ideal for furniture restoration.
What Makes Oil-Based Paint Different?
As of September 2026, Oil-based paint uses a solvent-based formula that allows it to penetrate surfaces more deeply than water-based alternatives. This makes it particularly effective on wood, where it can fill in gaps and enhance grain patterns. Unlike water-based paints, which dry quickly, oil-based paint takes longer to cure, which can be a drawback for some but also a benefit for those who want a more durable finish.
I’ve noticed that oil-based paint tends to be more forgiving on imperfections — if you’ve got a few dents or scratches, it can hide them better than other types of paint. This is a huge plus when working on furniture that’s been used over the years and has a few blemishes.
The longer curing time also means that oil-based paint is less likely to chip or crack over time. I’ve used it on a kitchen table that sees a lot of use, and even after a year, it still looks brand new.
Before applying oil-based paint, use a sanding block to smooth out the surface — this helps the paint adhere better and ensures an even finish.
Part of our Painting laminate furniture guide.
Preparation is Key
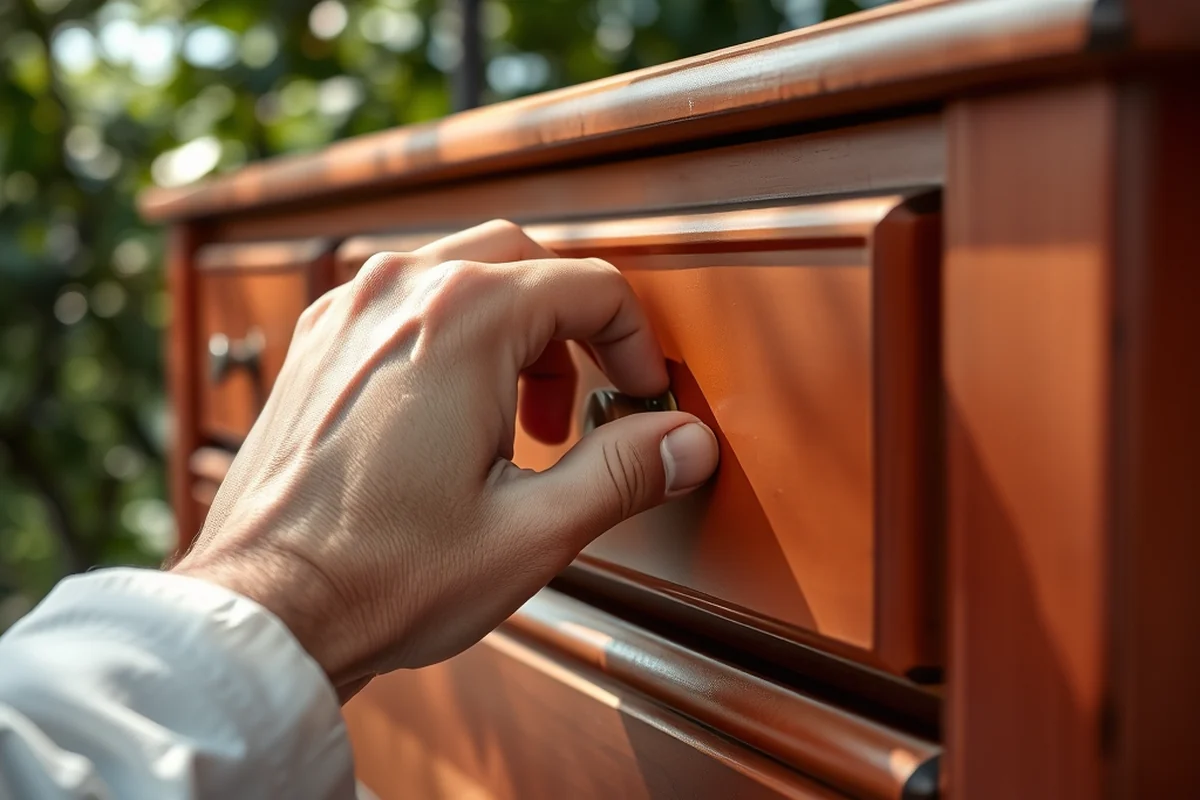
I learned this the hard way when I tried to paint over a surface that wasn’t properly cleaned. The paint didn’t stick well, and I ended up with a bumpy, uneven finish. To avoid this, I always start by cleaning the surface thoroughly with a degreaser and sanding it lightly.
Sanding is especially important with oil-based paint because it helps create a better bond between the surface and the paint. I usually use a coarse grit sandpaper first to remove any old paint or imperfections, then switch to a finer grit for a smoother finish.
After sanding, I wipe the surface with a damp cloth to remove any dust, and then let it dry completely. This step is crucial — if you skip it, the paint may not adhere properly, and you’ll end up with a patchy result.
A little preparation goes a long way — especially with oil-based paint.
Related: Budget painting laminate furniture tips
Choosing the Right Paint
Not all oil-based paints are created equal — I’ve found that the brand and type of paint can affect the finish and durability. For furniture restoration, I prefer using a high-quality oil-based paint that’s specifically formulated for wood. These paints tend to have better coverage and a more natural finish.
I also look for paints that are easy to work with — ones that don’t dry too quickly and can be thinned out if needed. I’ve used a few different brands over the years, and some are easier to apply than others. It’s worth experimenting a bit to find the one that works best for your project.
Another thing to consider is the sheen of the paint. I’ve found that a semi-gloss finish works well for furniture that’s used regularly, while a matte finish might be better for decorative pieces that don’t see as much use.
Before committing to a whole project, test the paint on a small, inconspicuous area of the surface to see how it looks and feels.
“I still remember the first time I used oil-based paint on an old wooden bookshelf — the smell alone was enough to transport me back…”— Laminatelove editors
Related: Paint a laminate desk guide
Application Techniques
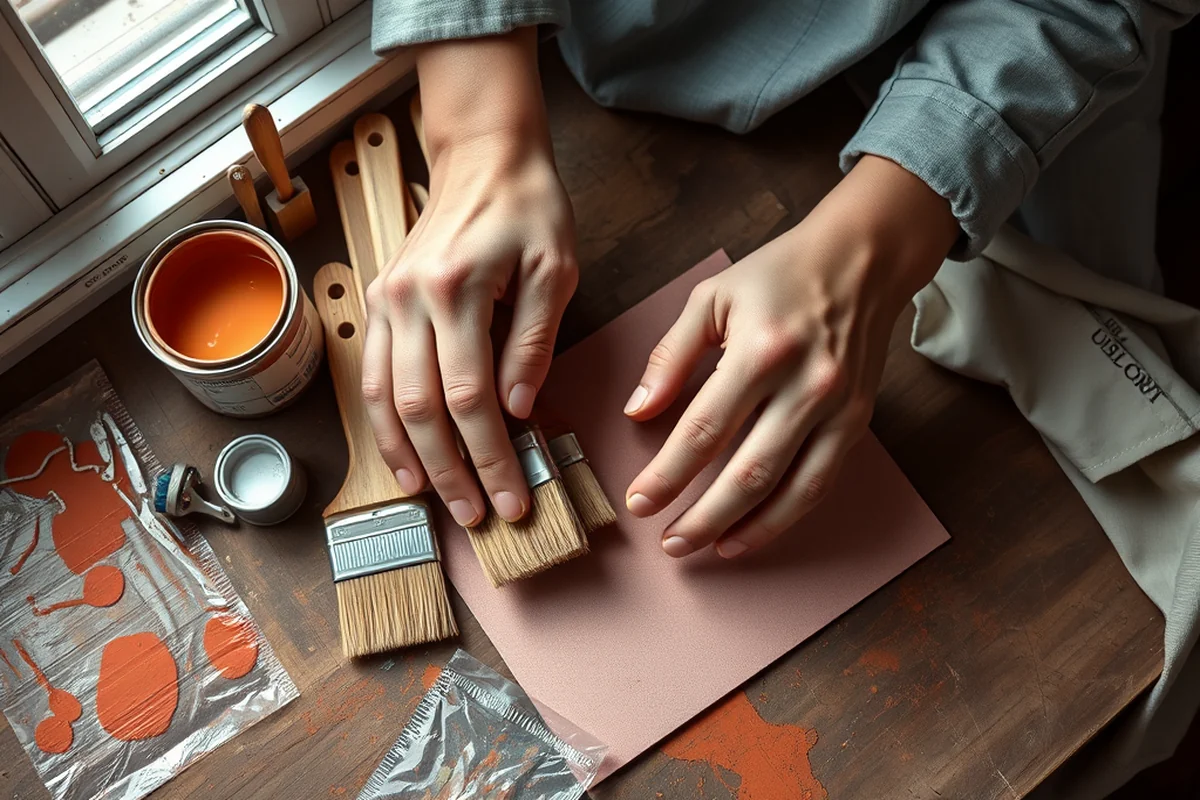
I’ve found that using a brush is the best way to apply oil-based paint — it allows for more control and helps prevent brush marks. I usually use a high-quality brush with natural bristles, which work better with oil-based paint than synthetic ones.
When applying the paint, I work in small sections and use even, smooth strokes. I also make sure to overlap each stroke slightly to avoid leaving streaks. This technique helps create a more uniform finish.
I’ve also learned that thinning the paint slightly can make it easier to apply — especially if you’re working with a thick formula. I usually mix in a small amount of mineral spirits to reduce the consistency, but I never add too much, or it can affect the durability.
Related: Easy painting laminate furniture
Drying and Curing Times
One of the biggest differences between oil-based and water-based paint is the drying time. I’ve noticed that oil-based paint can take anywhere from 24 to 48 hours to dry to the touch, and up to a week to fully cure. This means you’ll have to be patient if you want the best results.[1]
During the drying process, I’ve found that it’s important to keep the painted surface in a well-ventilated area. I usually work in a garage or a room with windows open, and I avoid using the piece until it’s fully cured. This helps prevent any damage to the finish.
I’ve also discovered that the curing time can vary depending on the type of paint and the thickness of the coat. Thicker coats take longer to cure, so I usually apply thin, even coats and let each one dry completely before applying the next.
Related: Minimalist paint laminate wood furniture
Finishing Touches
After the paint has fully cured, I like to apply a clear top coat to protect the surface and give it a more polished look. I’ve used both oil-based and water-based top coats — the oil-based ones tend to provide a slightly more natural finish, while the water-based ones are easier to apply.
I’ve also found that using a wax or polish can help bring out the natural grain of the wood and add a subtle sheen. This is especially useful for furniture that’s been refinished and wants to look like it’s brand new.
Another tip I’ve learned is to avoid over-polishing — too much can make the surface feel slippery or unnatural. I always test a small area first and then work my way across the piece.
Don’t skip the final touches — they make all the difference.
Related: Paint laminate furniture for beginners
Maintenance and Longevity
I’ve found that oil-based paint is incredibly durable, but it’s not indestructible. I’ve had to clean up spills and stains occasionally, and I’ve learned that using a mild soap and water is the safest way to do it. I always avoid using harsh chemicals or abrasive cleaners, which can damage the finish.
Over time, I’ve noticed that the paint can develop a slight yellow tint, especially on lighter colors. This is a natural part of the aging process, and I’ve learned to embrace it — it gives the piece a vintage look that’s hard to replicate with other types of paint.
I’ve also discovered that oil-based paint tends to hold up well in high-traffic areas, like kitchens and living rooms. I’ve used it on a dining table that sees daily use, and even after a few years, it still looks excellent.
💰 Budget Build
Use basic tools and affordable paint to create a durable, long-lasting finish without breaking the bank.
⏰ Weekend Version
Complete a small project in one day with minimal preparation and quick application techniques.
✨ Upgraded Finish
Add a clear top coat and wax to enhance the appearance and durability of your project.
🛋️ Small-Space Adaptation
Use oil-based paint on smaller furniture or decorative items that don’t require heavy application.
🔒 Rental-Safe Option
Choose a low-odor oil-based paint that’s safe for rental properties and can be easily removed if needed.
| The mistake | Why it happens | The fix |
|---|---|---|
| Not preparing the surface properly | Failing to clean or sand the surface can lead to a poor finish and uneven paint application. | Always clean and sand the surface thoroughly before applying paint to ensure a smooth, even result. |
| Applying too thick of a coat | Thick coats of oil-based paint can take longer to dry and may result in a bumpy or uneven finish. | Apply thin, even coats and allow each coat to dry completely before applying the next. |
| Not allowing enough drying time | Painting too soon after applying can lead to streaks, smudges, or a poor finish. | Be patient and allow the paint to dry fully before handling or using the piece. |
| Using the wrong type of brush | Synthetic brushes can leave streaks or not hold the paint well, leading to a poor finish. | Use a high-quality brush with natural bristles for better control and a smoother application. |
Oil Based Paint
Common Questions
How long does oil-based paint take to dry?
Can I use oil-based paint on metal surfaces?
Is oil-based paint easier to clean up than water-based paint?
Can I paint over oil-based paint with water-based paint?
References
- (PDF) Issues in Contemporary Oil Paint - Academia.edu (academia.edu)
- Paint | Ashtabula County, OH - Official Website (ashtabulacounty.gov)
- 9+ Factors: How Long Does Oil Paint Take to Dry? (bigblue.atlantisuniversity.edu)
- art 419a: oil painting i noncredit for older adults - Academic Catalog (catalog.foothill.edu)
Cite this guide
Laminatelove (2026). Oil Based Paint. https://laminatelove.com/oil-based-paint/
Feel free to cite or share this guide.