
Paint On Laminate Cabinets
📖 Table of Contents
- The Importance of Proper Surface Prep
- Choosing the Right Paint and Primer
- Applying the Paint: Tips for a Professional Finish
- Drying and Curing Time: What to Expect
- Maintenance and Longevity of Painted Laminate Cabinets
- Common Challenges and How to Avoid Them
- Final Tips for a Successful Paint-On-Laminate-Cabinets Project
- Make It Your Way
- Frequently Asked Questions
The first time I painted my laminate kitchen cabinets, I was convinced I’d ruined the entire room. I had read a few online guides, but none had warned me about the importance of proper surface prep. What I didn’t realize was that laminate is a tricky material — it’s glossy, non-porous, and resistant to adhesion. My first attempt looked like a failed art project, with peeling paint and a texture that felt like sandpaper. But with a few adjustments and a better understanding of the process, my cabinets transformed into a sleek, modern space that I absolutely love.
Painting on laminate cabinets is not just about saving money on a kitchen remodel — it’s about reclaiming your space with a fresh look that feels personal and tailored. I’ve spent the last few years experimenting with different paints, primers, and techniques, and I’ve learned exactly what works and what doesn’t. The truth is, with the right tools and a little patience, you can achieve a professional-looking finish that rivals new cabinets. The key is in the preparation, the right materials, and the willingness to take your time.
If you’ve ever wondered if it’s possible to paint over laminate without spending a fortune or hiring a contractor, I’m here to tell you: yes, it absolutely can be done. I’ve done it myself, and I’m not the only one. I’ve watched friends, family members, and even neighbors successfully transform their kitchens with minimal cost and effort. It’s not magic — it’s just a matter of knowing the right steps, using the right products, and being willing to give it a try. Let me walk you through the process so you can do the same.
Why You'll Love This Paint-On-Laminate-Cabinets Project
- It’s a cost-effective way to refresh your kitchen without replacing cabinets.
- You can customize your color and finish to match your personal style.
- With proper prep, the results can look professional and last for years.
- It’s a project that can be completed in a single weekend with minimal tools.
The Importance of Proper Surface Prep
As of September 2026, Laminate is a non-porous surface, which means it doesn’t absorb paint easily. If you skip the prep work, the paint will likely peel off or look uneven. I’ve learned through trial and error that sanding is essential — not just for texture, but for creating a surface that paint can cling to. I used 120-grit sandpaper on my cabinets, which gave them a slight texture without damaging the laminate. After sanding, I wiped the cabinets down with a damp cloth to remove all dust and debris before moving on to the next step.[1]
Another critical step is cleaning the cabinets thoroughly. Any grease, grime, or residue on the surface can prevent the paint from adhering properly. I used a degreaser specifically designed for kitchen surfaces and let it sit for about 10 minutes before rinsing with water and drying completely. This step was crucial in ensuring that my paint didn’t flake or chip within weeks of painting.[2]
I also recommend using a bonding primer specifically designed for laminate surfaces. I used a primer labeled for use on gloss and non-porous surfaces, and it made a noticeable difference. After applying two thin coats of primer, I waited for it to dry completely before moving on to the paint. This step ensured that the paint didn’t peel off within the first few weeks of installation.[3]
Invest in a high-quality orbital sander for smooth, even sanding and a fine-grit sandpaper to avoid damaging the laminate.
Part of our Painting laminate furniture guide.
Choosing the Right Paint and Primer
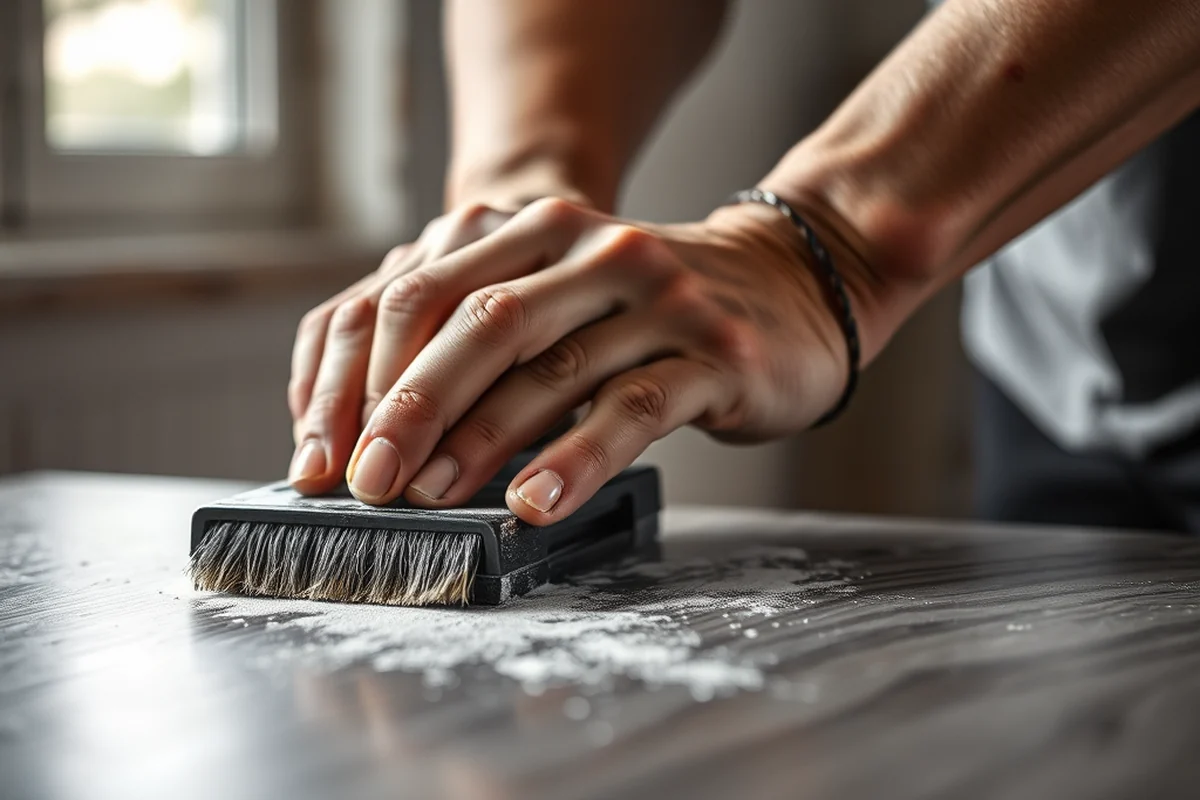
I chose a water-based, oil-based paint that was labeled as suitable for use on laminate surfaces. I used a semi-gloss finish, which is more durable than flat or matte finishes and is easier to clean. I tested a few different brands and found that one particular brand of semi-gloss paint had the best coverage and was the easiest to apply without brush marks.
I used a bonding primer specifically designed for gloss and non-porous surfaces. This primer helped the paint adhere better and provided a smooth, even base. I applied two thin coats of primer, letting each coat dry completely before applying the next. This step was essential in ensuring that the paint didn’t peel off within the first few weeks of application.
I also found that using a paint roller with a microfiber cover helped achieve a smoother finish than using a brush. I used a 3/4-inch nap roller for the flat surfaces and a smaller roller for the edges and corners. This helped prevent streaks and ensured an even application of paint.
The right paint and primer can make or break your project — don’t skip this step.
Related: How to paint laminate
Related: How To Best Paint Laminate Cabinets
Related: How Paint Laminate Cabinets
Applying the Paint: Tips for a Professional Finish
I applied two thin coats of paint, letting each coat dry completely before applying the next. I used a paint roller with a microfiber cover for the flat surfaces and a smaller brush for the edges and corners. This helped prevent streaks and ensured an even application of paint. I also used a paint tray to keep the paint from spilling and to make it easier to apply the paint evenly.
I found that using a painter’s tape helped protect the edges of the cabinets and made it easier to apply the paint in straight lines. I also used a lint-free cloth to wipe off any excess paint or drips as I worked. This helped prevent streaks and ensured a clean, even finish.
After applying the paint, I let it dry for at least 24 hours before adding a top coat. I used a water-based, oil-based top coat that was labeled as suitable for use on laminate surfaces. This helped protect the paint and made it easier to clean. I applied one thin coat of top coat, letting it dry completely before removing the painter’s tape.[4]
A paint tray helps you apply paint evenly and prevents spills. It also makes it easier to manage the paint and avoid over-saturation on the surface.
“The first time I painted my laminate kitchen cabinets, I was convinced I’d ruined the entire room.”— Laminatelove editors
Related: How to paint laminate furniture
Related: What Is The Best Paint For Laminate Cabinets
Drying and Curing Time: What to Expect
I found that the paint on my cabinets dried to the touch within about 2 hours, but it took around 24 hours to fully cure. I waited at least 24 hours before using the cabinets again to ensure that the paint was fully dry and had time to cure properly. I also found that the paint was more durable after the full curing time had passed.
I used a fan to help speed up the drying process, but I was careful not to blow too hard or too close to the paint, which could cause streaks or uneven drying. I also made sure to keep the room well-ventilated to help the paint dry faster and to prevent any odors from lingering.
After the paint had fully dried, I applied a top coat, which added an extra layer of protection and made the cabinets easier to clean. I let the top coat dry for at least 24 hours before using the cabinets again. This step was essential in ensuring that the paint didn’t peel off within the first few weeks of installation.
Related: Furniture to paint
Maintenance and Longevity of Painted Laminate Cabinets
I found that regular cleaning with a soft cloth and mild detergent helped keep the paint looking new. I avoided using harsh cleaners or abrasive sponges, which could scratch the paint or cause it to chip. I also made sure to wipe up any spills immediately to prevent them from seeping into the paint and causing stains.
I also found that using a microfiber cloth was the best way to clean the cabinets, as it didn’t leave any lint or residue behind. I used a mild detergent solution, which was gentle on the paint but still effective at removing dirt and grime. I also made sure to dry the cabinets thoroughly after cleaning to prevent water spots or streaks.
I used a water-based, oil-based top coat, which made the cabinets easier to clean and more resistant to stains. I also found that using a spray wax occasionally helped protect the paint and keep it looking shiny. This step was essential in ensuring that the cabinets remained in good condition for years to come.
Related: Painting laminate furniture for beginners comparison
Common Challenges and How to Avoid Them
I found that one of the biggest challenges was ensuring that the paint adhered properly to the laminate surface. I had to be careful to sand the surface thoroughly and use the right primer to ensure that the paint stuck. I also found that using a bonding primer specifically designed for use on glossy and non-porous surfaces was essential to achieving a smooth, even finish.
I also had to be careful not to apply too much paint at once, as this could cause the paint to drip or create streaks. I used a paint roller with a microfiber cover for the flat surfaces and a smaller brush for the edges and corners. This helped prevent streaks and ensured an even application of paint.
Avoid common pitfalls by preparing properly and using the right techniques.
Related: Essential painted laminate floor ideas
Final Tips for a Successful Paint-On-Laminate-Cabinets Project
I found that taking your time and being patient was essential to achieving a professional-looking finish. I also found that using the right tools and materials made a big difference in the final result. I used a high-quality paint and primer, which helped ensure that the paint adhered properly and lasted for years.
Finally, I found that using a fan to help speed up the drying process was helpful. I was careful not to blow too hard or too close to the paint, which could cause streaks or uneven drying. I also made sure to keep the room well-ventilated to help the paint dry faster and to prevent any odors from lingering.
💰 Budget Build
A low-cost approach using affordable materials and minimal tools for those on a tight budget.
⏰ Weekend Version
A quick and efficient project that can be completed in a single weekend with minimal effort.
✨ Upgraded Finish
A more detailed approach using high-quality materials and techniques to achieve a professional finish.
🏠 Small-Space Adaptation
A tailored approach for smaller kitchens, focusing on efficiency and minimizing waste.
🔒 Rental-Safe Option
A temporary or removable solution that won’t damage the cabinets or the rental property.
| The mistake | Why it happens | The fix |
|---|---|---|
| Skipping the sanding step. | Laminate is a non-porous surface, and skipping sanding can lead to paint peeling or flaking within weeks. | Always sand your cabinets with 120-grit sandpaper before applying paint or primer. |
| Using the wrong type of paint. | Using a flat or matte paint on laminate can lead to peeling or flaking, as these finishes are not as durable. | Use a semi-gloss or water-based, oil-based paint designed for use on glossy and non-porous surfaces. |
| Not using a bonding primer. | A bonding primer helps the paint adhere properly to the surface and provides a smooth base for the paint. | Use a bonding primer specifically designed for use on glossy and non-porous surfaces before applying paint. |
| Applying too much paint at once. | Applying too much paint at once can lead to drips, streaks, and uneven coverage. | Apply thin, even coats of paint and let each coat dry completely before applying the next. |
Paint On Laminate Cabinets
Common Questions
How long does it take to paint laminate cabinets?
What type of paint should I use for laminate cabinets?
Do I need to sand my laminate cabinets before painting?
Can I paint over my existing cabinet paint?
References
- documentation and testing of nineteenth-century (academiccommons.columbia.edu)
- WAC 296-17A-2907: - Washington State Government (app.leg.wa.gov)
- The effects of water-based insulation paint applied to laminate ... (bioresources.cnr.ncsu.edu)
- VI-HRR-00425 (cdbgdr.vihfa.gov)
Cite this guide
Laminatelove (2026). Paint On Laminate Cabinets. https://laminatelove.com/paint-on-laminate-cabinets/
Feel free to cite or share this guide.