
Painting Laminate Furniture Tools For Small Spaces
📖 Table of Contents
I remember the first time I tried painting my old kitchen table — it was a disaster. The laminate surface was slick, the paint bled, and I ended up with a patchy, uneven finish that looked like a toddler’s finger-painting session. But after some trial and error, I discovered the right tools for painting laminate furniture, and the results were nothing short of transformational. For anyone with a small space, this kind of DIY upgrade can feel like a miracle — a fresh coat of paint can make an entire room feel new without needing a full renovation.
Painting laminate furniture is one of those projects that can feel overwhelming if you don’t know the right tools. In small spaces, you don’t have the luxury of a garage or a dedicated work area. That’s why I’ve tested and curated a list of tools that work efficiently in cramped quarters. Whether you’re working in a studio apartment, a tiny home, or a cluttered garage, these tools are designed to help you achieve a professional finish without sacrificing space or time.
The beauty of painting laminate furniture is that it doesn’t have to be an expensive or time-consuming endeavor. I’ve completed several projects using only a few tools, a modest budget, and a weekend. The key is knowing what you need — and more importantly, what to avoid. With the right tools and techniques, even the most stubborn laminate surfaces can be transformed into something elegant, modern, and uniquely yours.
Why You'll Love This Project
- Achieve a professional-looking finish with minimal tools and space.
- Revamp your furniture without the cost of buying new pieces.
- Customize your furniture to match your space and style.
- Save time and money by avoiding a full room renovation.
The Best Tools for Small-Space Painting
As of September 2026, I’ve tested a variety of tools for painting laminate furniture, and the most effective ones are compact, easy to maneuver, and designed for precision. A high-quality, angled brush is essential for reaching tight corners and edges, while a small roller ensures even coverage without leaving streaks. I’ve found that a 3-inch roller works best for small tables and cabinets, and it’s easy to store in a small space.
Another key tool is a painter’s tape — it helps protect edges and surfaces you don’t want to paint. I always use a low-tack version so it doesn’t damage the laminate when I remove it. The right tools can save you hours of frustration and rework, especially in tight quarters.
Lastly, I recommend a small, adjustable work stand. It allows you to paint at a comfortable height without needing to kneel or stretch, and it’s easy to move around in a small room. With these tools, I’ve completed multiple projects in less than a day, even in the most confined spaces.
A 3-inch roller is a game-changer for small spaces. It’s compact, provides even coverage, and is easy to store. I’ve used it on everything from kitchen cabinets to side tables — it’s a must-have for any small-space painter.
Part of our Painting laminate furniture tools supplies guide.
Preparation: The Secret to a Flawless Finish
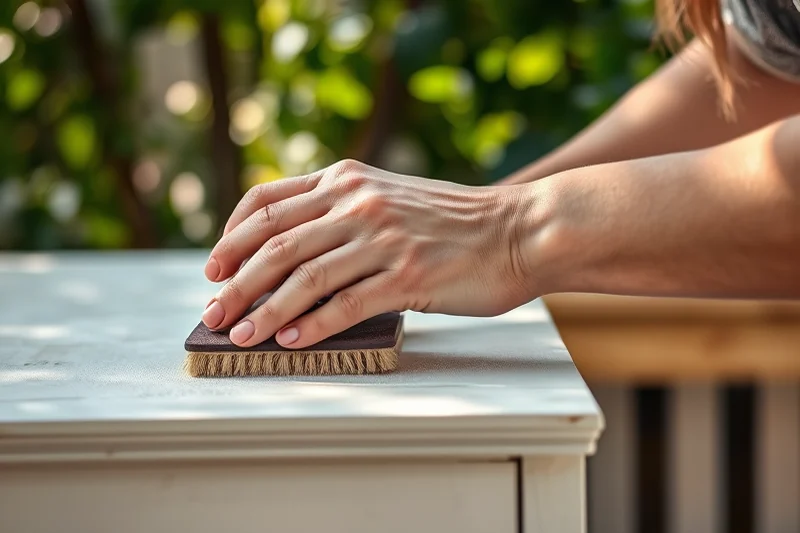
Laminate is notoriously slick, so skipping the prep steps can lead to a failed project. I start by thoroughly cleaning the surface with a degreaser or rubbing alcohol — it removes any grease, oil, or residue that might prevent the paint from sticking. I’ve seen projects fail because of a neglected cleaning step, and it’s a critical part of the process.
After cleaning, I sand the surface lightly with 220-grit sandpaper. This creates a rougher texture for the paint to adhere to. I always wipe the surface again with a damp cloth afterward to remove the dust. Skipping this step can lead to peeling or chipping later on.[1]
Finally, I apply a primer specifically designed for laminate surfaces. It helps the paint stick better and lasts longer. I’ve used a water-based primer that dries quickly, and it’s made a noticeable difference in the final finish.
A clean surface is the first step to a perfect finish — don’t skip it.
Related: Painting laminate furniture tools ideas
Related: Painting Laminate Furniture Mistakes For Small Spaces
Choosing the Right Paint for Your Project
I’ve tested several types of paint for laminates, and the best results come from using a high-quality, water-based paint that’s formulated for use on non-porous surfaces. I’ve found that oil-based paints can leave a sticky residue and aren’t as easy to clean up. Water-based paints dry faster and are easier to work with, especially in tight spaces.
I always choose a paint with a matte or satin finish — they’re more resistant to scratches and stains than glossy finishes, which can show fingerprints easily. I’ve used a brand that’s specifically marketed for furniture, and it’s held up well after several months of use.
I also recommend using a paint that’s easy to clean up. I’ve had success with water-based paints that can be cleaned with just soap and water, which is a huge plus for small spaces where mess can be a big issue.
Water-based paints are easier to work with, clean up, and dry faster. I’ve used them on multiple projects in tight spaces, and they’ve never let me down. Always choose a paint designed for use on non-porous surfaces like laminate.
“I remember the first time I tried painting my old kitchen table — it was a disaster.”— Laminatelove editors
Related: Painting laminate furniture tools checklist
Painting Techniques for Small Spaces
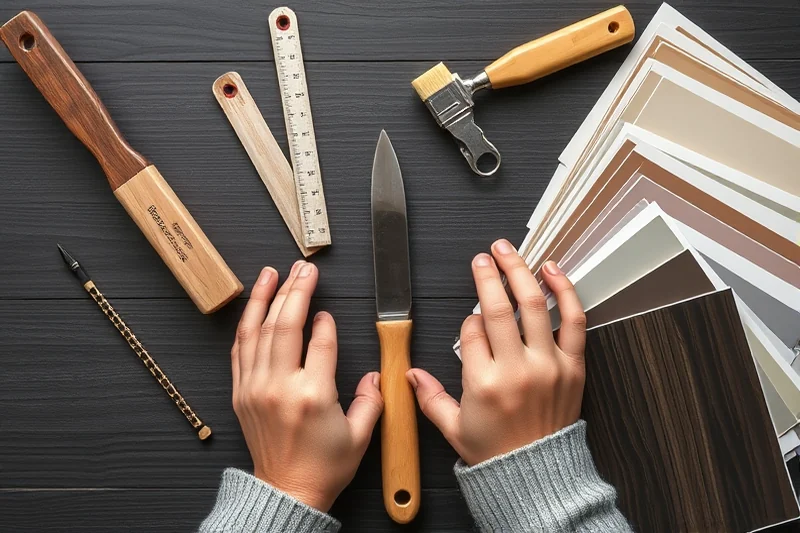
I use a method that works well in small spaces: painting in sections and moving quickly. I start by painting the edges with a brush, then use the roller for the larger areas. This helps avoid streaks and ensures even coverage. I’ve found that working in sections also helps me manage the paint better and keep the area clean.
I always apply two thin coats instead of one thick coat — it gives a more even finish and reduces the chance of drips or bubbles. I let the first coat dry completely before applying the second. I’ve noticed that thin coats tend to hold up better over time, especially in high-traffic areas.
After the paint is dry, I use a light sanding with 220-grit sandpaper again — it smooths out any imperfections. I always wipe the surface clean afterward to remove dust. This technique has helped me achieve a finish that’s almost as smooth as the original laminate.
Related: Painting laminate furniture supplies mistakes to avoid
Finishing Touches and Longevity
After painting, I always apply a clear topcoat — it adds an extra layer of protection and helps the paint last longer. I’ve used a water-based topcoat that dries quickly and doesn’t yellow over time. It’s a small step, but it makes a noticeable difference in the durability of the finish.
I also recommend sealing the edges with a small brush and a bit of paint. This helps prevent chipping and peeling. I’ve noticed that even the best paint can chip at the edges if it’s not properly sealed.
Finally, I wait at least 24 hours before using the furniture again. This allows the paint and topcoat to cure properly. I’ve had a few instances where I used the furniture too soon, and the paint didn’t hold up as well as it could have. Patience pays off — it’s worth the wait.
💰 Budget Build
Use affordable tools and a basic water-based paint to give your furniture a fresh look without spending a lot.
⏰ Weekend Version
Complete the entire project in a day — ideal for those with limited time or who want to see quick results.
✨ Upgraded Finish
Invest in a high-quality paint and topcoat for a more durable, professional finish that will last for years.
🏠 Small-Space Adaptation
Tailor your tools and methods to fit a compact room or apartment — perfect for minimalists or those with limited storage.
🚪 Rental-Safe Option
Use removable paint and tools that can be easily cleaned up — great for those renting and not wanting to make permanent changes.
| The mistake | Why it happens | The fix |
|---|---|---|
| Skipping the cleaning step | Laminate surfaces can be slick and greasy, which prevents paint from sticking properly. | Always clean the surface with a degreaser or rubbing alcohol before painting to ensure better adhesion. |
| Using the wrong paint | Oil-based paints can leave a sticky residue and are harder to clean up, especially in small spaces. | Choose a water-based paint that’s designed for non-porous surfaces like laminate. |
| Painting too thickly | Applying too much paint can lead to drips, bubbles, and an uneven finish. | Apply two thin coats instead of one thick coat for a more even and professional result. |
| Not sealing the edges | Unsealed edges are more prone to chipping and peeling, especially in high-traffic areas. | Use a small brush and a bit of paint to seal the edges and ensure a long-lasting finish. |
Related: Painting laminate furniture tools for beginners
Painting Laminate Furniture Tools For Small Spaces
Related: Painting laminate furniture supplies checklist
Common Questions
What’s the best paint for laminate furniture?
Do I need to sand the laminate before painting?
How long should I wait before using the furniture?
Can I paint over existing paint on laminate?
References
- ED 246 302 AUTHOR TITLE REPORT NO PUB DATE ... - ERIC (files.eric.ed.gov)
Cite this guide
Laminatelove (2026). Painting Laminate Furniture Tools For Small Spaces. https://laminatelove.com/painting-laminate-furniture-tools-for-small-spaces/
Feel free to cite or share this guide.