
Painting Laminate Furniture Before After Projects Mistakes To Avoid
📖 Table of Contents
I still remember the first time I tried painting my old kitchen table. The glossy laminate had a sheen so sharp it reflected the light like a mirror, and I was convinced it would eat the paint before I even got close to the finish I wanted. I had read online that painting laminate was ‘easy,’ but I quickly learned that without the right approach, it can be a nightmare of peeling, chipping, and frustration. This article is my attempt to help you avoid those same mistakes I made — and to make sure your painting project turns out smooth, durable, and beautiful.
Over the past two years, I’ve painted everything from dining tables to bookshelves and even a bathroom vanity, and each project taught me something new. I’ve learned that skipping steps, using the wrong tools, or rushing the process can lead to a disaster. But when you do it right — with the right prep, the right products, and the right patience — painting laminate furniture can transform your space with minimal cost and effort. This guide is for anyone who's ready to take on a project that looks like it came from a showroom, but with the satisfaction of knowing it's all your doing.
One of the most important lessons I’ve learned is that painting laminate is not like painting wood. The surface is smooth, non-porous, and resistant, which means you need to spend time preparing it properly. I’ve seen too many people skip sanding or use the wrong primer, only to end up with a finish that peels after a few weeks. In this article, I’ll walk you through the exact steps I use — from cleaning and sanding to sealing and maintenance — and highlight the mistakes I made so you can avoid them. Let’s make sure your next project looks like it was professionally done — and lasts for years to come.
Why You'll Love This Paint-Transformation Guide
- Avoid costly and time-consuming mistakes that ruin your project
- Learn the exact steps needed to achieve a professional finish
- Discover the best products and tools for your budget
- Understand how to maintain your painted furniture for years
Why Surface Prep is the Most Critical Step
As of October 2026, I once painted a cabinet without sanding, and within a month, the paint was peeling like it had been hit by a hurricane. The key to success is in the prep work. I now always start with a thorough cleaning using a degreaser and a microfiber cloth to remove any oils, dust, or residue. This ensures the surface is clean and ready for the next step.
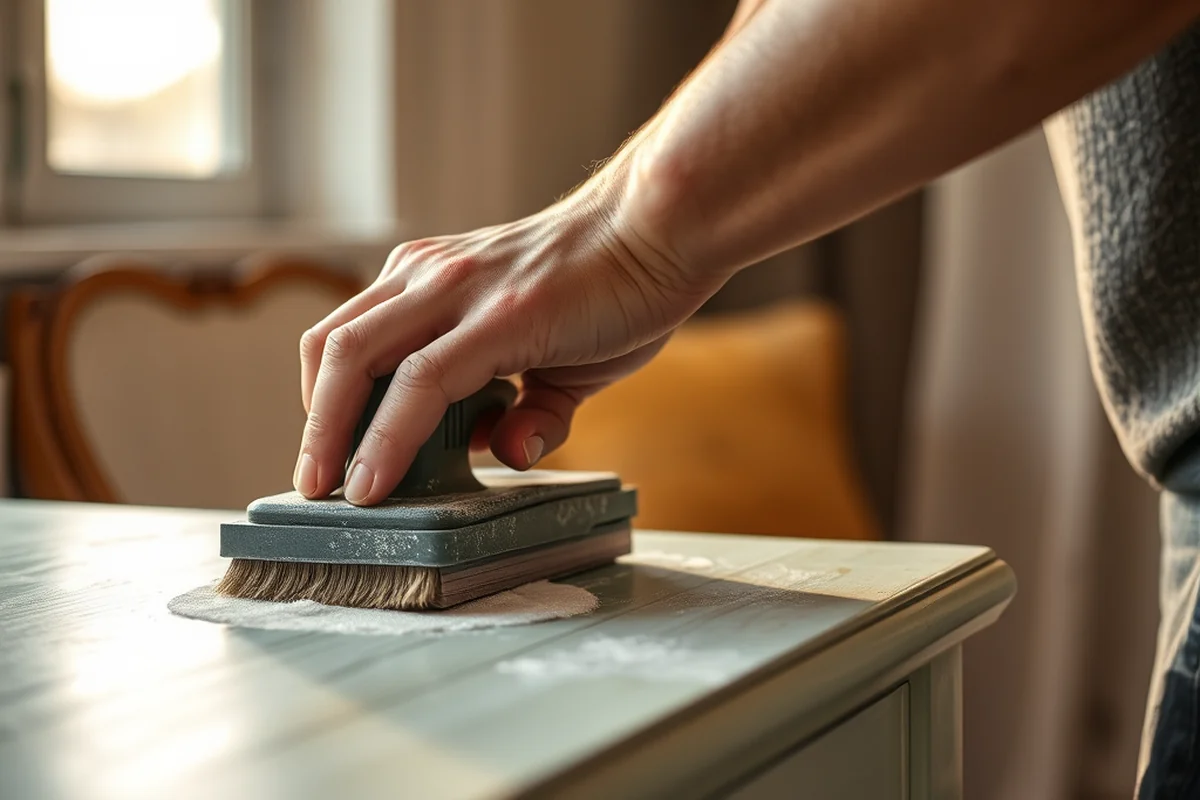
Next, I use 220-grit sandpaper to roughen the smooth surface of the laminate. This helps the primer and paint adhere better. I found that skipping this step or using a lower grit results in a finish that doesn't last. After sanding, I wipe the surface down with a damp cloth to remove the dust, and let it dry completely.[1]
Once the surface is clean and sanded, I apply a primer designed for glossy surfaces. I use a water-based primer that's specifically formulated for laminate, and I always make sure to apply it evenly. I've noticed that using the wrong primer or skipping it altogether leads to a finish that peels after just a few weeks.
220-grit sandpaper is ideal for laminate — it's fine enough not to damage the surface, but rough enough to help the primer stick. Always test on a small area first to ensure the finish looks good.
Part of our Painting laminate furniture before after projects guide.
Choosing the Right Paint and Primer
I’ve tried multiple types of paint over the years, and I’ve learned that not all paints are created equal with laminate. My favorite is a water-based, high-build primer followed by a satin or matte finish paint. I’ve found that oil-based paints don’t adhere as well and tend to yellow over time.
I always use a primer designed for glossy surfaces. It makes a noticeable difference — the paint doesn’t slide off the surface, and it dries more evenly. I’ve also experimented with different brands, and I’ve found that some are better than others. I now stick to a trusted brand that I’ve used on multiple projects and know works well.
I also recommend using a spray paint for the first coat — it covers the surface more evenly and reduces the risk of brush strokes. Once the first coat is dry, I use a brush for the second and third coats, which gives a smoother finish. I’ve found that applying at least three coats ensures a full, even color that doesn’t show through.
The right paint and primer can make all the difference between a finish that lasts and one that peels within weeks.
Related: Affordable painting laminate furniture before after projects
Related: Painting Laminate Furniture Before Mistakes To Avoid
Related: Painting Laminate Furniture Mistakes Guide
The Importance of Proper Drying Time
One of the biggest mistakes I made early on was rushing the drying time between coats. I applied a second coat before the first was fully dry, and the result was a spongy, uneven finish that felt like it was going to crumble under my fingers. Now, I always wait at least 4 hours between coats — and even more if the room is humid.
I’ve found that the drying time can vary depending on the room temperature and humidity. I usually paint in a well-ventilated area with the windows open, which helps the paint dry faster. If I’m in a more humid space, I might leave the room open overnight to ensure the paint is completely dry.
Proper drying time is crucial for the paint to bond with the primer and create a strong, durable finish. If you rush the process, you’ll end up with a finish that doesn’t hold up to regular use. I’ve learned the hard way that patience is key — and the result is worth the wait.
Allowing at least 4 hours between coats is crucial — even if it feels like a long wait. Rushing can lead to a weak, peeling finish that’s a disappointment in the long run.
“I still remember the first time I tried painting my old kitchen table.”— Laminatelove editors
Related: Budget painting laminate furniture before
How to Apply the Paint for a Flawless Finish
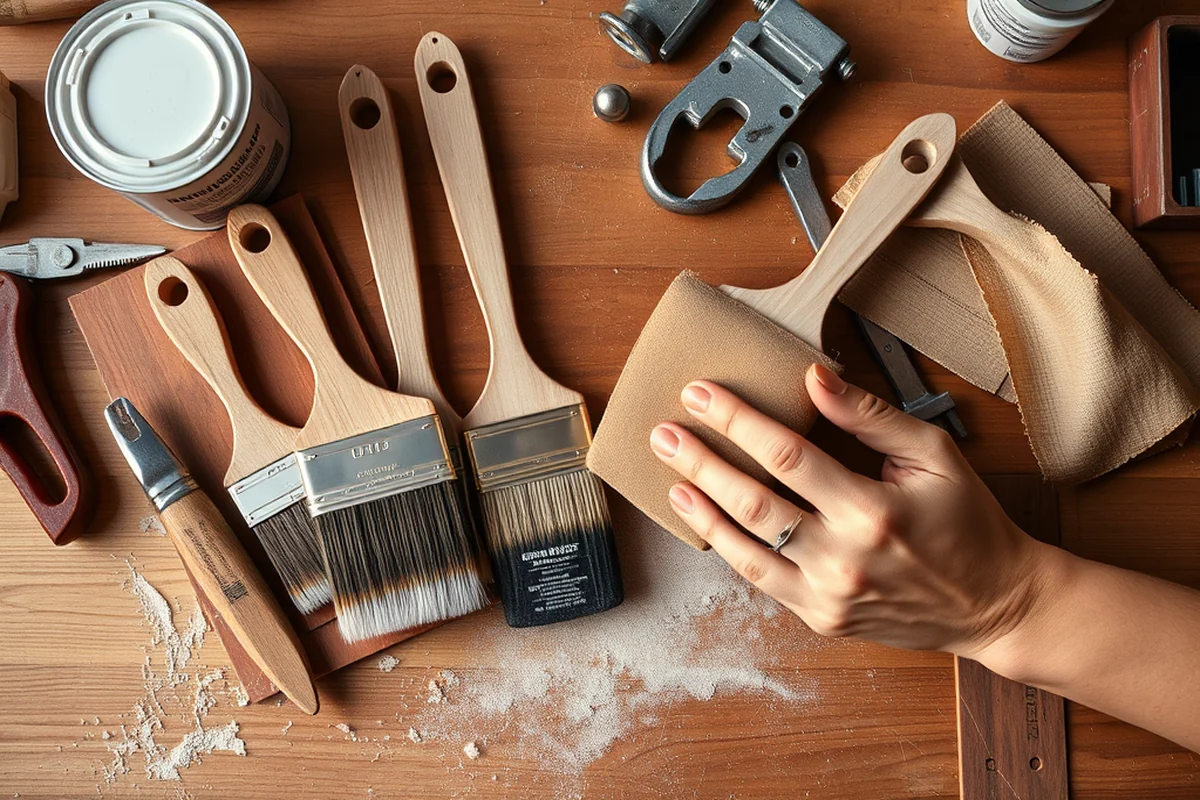
I’ve learned that applying the paint in the right way can make a world of difference in the final look. I always start with a thin, even coat using a brush or spray. It’s important to go with the grain of the laminate — if you go against it, you might end up with a finish that feels uneven or has visible brush marks.
I’ve found that using a high-quality brush and taking the time to apply the paint evenly is key. I work in small sections and always move in one direction to avoid streaks or bubbles. I also avoid applying too much paint in one spot, as that can lead to drips or pooling.
After the first coat dries, I apply a second coat in the same way, making sure to cover any missed spots. I’ve found that going over the surface a second time helps even out the color and ensures a more consistent finish. Once the second coat is dry, I apply a third coat for that perfect, smooth look.
Related: Painting laminate furniture before after projects that actually work
Sealing the Paint for Long-Lasting Results
One of the most important steps I’ve learned is sealing the paint with a clear topcoat. I’ve found that without a topcoat, the paint is more prone to scratches, water damage, and fading. I now always apply a water-based polyurethane topcoat after the final coat of paint dries.
I’ve used both matte and satin finishes, and I’ve found that a matte finish is more resistant to fingerprints and scratches. I’ve also found that using a high-quality topcoat is crucial — cheaper options tend to yellow or crack over time. I now stick to a trusted brand that I know works well and lasts.
After applying the topcoat, I let it dry completely before using the furniture. I’ve found that waiting at least 24 hours ensures that the finish is fully cured and ready for regular use. Once it’s fully dry, I’ve found that the furniture looks great and holds up to daily use — even in high-traffic areas.
💰 Budget Build
Paint your furniture with low-cost products that still deliver a professional finish. Ideal for those on a tight budget.
⏰ Weekend Version
A quick and easy project to complete in one weekend. Perfect for those with limited time.
✨ Upgraded Finish
Achieve a high-end, glossy or matte finish with premium products and meticulous detailing.
🛋️ Small-Space Adaptation
Tailored for small spaces with furniture that’s easy to move and paint in tight quarters.
🔒 Rental-Safe Option
Use removable paint and temporary solutions that won’t damage the surface when it’s time to move out.
| The mistake | Why it happens | The fix |
|---|---|---|
| Skipping the sanding step | Without sanding, the paint doesn’t adhere properly to the smooth surface of the laminate, leading to peeling and flaking. | Always sand the surface with 220-grit sandpaper before applying primer and paint. This creates a rougher surface for better adhesion. |
| Using the wrong type of paint | Oil-based paints don’t adhere well to laminate and can yellow over time, making the finish look dull and unattractive. | Use a water-based, high-build primer followed by a satin or matte finish paint. These options provide a smooth, durable finish that lasts. |
| Rushing the drying time between coats | Applying a second coat before the first is fully dry leads to a spongy, uneven finish that can crumble under pressure. | Always allow at least 4 hours between coats — and more if the room is humid. Patience is key to achieving a strong, long-lasting finish. |
| Skipping the sealing step | Without a topcoat, the paint is more prone to scratches, water damage, and fading, which can ruin the finish over time. | Apply a water-based polyurethane topcoat after the final coat of paint dries. This protects the surface and ensures it lasts. |
Related: Affordable painting laminate furniture before
Painting Laminate Furniture Before After Projects Mistakes To Avoid
Related: Painting laminate furniture before checklist
Common Questions
Can I paint over a laminate surface without sanding?
What type of paint works best for laminate?
How long should I wait between paint coats?
Do I need to seal the paint after it dries?
References
- Table 13-4 – Estimating Floor Tile. - Department of War (media.defense.gov)
Cite this guide
Laminatelove (2026). Painting Laminate Furniture Before After Projects Mistakes To Avoid. https://laminatelove.com/painting-laminate-furniture-before-after-projects-mistakes-to-avoid/
Feel free to cite or share this guide.