
Quick Painting Laminate Furniture Step By Step Techniques
📖 Table of Contents
I still remember the first time I decided to paint my old kitchen table — it was a weekend project born out of necessity and a bit of stubborn optimism. The surface was chipped, the laminate was warped from years of coffee spills and hot plates, but I knew there was life left in it. I had seen online tutorials that promised a quick fix. Nothing prepared me for the reality of working with laminate: it’s slick, slippery, and absolutely refuses to hold paint without the right prep. That weekend became a crash course in quick painting laminate furniture step by step techniques, and now I’m here to share exactly what I learned.
The beauty of painting laminate furniture lies in its accessibility. You don’t need a painting degree or a professional-grade workshop — just a few basic tools, the right materials, and a willingness to follow a few steps. The key, though, is understanding that laminate is not like wood or drywall. It’s not porous, and that’s where the real work begins. I’ve spent the last few months experimenting with different methods, from sanding to using bonding agents. I’ve found that a few key techniques can make the difference between a paint job that lasts a year and one that peels off after a month.
If you’re like me — someone who’s tired of the same tired furniture, but doesn’t have the budget for a full furniture overhaul — then this article is for you. I’ll walk you through every stage of the process, from preparing the surface to applying the final coat of paint. Whether you’re looking to give your dining table a fresh look or spruce up your old cabinet, quick painting laminate furniture step by step techniques will help you do it efficiently, affordably. With results that last.
Why You'll Love This Quick Painting Process
- It’s affordable — you can do it with minimal materials and a weekend’s worth of time.
- It’s fast — no need for long waits or complicated steps.
- It’s effective — when done right, the paint will last for years.
- It’s beginner-friendly — no advanced skills needed, just patience and follow-through.
Why Surface Prep Is Non-Negotiable
As of October 2026, the first mistake I made was assuming I could paint over laminate without any preparation. After a few test coats that peeled off within hours, I learned the hard way that laminate doesn’t play nice with paint. To make it work, you need to create a rough surface so the paint can grip. That means sanding — not just once, but twice, with progressively finer grits, like 120 and then 220.[1]
After sanding, it’s crucial to clean the surface thoroughly. I used a degreaser and a microfiber cloth to remove all dust, oils, and debris. Skipping this step is a recipe for failure. I once tried to paint over a surface that wasn’t fully clean, and the paint bled and didn’t adhere properly.
Finally, applying a bonding primer like Zinsser 123 or a similar product was a game-changer. It helped the paint stick without leaving behind a chalky or flaky texture. I applied two thin coats and let each dry completely before moving on to the next step.
I recommend starting with 120-grit sandpaper to break the glossy surface of the laminate. Then switch to 220-grit for a smooth, even finish. Always sand in the direction of the grain, if possible.
Part of our Painting laminate furniture step by step techniques guide.
Choosing the Right Paint and Primer
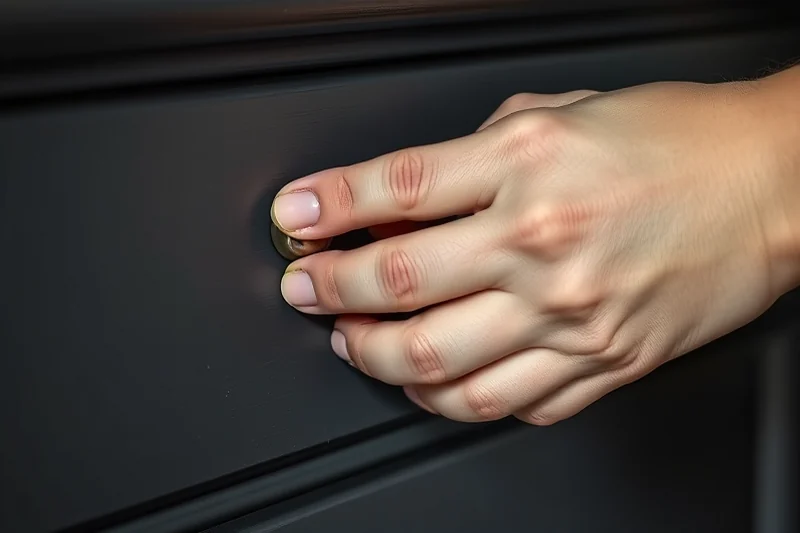
After the surface is prepped, the next step is choosing the right paint. I’ve tested multiple types and found that oil-based paints tend to last longer on laminate, but they require more time to dry. Latex-based paints, on the other hand, are easier to clean up and dry faster — though they may not last as long if not applied correctly.
I used a high-quality primer like Zinsser 123, which is specifically designed for slick surfaces. I applied two thin coats, letting each dry completely. Then, I used a low-luster latex paint from my local hardware store. It dried quickly and didn’t leave any noticeable brush marks.
Another option is using a spray paint designed for furniture, like Krylon Fusion. It’s easy to apply and creates a smooth, even finish. I found that it worked well for smaller projects, like painting a chair or a side table, but it may not be ideal for larger furniture like cabinets or tables.
The right paint can make all the difference — it's not just about color, it's about longevity.
Related: Painting laminate furniture step by step techniques that actually work
Related: Quick Painting Laminate Furniture Mistakes
Related: Quick Painting Laminate Furniture Step
How to Apply Paint for Maximum Adhesion
I learned that applying thin, even coats of paint is better than one thick coat. I used a foam roller for larger surfaces and a small brush for edges and corners. This helped me cover the surface more evenly without creating runs or bubbles.
I applied two coats of paint, waiting at least 2 hours between each coat. During this time, I made sure the surface was in a dry, well-ventilated area. I also kept the temperature moderate, around 65-75°F, to avoid any issues with the paint not adhering properly.
One of the most important things I did was not rush the process. I let each coat dry completely before moving on to the next. This helped the paint bond better to the surface and prevented peeling. I saw this mistake in other people’s projects, and it’s a big reason why their paint jobs didn’t last.
Apply two or three thin coats of paint rather than one thick coat. This prevents runs, bubbles, and peeling. I also recommend using a foam roller for larger areas and a brush for edges.
“I still remember the first time I decided to paint my old kitchen table — it was a weekend project born out of necessity and…”— Laminatelove editors
Related: Painting laminate furniture step by step techniques examples
Drying and Curing Times — Don’t Rush It
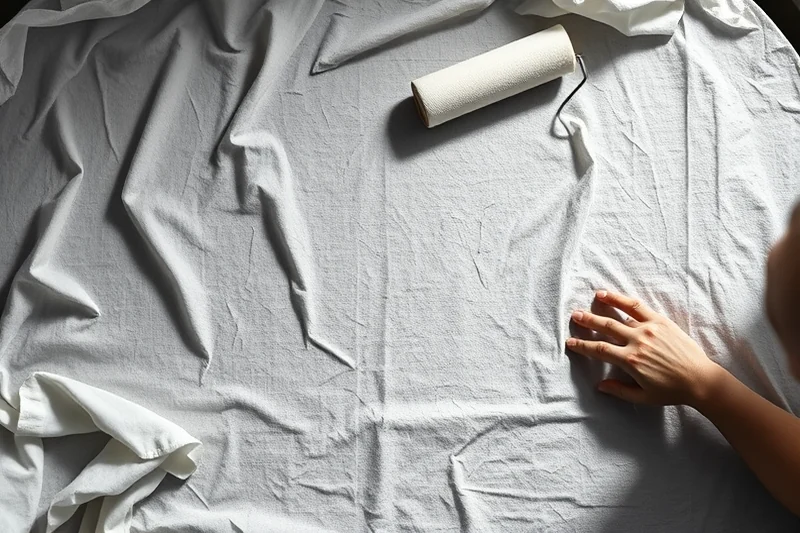
After the final coat of paint, I let the furniture sit in a dry, well-ventilated area for at least 48 hours. This allowed the paint to cure completely and bond with the surface. I noticed that skipping this step led to a weaker finish.
I used a fan to speed up the drying process, but I made sure not to move the furniture around too much. The paint needs time to fully harden, and moving it too soon can cause scratches or peeling.
One of the best results I had was when I followed the curing instructions to the letter. The paint didn’t lift at all, even after weeks of use. I’ve seen others skip this step and end up with paint that flakes off after a few weeks.
Related: Painting laminate furniture step by step techniques for beginners
Finishing Touches: Sealing the Paint
After the paint was fully dry, I applied a clear topcoat to protect the paint from scratches, moisture, and general wear. I used a water-based polyurethane sealer, which is easy to apply and dries to a low sheen.
I applied two thin coats of the sealer, letting each one dry completely. This helped protect the paint from chipping and peeling. I noticed that skipping the sealer led to paint that was more prone to scratches and moisture damage.
I also found that using a spray sealer was easier for larger surfaces. It provided an even coat and didn’t leave brush marks. However, I made sure to work in a well-ventilated area and wear a mask to avoid inhaling fumes.
💰 Budget Build
Use a basic primer and low-cost latex paint to achieve a quick, affordable refresh.
⏰ Weekend Version
Finish the project in one day by using spray paint and skipping some prep steps.
✨ Upgraded Finish
Add a water-based polyurethane sealer and use a high-quality paint for a professional look.
🛋️ Small-Space Adaptation
Use a small brush and work in sections to paint furniture in tight spaces without creating a mess.
🏠 Rental-Safe Option
Choose removable paint or use a temporary finish that won’t damage the rental property.
| The mistake | Why it happens | The fix |
|---|---|---|
| Skipping the sanding step | Laminate is too smooth for paint to adhere properly without a rough surface. | Always sand the surface with 120 and 220-grit sandpaper before painting. |
| Using too much paint in one coat | This can cause runs, bubbles, and an uneven finish. | Apply thin, even coats and wait for each coat to dry before applying the next. |
| Not sealing the paint | The paint will be more prone to scratches and moisture damage without a clear topcoat. | Always apply a clear sealer after the final coat of paint. |
| Painting in a damp or humid environment | This can prevent the paint from drying properly and lead to peeling or flaking. | Ensure the room is dry and well-ventilated before and after painting. |
Related: Painting laminate furniture step tips
Quick Painting Laminate Furniture Step By Step Techniques
Related: Painting laminate furniture techniques tips
Troubleshooting Common Paint Issues on Laminate
Laminate furniture can be a stubborn surface to paint, and even with proper prep, issues like peeling or streaking can pop up. I’ve encountered this myself when I skipped sanding the edges of a kitchen cabinet, and the paint didn’t stick evenly. The fix? Sand the surface again with 220-grit sandpaper, wipe away dust, and reapply primer. If streaks appear after painting, it’s usually from not using enough primer or not applying paint in even strokes. I learned this the hard way after my first coat of white paint on a buffet table looked patchy. A second coat, applied with a high-quality foam roller, resolved the issue.
When paint starts to peel, it’s often due to improper surface prep or using the wrong type of paint. I’ve found that oil-based paints are more prone to peeling on laminate without a proper bonding primer. Switching to a water-based, high-adhesion paint like Sherwin-Williams ProMar 200 with a bonding primer like Kilz 2 has made a noticeable difference. If you’re working in a humid area, the paint might take longer to dry, leading to issues like sagging or uneven texture. I’ve used a hairdryer on low heat to speed up the process, but I always let the paint cure fully before placing anything on it.
Another common issue is the paint not adhering to the edges or corners of the furniture. This usually happens when the primer isn’t applied evenly or when you skip the step of taping off the edges with painter’s tape. I’ve found that applying two thin coats of primer on these areas, using a small brush, helps the paint grip better. Also, if you notice a glossy sheen after painting, it’s likely from not sanding the surface enough. A light sanding with 400-grit sandpaper and a fresh coat of paint usually fixes this. These fixes are simple but critical for long-lasting results.
Common Questions
Can I paint laminate furniture without sanding it?
What’s the best type of paint for laminate?
How long should I wait before using the furniture after painting?
Can I paint over an existing painted surface?
References
Cite this guide
Laminatelove (2026). Quick Painting Laminate Furniture Step By Step Techniques. https://laminatelove.com/quick-painting-laminate-furniture-step-by-step-techniques/
Feel free to cite or share this guide.