
Quick Painting Laminate Furniture Mistakes
📖 Table of Contents
I remember the first time I tried to paint my old laminate kitchen table — I was so excited to give it a fresh new look. I bought a can of spray paint, slapped it on without any preparation, and within minutes, I had a disaster on my hands. The paint bubbled, peeled, and looked worse than the original table. That moment was a wake-up call for me. I realized that quick painting laminate furniture isn’t as simple as it seems. If you skip the right steps, you could end up with a project that takes twice as long and costs more than you expected.
Over the years, I’ve made a lot of mistakes when painting laminate furniture, but each one taught me something valuable. I’ve learned that skipping the sanding step is a common error, and without proper surface preparation, the paint just doesn’t stick. I’ve also discovered that using the wrong type of paint — like regular latex paint instead of something designed for laminate — can lead to peeling and chipping. The key is to understand the unique properties of laminate surfaces and how they interact with paint and primer.
Now, I’m here to help you avoid the same mistakes I did. Whether you’re working on a weekend project or a long-term home improvement plan, knowing the common pitfalls of quick painting laminate furniture can save you time, money, and frustration. By the end of this guide, you’ll have a clear roadmap of what to do — and more importantly, what to avoid — so your next laminate painting project turns out perfectly.
Why You'll Love This Guide to Quick Painting Laminate Furniture Mistakes
- Avoid costly errors that waste time and materials.
- Understand the right techniques for long-lasting results.
- Save money by not re-doing projects due to avoidable mistakes.
- Get expert insights from someone who’s been there and done that.
Skipping Surface Preparation
As of September 2026, I once painted a shelving unit without cleaning it first — the paint didn’t stick well, and after a week, it started to chip. I learned that even the smallest amount of grease or residue can prevent paint from bonding to the surface. It’s crucial to clean your laminate with a degreaser and let it dry completely before moving on.
Sanding is another step I neglected early on. I assumed that laminate was too smooth for sanding, but after a few failed attempts, I realized that using fine-grit sandpaper (around 220 grit) is essential. It roughens the surface enough to help the paint grip better. I now make this a non-negotiable step in every project.[1]
Finally, I always use a primer designed for laminate or plastic surfaces. The right primer creates a bridge between the laminate and the paint, ensuring a longer-lasting finish. I’ve found that using a primer cuts down on the number of coats I need and reduces the overall time the project takes.
These three steps are non-negotiable. Use a degreaser, sand with 220 grit, and apply a primer made for laminate surfaces.[2]
Part of our Painting laminate furniture mistakes fixes guide.
Using the Wrong Type of Paint
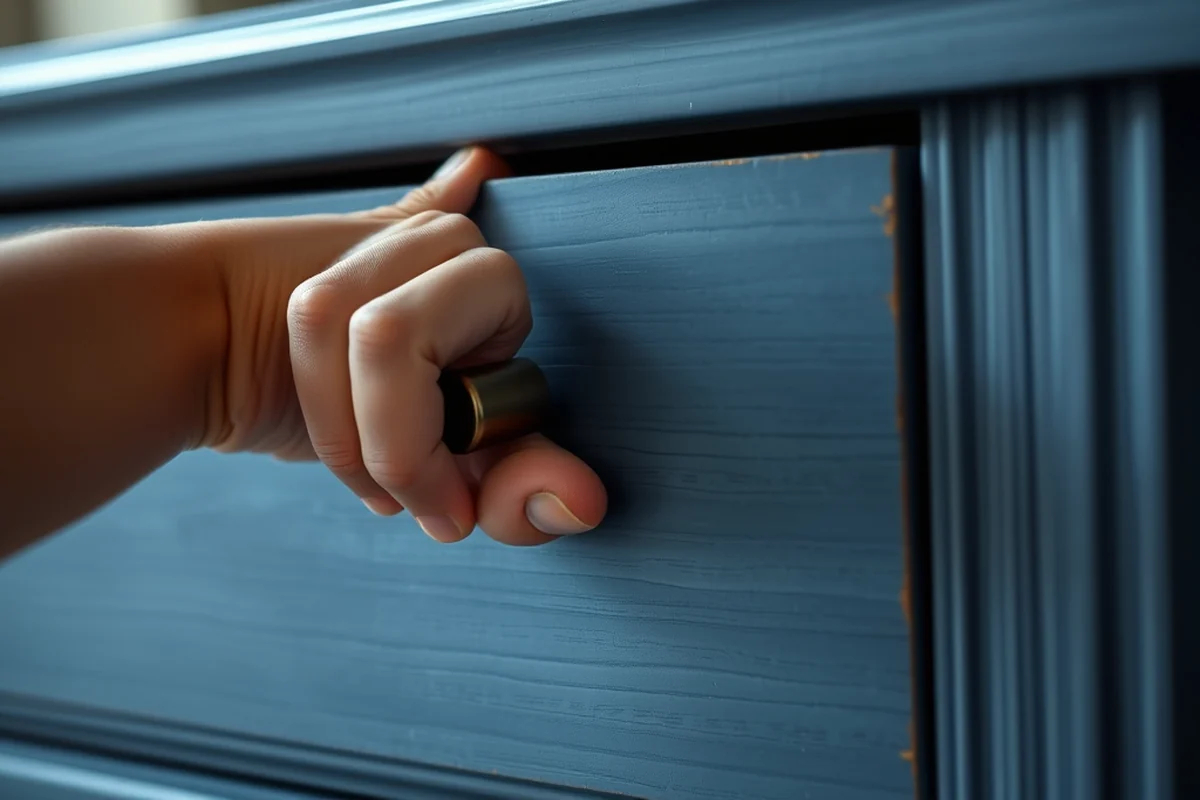
At first, I tried using regular latex paint on my dining table. It looked good at first, but within a few weeks, the paint started to peel in spots. The problem was that regular paint isn’t formulated to stick to the slick surface of laminate. I learned that I needed to use a paint specifically designed for laminate or plastic surfaces.
I now use a water-based acrylic enamel or a spray paint designed for laminates. These paints are formulated to adhere better and last longer. I’ve also noticed that using a spray paint rather than a brush-on paint can make the job easier and faster, especially for large surfaces.
It’s also important to choose the right finish. I’ve found that a matte or satin finish works better than a glossy one when painting laminate furniture. Glossy finishes tend to highlight imperfections and are more prone to scratches, which is a major downside in high-traffic areas like kitchens or living rooms.
Use the right paint or you'll be back to square one — and that’s no fun.
Related: Painting laminate furniture fixes for beginners
Not Allowing Enough Drying Time
I once painted a side table and applied the second coat of paint too soon after the first. The result was a mottled, uneven finish that looked terrible. I now make sure to wait at least 24 hours between coats to allow the paint to cure properly.[3]
Another time, I rushed the final coat and didn’t let it dry completely before putting the table back in use. Within a few days, the paint started to lift off the surface. It turned out that I needed to wait at least 48 hours before using the furniture again for best results.
I’ve since learned that patience is key. Allowing each coat to dry fully ensures a smooth, professional finish. It also helps prevent the paint from cracking or peeling over time.
Allow at least 24 hours between coats and 48 hours before using the furniture again for the best results.
“I remember the first time I tried to paint my old laminate kitchen table — I was so excited to give it a fresh new…”— Laminatelove editors
Related: Easy painting laminate furniture mistakes fixes
Overlooking the Importance of Ventilation
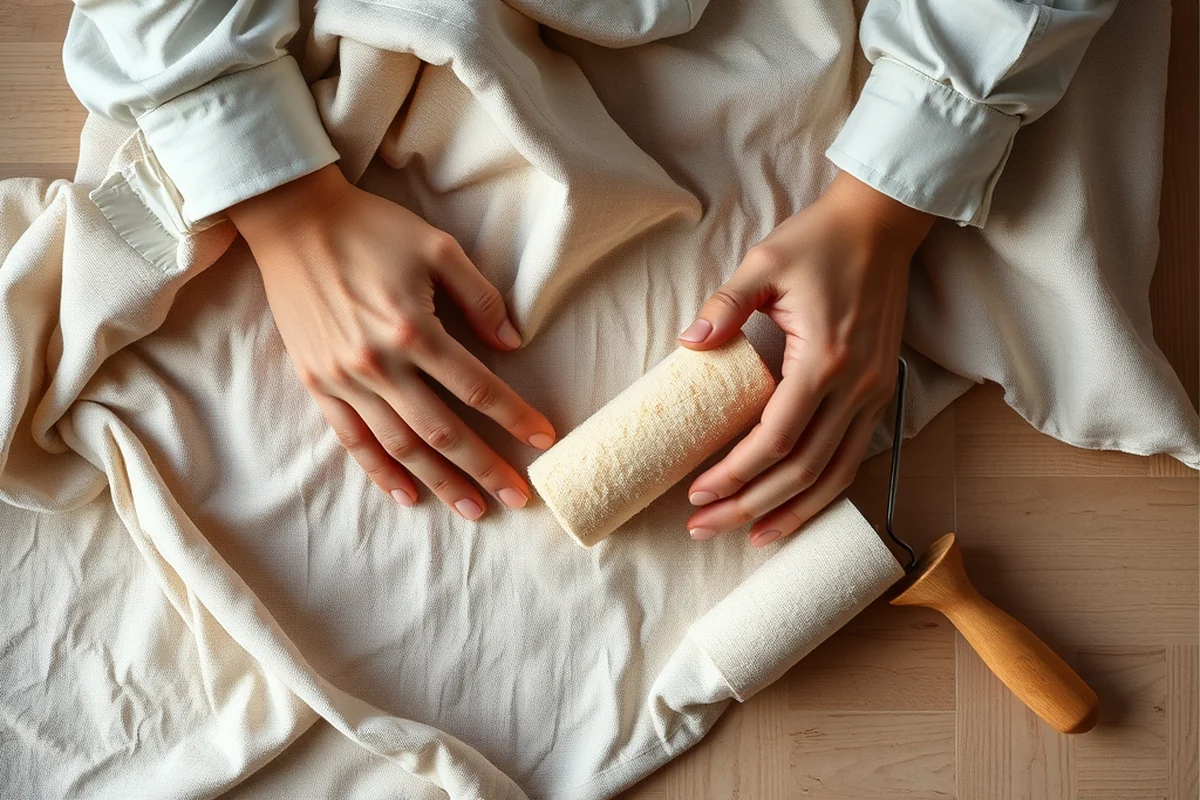
I once painted a bookshelf in a small, enclosed room without opening any windows or using a fan. The fumes were overwhelming, and I ended up with a headache and a paint-smeared room. Since then, I always make sure to paint in a well-ventilated area or open windows and use a fan to help move the air.
Even using a spray paint can be risky in a poorly ventilated space. The fumes can linger and cause long-term health issues. I now use a fan or work near an open window to help the fumes dissipate more quickly.
Ventilation also helps the paint dry faster and improves the overall quality of the finish. It’s an easy step to take, but one that can make a big difference in how the project turns out.
Related: Painting laminate furniture mistakes fixes checklist
Ignoring the Need for a Topcoat
I once painted a desk without applying a topcoat, and within a few months, the paint started to chip and fade in spots. I didn’t realize that the topcoat provides an extra layer of protection that helps the paint last longer.
After that, I started using a clear topcoat specifically designed for painted surfaces. I’ve found that it makes the paint more durable and resistant to scratches and water. It’s a small investment that pays off in the long run.
I now always apply a topcoat after the final coat of paint. It’s an extra step, but one that can significantly extend the life of your painted furniture and reduce the need for touch-ups or re-painting.
💰 Budget Build
Paint your furniture with minimal cost using affordable materials and basic tools.
⏰ Weekend Version
Quickly transform your furniture in one weekend with a simple paint and primer routine.
✨ Upgraded Finish
Achieve a professional look with a high-quality topcoat and premium paint.
🏠 Small-Space Adaptation
Paint your furniture in a small space with proper ventilation and minimal mess.
🔒 Rental-Safe Option
Use removable paint or materials that won’t damage your rental property.
| The mistake | Why it happens | The fix |
|---|---|---|
| Skipping surface cleaning | Grease and residue on the surface prevent paint from adhering properly, leading to peeling and chipping. | Clean the surface with a degreaser and let it dry completely before painting. |
| Using the wrong type of paint | Regular paint doesn’t stick to laminate and is more likely to chip or peel over time. | Use a paint specifically designed for laminate or plastic surfaces, such as a water-based acrylic enamel or spray paint. |
| Not allowing enough drying time | Applying paint too soon or using the furniture before it dries can cause the paint to lift or crack. | Allow at least 24 hours between coats and 48 hours before using the furniture again. |
| Ignoring the need for a topcoat | A topcoat helps protect the paint and increase its durability, but skipping it can lead to chipping and fading. | Always apply a clear topcoat designed for painted surfaces to ensure a longer-lasting finish. |
Related: Painting laminate furniture mistakes that actually work
Quick Painting Laminate Furniture Mistakes
Related: Simple painting laminate furniture mistakes fixes
Underestimating the Impact of Humidity on Paint Adhesion
High humidity can cause paint to bubble and peel on laminate surfaces. Always check the environment before painting.
I once painted a kitchen table during a rainy season, and within a week, the paint started peeling in patches. Humidity above 60% is a red flag. Laminate is porous, and moisture in the air can seep into the surface, causing the paint to lose adhesion. I learned this the hard way when I had to strip the paint and start over. Now, I always use a hygrometer to measure the humidity before beginning any project.
If you're painting in a high-humidity environment, like a bathroom or a basement, you need to take extra steps. I use a dehumidifier and keep the room well-ventilated with fans for at least 24 hours before painting. This helps reduce the moisture in the air and creates a drier surface for the paint to bond to. I also prefer to paint in the morning when the humidity is naturally lower, which has helped me achieve better results.
Another tip I’ve found useful is to apply a primer designed for high-humidity areas. I used a water-based primer with a high solids content, and it made a noticeable difference. The primer sealed the surface and provided a better base for the paint. I now always test the humidity level, adjust the environment, and use the right primer to ensure my painted laminate furniture lasts longer and looks better.
Assuming All Laminate Surfaces Are the Same
Not all laminate surfaces are created equal, and this assumption can lead to poor adhesion and peeling.
I once painted a kitchen table with a glossy laminate surface, only to have the paint chip after a few weeks. The problem was that glossy surfaces require a different prep step—like sanding with fine-grit sandpaper or using a degreaser to break down the shine. I learned this the hard way when I skipped that step and ended up with a paint job that looked great at first but failed quickly. Understanding the type of laminate you're working with—whether it’s matte, semi-gloss, or high-gloss—can make or break your painting project.
Common Questions
What tools do I need for this project?
Can I use regular paint?
How long should I wait between paint coats?
Do I need to prime the laminate surface?
References
- De-mystifying Mist Lining: an introduction to the lining process and ... (academia.edu)
- Fabrication and Design of Glued Laminated Wood Structural Members (ageconsearch.umn.edu)
- Formaldehyde in Your Home: What you need to know - CDC Archive (archive.cdc.gov)
Cite this guide
Laminatelove (2026). Quick Painting Laminate Furniture Mistakes. https://laminatelove.com/quick-painting-laminate-furniture-mistakes/
Feel free to cite or share this guide.