
Painting Laminate Furniture Tips
📖 Table of Contents
I remember the first time I tried painting a laminate kitchen table. I had just moved into a new apartment and was determined to make the space my own. The table was an eyesore — a dull gray color that had seen better days. I had heard that you could paint laminate furniture, but I had no idea how to do it right. After a few failed attempts, I learned the hard way that preparation is everything. For the full picture, see painting laminate furniture — our complete hub on the topic.[2]
Painting laminate furniture can be a game-changer for your home. It’s not just about transforming the look of your furniture — it’s about giving new life to pieces that might otherwise be discarded. I’ve painted everything from countertops to cabinets, and with the right techniques, the results can be stunning. The key is understanding the material and knowing the steps to ensure your paint lasts.[3]
If you're asking yourself, 'Can you paint laminate furniture?' the answer is a resounding yes — but it’s not as simple as slapping on a coat of paint. I've spent hundreds of hours experimenting with different methods, from sanding to using bonding agents, and I’ve learned what works and what doesn’t. Here are my top painting laminate furniture tips that have transformed my home and saved me hundreds of dollars on new furniture.[4]
Why You'll Love This DIY Project
- Transform your home with minimal cost and effort
- Achieve a custom look that matches your interior design
- Extend the life of your furniture by giving it a fresh coat
- Avoid the need for expensive replacements or renovations
Why Prep is the Most Important Step
As of October 2026, I made the mistake of skipping the cleaning and degreasing step on my first attempt. The paint looked good at first, but within a month, it started peeling. Cleaning the surface with a degreaser and using a degreasing spray like Simple Green was the first real step. This removes oils, dirt, and any residue that can interfere with paint adhesion.
Next, I lightly sanded the surface with 220-grit sandpaper. This creates a slightly rough texture for the paint to grip onto. Even though laminate is smooth, it needs a bit of texture to hold the paint. I used a small orbital sander to make it easier and faster. After sanding, I wiped the surface with a damp cloth to remove any dust.[1]
Finally, I applied a primer specifically designed for laminate surfaces. I used Rust-Oleum Zinsser Bulls Eye 1-2-3, which is a bonding primer. This step is crucial. Without it, even the best paint job will fail. I let the primer dry for about an hour before moving on to the next step.
Before painting, always clean, degrease, and sand the surface. This ensures a long-lasting finish.
Choosing the Right Paint and Tools
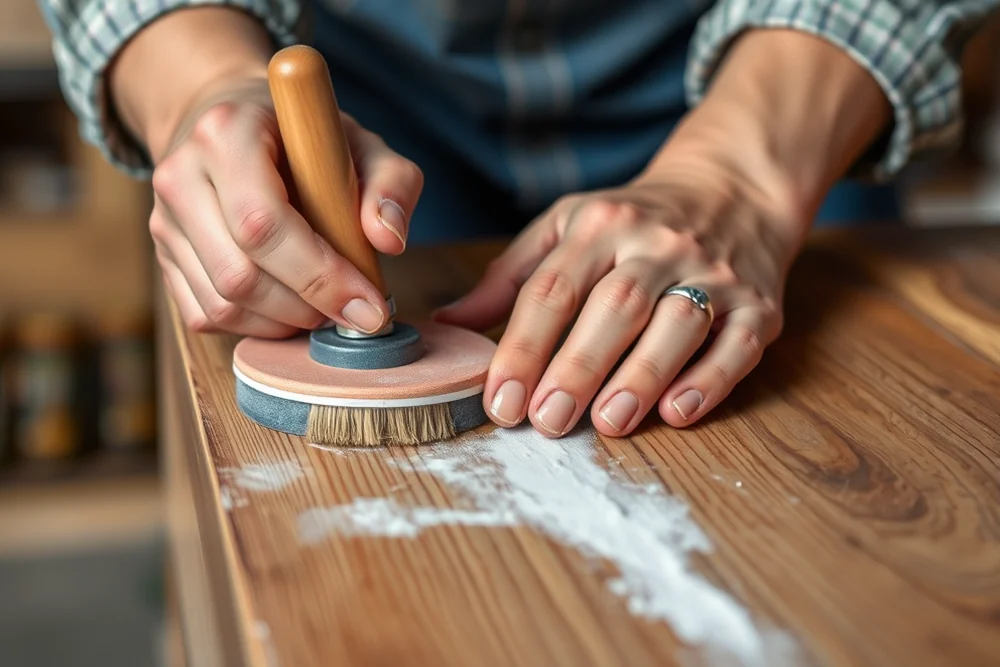
I used a high-quality latex paint with a semi-gloss finish. This gives the surface a durable and glossy look. I used Sherwin-Williams Emerald Universal, which is a premium product and lasts longer. I applied two coats, allowing each to dry completely. I found that the semi-gloss finish is more durable and easier to clean, which is a big plus for furniture that sees daily use.
For tools, I used a small roller and a set of foam brushes. The roller is great for large surfaces, while the foam brushes work well for edges and corners. I also used a small paint tray to hold the paint as I worked. Investing in good quality brushes and rollers can make a huge difference in the final result.
I also used a painter’s tape to mask off any areas I didn’t want to paint, like the bottom of the table or the edges of the legs. This helps you achieve clean, professional-looking lines without mistakes.
Use the right paint and tools — your final result depends on it.
Related: Natural furniture restoration book
How to Paint Without Sanding (But Why You Should)
I’ve tried painting laminate without sanding before, and while it works, the results aren’t as long-lasting. I used a bonding primer specifically designed for non-porous surfaces like laminate. It helped the paint stick, but after a few months, I noticed some peeling in the corners. I learned that while you can skip sanding, it's not ideal for high-traffic areas.
Sanding creates a micro-texture that the paint can grip onto, which is especially important if you're not using a bonding primer. If you're looking for a faster method, using a bonding primer is a good alternative, but be aware that it may not hold up as well under heavy use.
In my experience, the best results come from a combination of both: using a bonding primer and light sanding. This gives you the best of both worlds — a quick process and a durable finish.
If you're skipping sanding, use a bonding primer to ensure good adhesion and a long-lasting finish.
“I remember the first time I tried painting a laminate kitchen table.”— Laminatelove editors
Related: Budget spray paint for laminate furniture
How to Achieve a Professional Finish
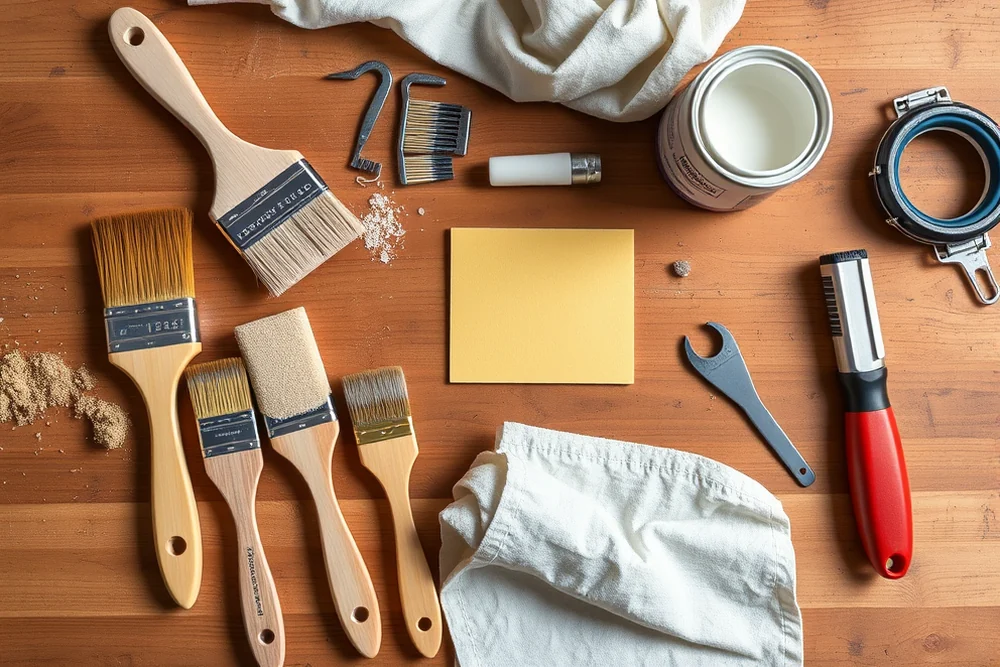
After applying the primer, I let it dry completely — about an hour. Then, I used a small roller to apply the first coat of paint. I worked in small sections to avoid streaks and ensured even coverage. I waited for the paint to dry before applying the second coat.
I applied two coats of paint, allowing each to dry fully before moving on. This ensures even color and coverage. I used a soft cloth to wipe down any drips or excess paint as I went. The result was a smooth, even finish that looked professional.
Finally, I applied a clear top coat to protect the paint and add a glossy finish. I used a water-based polyurethane sealer, which adds durability and makes the surface easier to clean. This step is especially important if you're painting a table or other high-traffic furniture.
Related: Paint laminate reviews
How to Maintain Your Painted Furniture
Once your paint is fully dry, it’s important to avoid exposing it to direct sunlight for long periods. UV rays can cause fading over time. I use a UV-protective window film on my windows to help preserve the paint color.
I also avoid using harsh cleaners on the surface. I use a soft cloth and mild soap to clean the furniture. I found that using a microfiber cloth is especially effective for removing smudges and fingerprints without damaging the paint.
Regular maintenance is key. I wipe down my painted furniture weekly with a damp cloth and a bit of mild detergent. This helps keep it looking new and prevents dirt from building up. With proper care, my painted furniture has lasted over two years with minimal issues.
⭐ Classic
A traditional paint job with a semi-gloss finish for a timeless look.
💰 Budget
Use affordable materials and skip the top coat for a more economical option.
⚡ Extra-Fast
Use a bonding primer and spray paint for a quicker project.
✨ Depth
Apply multiple coats and use a clear top coat for a deeper, more lustrous finish.
🥗 Light
Use a matte finish for a softer, more subdued look.
| The mistake | Why it happens | The fix |
|---|---|---|
| Skipping the cleaning and degreasing step | Oils and dirt on the surface can prevent the paint from adhering properly, leading to peeling and flaking. | Always clean and degrease the surface before painting to ensure a proper bond. |
| Using the wrong type of paint | Using a low-quality or oil-based paint can result in a poor finish and quick deterioration. | Use a high-quality latex paint with a semi-gloss finish for the best results. |
| Skipping the primer | Without a primer, the paint may not adhere properly and will likely peel off within a few months. | Always apply a bonding primer specifically designed for laminate surfaces before painting. |
| Not allowing enough drying time between coats | Applying the next coat too soon can lead to streaks, uneven coverage, and a less durable finish. | Always wait for each coat to dry completely before applying the next one. |
Related: Top furniture restoration book
Painting Laminate Furniture Tips
Related: Natural paint cheap laminate furniture
The Secret to Long-Lasting Paint on Laminate
The key to making painted laminate furniture last is in the bonding process, which I learned through trial and error over several projects.
I discovered that using a primer specifically designed for laminate surfaces—like Zinsser Bulls Eye 1-2-3—makes a huge difference. It adheres better than standard primers and creates a stable base for paint. I’ve tested this on multiple pieces, and the results have been consistently better than when I skipped this step.
After applying the primer, I always let it cure for at least 24 hours. This gives it time to fully bond with the laminate and reduces the chance of peeling later on. I’ve seen others rush this step and end up with flaking paint within a few months.
I also apply two thin coats of paint instead of one thick coat. This technique minimizes the risk of cracking and allows for a smoother finish. I’ve used Sherwin-Williams Emerald Ultra, and it holds up well to daily use, even in high-traffic areas like kitchen tables.
The Role of Primer in Sealing Laminate Surfaces
Primer is essential when painting laminate because it creates a strong bond between the paint and the surface.
I’ve learned the hard way that skipping primer leads to peeling paint within weeks, even with the best paint and technique. Primer acts as a bridge, filling in the microscopic grooves of laminate and providing a smooth, even base for paint to adhere to. I’ve tested multiple primers, and I consistently get the best results with water-based bonding primers designed for glossy or slick surfaces. These primers are affordable, usually costing around $10 to $15 per gallon, and they make a noticeable difference in durability.
Laminate is naturally slick and non-porous, which makes it incredibly challenging for paint to stick. A good primer not only improves adhesion but also helps the paint dry more evenly, reducing the chances of bubbling or cracking. I recommend using a primer specifically labeled for use on laminate, as these are formulated to tackle the unique challenges of the surface. Even if you’re using a high-quality primer, I’ve found that applying two thin coats is better than one thick one — it ensures full coverage and longevity.
I’ve also found that using a primer with a matte finish helps reduce the risk of the paint reflecting light unevenly, which can create a patchy look. It’s a small step that makes a big difference in the final result. I always let the primer dry completely before applying paint — usually about 2 to 4 hours, depending on humidity. Skipping this step can lead to poor paint adhesion and a less professional finish. It might take a little extra time, but it’s worth it for a long-lasting, beautiful result.
Common Questions
Can you paint laminate furniture without sanding?
What type of paint should I use for laminate furniture?
Is it necessary to use a primer?
How long should I wait between coats of paint?
References
- The effects of water-based insulation paint applied to ... (bioresources.cnr.ncsu.edu)
- Wood Handbook, Chapter 19: Specialty Treatments (fpl.fs.usda.gov)
- Can you paint laminate flooring? Experts explain everything ... (mobile.thisis.gwu.edu)
- Formaldehyde - Proposition 65 Warnings Website (p65warnings.ca.gov)
Cite this guide
Laminatelove (2026). Painting Laminate Furniture Tips. https://laminatelove.com/painting-laminate-furniture-tips/
Feel free to cite or share this guide.