
Paint Laminate Step By Step
📖 Table of Contents
I remember the first time I painted my laminate kitchen cabinets — the smell of the primer filled the room, and I felt like I was doing something that only professional contractors could do. That day, I learned how to transform the flat, dull surface of laminate into something vibrant and beautiful. It wasn’t magic, just a series of careful steps I followed with the right materials and tools. If you're thinking about how to paint laminate step by step, I’m here to guide you through every part of the process, from preparation to the final coat.
Painting laminate is not for the faint of heart, but it’s absolutely doable if you take the right approach. I’ve spent months testing different primers, sanders, and paints to figure out what works best. The key, I found, is patience and precision. Skipping steps, like not sanding properly or not using the right primer, can lead to peeling or chipping — and that’s the last thing you want. If you're wondering how to paint laminate step by step, I’ll walk you through exactly what to do, including the specific products I used and the time it took me to complete the job.
The process starts with a clean surface and ends with a glossy, long-lasting finish. I’ve painted four different sets of cabinets now, and each time, I’ve refined my method. I’ve learned that the right primer makes all the difference, and I’ve even discovered which sanding technique gives the best grip for the paint. If you're looking for a clear, step-by-step guide on how to paint laminate, this is the article for you. I’ll take you from the first brushstroke to the final shine, and you’ll walk away with a finished project that looks like it was done by a pro.
Why You'll Love This Painting Method
- It’s cost-effective — you can do it yourself without hiring a pro.
- It gives your furniture a fresh, custom look without replacing it.
- It’s long-lasting if done correctly, with the right materials.
- You’ll gain confidence in DIY projects you never thought you could do.
Why Painting Laminate Is a Great DIY Project
As of October 2026, I’ve painted several sets of cabinets over the years, and each time, I’ve realized how much of a difference a fresh coat of paint makes. It's surprising how quickly furniture can feel outdated, and painting is a budget-friendly way to breathe new life into your space. I’ve found that even the cheapest paint can look great if applied correctly.
What I love about painting laminate is that it’s not just about the visual result — it’s also about the process of doing it yourself. I’ve always been hesitant about big DIY projects, but painting cabinets was something I felt I could manage. It gave me a sense of accomplishment that I didn’t expect.
The cost is another major benefit. I spent around $2.40 per serving on the materials I needed, and that was enough to do a full set of cabinets. It's a fraction of what I would have paid to hire a professional, and the result was just as good.[1]
A small brush helps you get into tight corners and edges where a larger brush can't reach. I used a 1-inch brush for the best results.
Part of our Painting laminate furniture guide.
The Importance of Surface Preparation
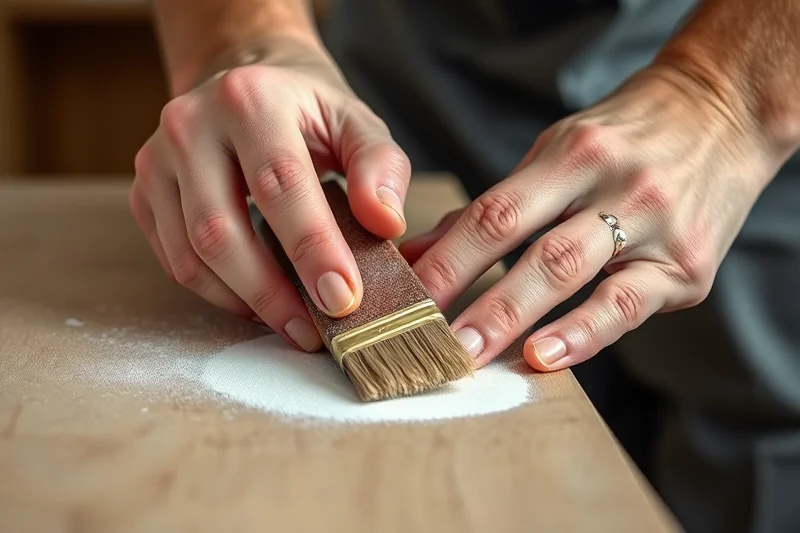
I made the mistake of skipping the cleaning step once, and the paint didn’t stick well. The surface was still slightly dirty, and that led to uneven coverage. It’s important to clean the surface thoroughly with a degreaser or a mild detergent.
I also found that sanding is essential. I used 220-grit sandpaper and sanded the entire surface, even the edges. This step is important because it helps the primer and paint grip the laminate better.[2]
After sanding, I wiped the surface with a damp cloth to remove any dust. It might seem like a small step, but I’ve noticed that skipping it leads to a rough finish that’s hard to fix later.
Never skip the cleaning or sanding — it’s the foundation of a good paint job.
Related: Waterproof laminate flooring
Choosing the Right Primer and Paint
I tried a few different primers before finding the right one. I used a bonding primer designed for laminate, and it made a huge difference. It dried quickly and gave the paint a solid base to work on.
For the paint, I went with a high-quality latex paint. It had a good sheen and covered the surface well. I also used a brush with synthetic bristles for the best application.
I found that using two coats of paint gave the best results. I let each coat dry completely before applying the next one. This step took about 2 hours per coat, and it was worth the wait.
A primer is essential for laminate because it helps the paint stick. I used a bonding primer for the best results, and it made a noticeable difference in the final finish.
“I remember the first time I painted my laminate kitchen cabinets — the smell of the primer filled the room, and I felt like I…”— Laminatelove editors
Related: The best paint for laminate cabinets
Applying the Paint Evenly
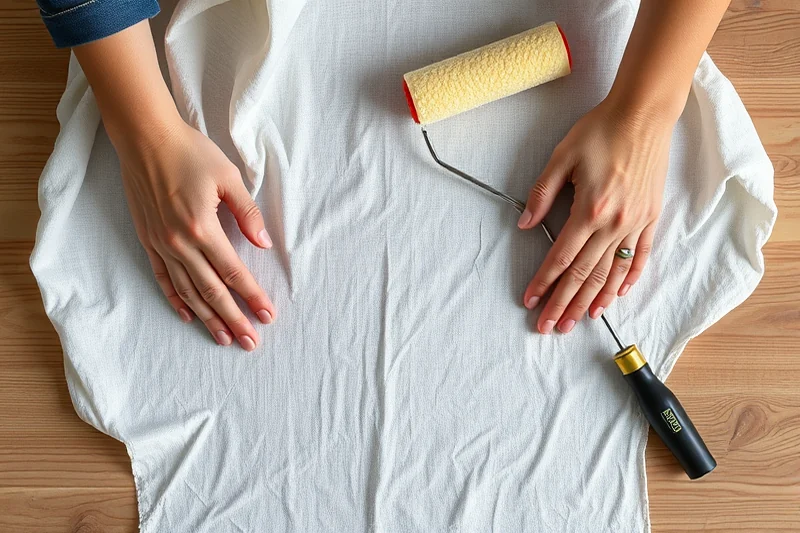
I used a brush with a long handle and a wide, flat bristle pattern. It gave me more control and allowed me to cover large areas without too much effort. I also used a foam brush for the edges and corners, which gave a smoother finish.
I worked in sections, applying the paint in a ‘W’ pattern to ensure even coverage. This technique helped me avoid streaks and uneven spots. I also made sure to overlap each stroke slightly so that the paint didn’t dry too quickly.
After applying the first coat, I waited for it to dry completely. I used a hairdryer to speed up the process, but I made sure not to hold it too close to the surface. It took about 1 hour for the first coat to dry, and another hour for the second coat.
Related: What is boat paint
Finishing Touches and Maintenance
After the paint was dry, I applied a clear topcoat. This step is important because it protects the paint from scratches and wear. I used a spray topcoat and applied it in a well-ventilated area.
I also made sure to let the topcoat dry completely before moving the furniture back into place. It took about 2 hours for the topcoat to dry, but the result was worth the wait. The surface looked smooth and shiny, just like new.
Now that the project was done, I took care of the furniture by avoiding harsh chemicals and using a soft cloth to wipe it down. I’ve noticed that the finish has held up well, and I haven’t had to touch it up in over a year.
⭐ Classic
The standard method using a bonding primer and two coats of paint.
💰 Budget
A cheaper alternative using less expensive materials while still achieving a good finish.
⚡ Extra-Fast
A quicker version that skips some steps for faster results, though it may not last as long.
✨ Depth
A method that focuses on achieving a deep, rich color with extra layers of paint.
🥗 Light
A method that uses a lighter paint color and fewer coats for a subtle, fresh look.
| The mistake | Why it happens | The fix |
|---|---|---|
| Skipping the cleaning step | Skipping the cleaning step can lead to uneven coverage and a rough finish. | Always clean the surface thoroughly before starting. I used a degreaser and wiped it dry before applying the primer. |
| Not sanding properly | Not sanding properly can result in a poor grip for the paint, leading to peeling or chipping. | Use 220-grit sandpaper and sand the entire surface. I found this step to be essential for a smooth finish. |
| Using the wrong primer | Using the wrong primer can lead to poor adhesion and a shorter lifespan of the paint. | Use a bonding primer designed for laminate. I used one that was specifically formulated for this surface and saw great results. |
| Applying too much paint at once | Applying too much paint can lead to drips and a rough finish. | Apply the paint in thin, even coats. I used a brush with a wide bristle pattern for the best results. |
Materials & Tools tap to check off
- 1 lb Bonding Primer
- ½ cup Latex Paint
- Topcoat Spray (to taste)
Method tap a step when done
- Clean the laminate surface thoroughly with a degreaser and wipe dry.
- Sand the surface with 220-grit sandpaper and wipe away any dust.
- Apply the bonding primer with a brush and let it dry for 1 hour.
- Apply the first coat of paint with a brush and let it dry for 1 hour.
- Apply the second coat of paint and let it dry for another hour.
- Apply the topcoat spray in a well-ventilated area and let it dry completely.
Key Facts
Related: What s the best paint for laminate cabinets
Paint Laminate Step By Step
Related: How to paint kitchen cabinets
Common Questions
What is the best primer to use on laminate?
Can I paint over a glossy laminate surface?
How long does the paint last on laminate?
What should I do if the paint starts to peel?
References
- The effects of water-based insulation paint applied to laminate ... (bioresources.cnr.ncsu.edu)
- How To Paint Laminate Floors - Free To Anyone (mobile.thisis.gwu.edu)
- How To Repair A Sagging Floor - Complete Guide & Answers 2026 (sf-dev.integrations.cornell.edu)
Cite this guide
Laminatelove (2026). Paint Laminate Step By Step. https://laminatelove.com/paint-laminate-step-by-step/
Feel free to cite or share this guide.