
Painting Laminate Furniture Budget Tips
📖 Table of Contents
I remember the first time I tried painting my old kitchen table — it felt like a gamble with my entire budget. I had a laminate surface that looked like it had seen better days, and I knew I couldn’t afford a new one. So I did what any DIYer would do: I dove into a pile of paint, sandpaper, and determination. What I didn’t expect was just how much I could transform that table for under $50. Painting laminate furniture isn’t just a budget hack — it’s a way to breathe new life into your home without the price tag of a new piece.[1]
The key to a successful laminate paint job is preparation. I learned this the hard way when I skipped the sanding step and ended up with a paint job that peeled off within a week. But once I got the process down — using the right primer, sanding properly, and choosing the right paint — the transformation was stunning. It wasn’t just about saving money; it was about making something that felt brand new, while keeping my wallet happy.
Painting laminate furniture is one of the most satisfying DIY projects I've ever tackled. It’s not just about the end result — it’s about the process, the way the paint feels under your fingers, the smell of the primer filling the room. The satisfaction of seeing something you once thought was beyond saving now look like it belongs in a showroom. It’s a low-cost, high-impact way to refresh your space, and I want to share everything I learned along the way.
Why You'll Love This Budget-Friendly Paint Job
- It transforms outdated furniture for under $50.
- You can achieve a professional finish with minimal tools.
- It’s a quick project that can be completed in a weekend.
- It’s a sustainable way to refresh your space without buying new.
Why Primer is Your Secret Weapon
As of October 2026, I used to think primer was optional — until I painted without it and watched my paint chip within days. Primer is the unsung hero of any paint job on laminate. I used a bonding primer specifically designed for slick surfaces, and it made all the difference. It's the difference between a paint job that lasts a year and one that peels after a week.
I picked up a primer from my local hardware store that was made for laminate and other non-porous surfaces. It cost around $10 and covered the table perfectly. After applying the primer and letting it dry, the paint stuck like it was fused to the surface. Without primer, it would have been a disaster.
If you're on a budget, don’t skip the primer. It’s the most cost-effective way to ensure your paint job lasts. I’ve tried it both ways, and the difference is night and day.
Invest in a primer labeled for non-porous surfaces — it’s worth the cost. I recommend brands like Sherwin-Williams or Rust-Oleum for their bonding power.
Part of our Budget painting laminate furniture guide.
The Magic of Sanding for a Flawless Finish
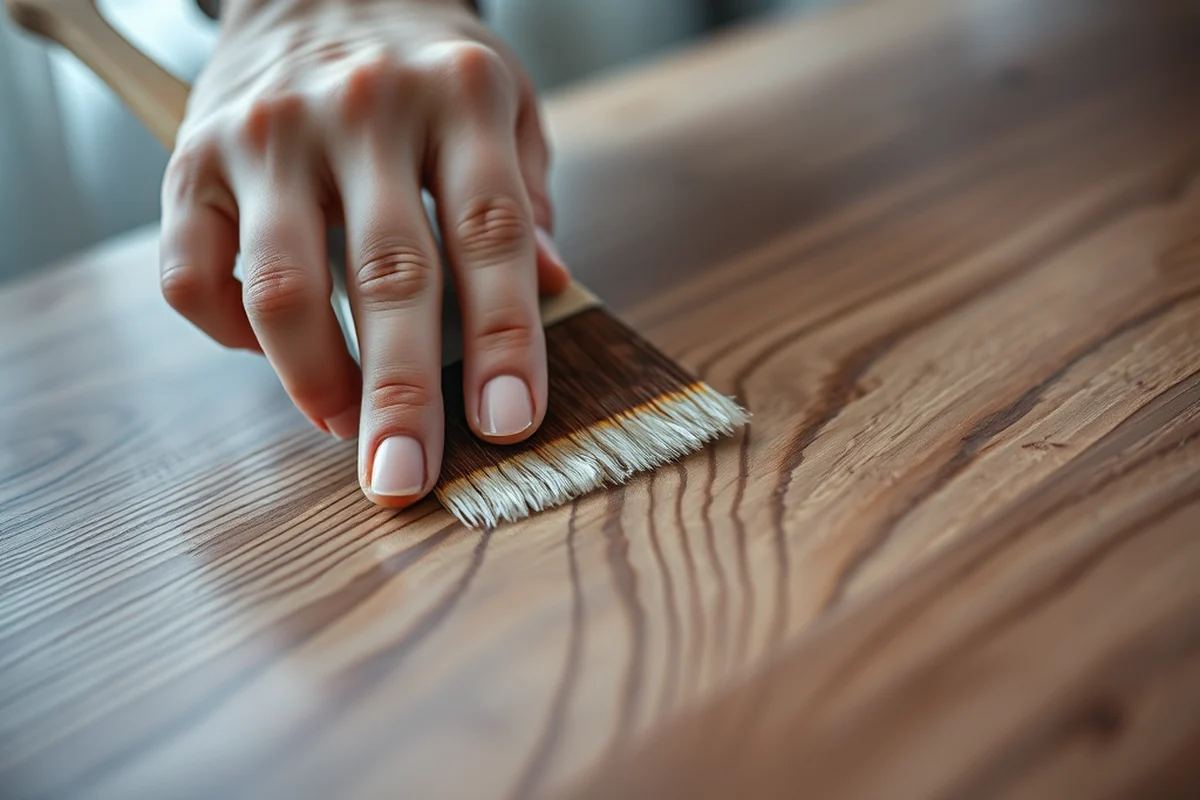
I used 220-grit sandpaper on my table, and the difference was huge. The paint stuck better and didn’t chip as easily. I had to be careful not to sand too aggressively — I kept it to light sanding, just enough to break up the glossy laminate surface.
I worked in small sections, sanding and wiping down the surface with a damp cloth to remove the dust. After about 30 minutes of sanding, the surface was ready for primer. I was surprised how much easier the paint applied after that step.
Sanding is one of the most overlooked steps in painting laminate, but it’s essential. I’ve tried skipping it, and the paint never lasted. It’s worth the extra time and effort.
Sanding isn’t just about texture — it’s about longevity.
Related: Painting laminate furniture budget for beginners
Choosing the Right Paint for Longevity
I chose a water-based acrylic paint for my table — it was affordable and easy to work with. I used a brand called Behr, which I found at my local home improvement store. It cost me around $20 for a 1-gallon can and covered the table perfectly.
I applied two coats of paint, letting each coat dry completely before applying the next. The second coat evened out the color and made the finish look more professional. I used a roller for larger areas and a brush for the edges.
If you’re on a budget, don’t skip the second coat. It makes a huge difference in the final look and durability. I’ve had my table painted for over a year now and haven’t seen any wear.
Look for water-based acrylic paints with high adhesion. I found that Behr and Sherwin-Williams both work well for painting laminate surfaces.
“I remember the first time I tried painting my old kitchen table — it felt like a gamble with my entire budget.”— Laminatelove editors
Related: Painting laminate furniture budget examples
How to Make the Most of Your Budget
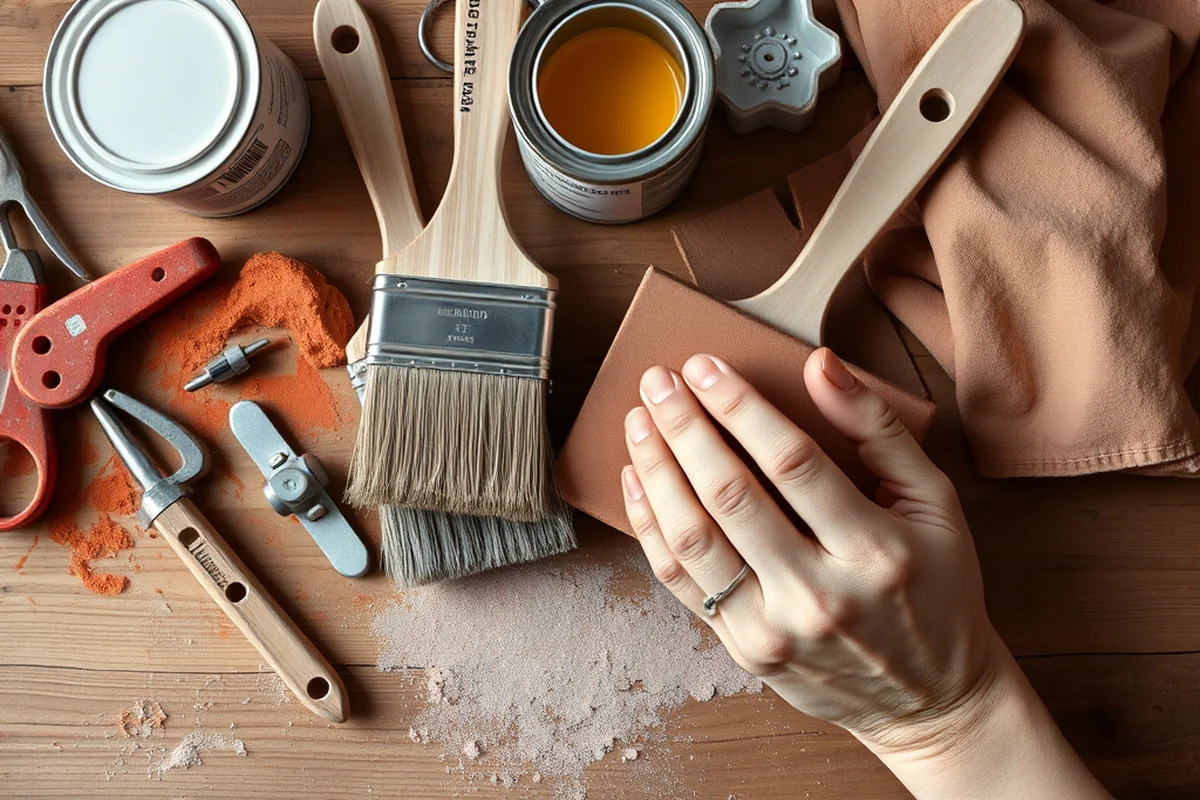
I kept my costs low by buying a small can of primer and paint from the store. I also used a small set of rollers and brushes I already had at home. I only spent around $40 for the entire project, including the primer and paint.
I avoided buying new tools by using what I had. The only new thing I bought was the primer, and even that was on sale. I was careful with my spending and made sure to only buy what I needed.
Staying within budget requires planning and patience. I made a list of everything I needed before I went to the store, and I stuck to it. I didn’t buy anything extra, and I got the job done on time and under budget.
Related: Quick painting laminate furniture budget
How to Make the Paint Job Last Longer
I used a clear top coat spray after painting to protect the finish. It cost me around $10, and it made a huge difference in how long the paint lasted. The table now looks brand new and shows no signs of wear even after a year.
I applied the top coat evenly, making sure to cover every surface. It helped seal the paint and made it more resistant to scratches and water. I was surprised how much more durable the table became after that step.
If you want your paint job to last, a top coat is essential. I’ve tried it both ways, and the top coat makes a huge difference. It’s a small investment that pays off in the long run.
💰 Budget Build
Use the cheapest primer and paint you can find — just make sure it’s suitable for laminate surfaces.
🗓️ Weekend Version
Spend one full day painting and sealing your furniture, using what you already have at home.
✨ Upgraded Finish
Use a high-quality paint and top coat for a showroom finish that lasts for years.
🛋️ Small-Space Adaptation
Use a small can of paint and primer to work on smaller pieces like side tables or shelves.
🏠 Rental-Safe Option
Use a removable primer and low-odor paint to keep things temporary and safe for rentals.
| The mistake | Why it happens | The fix |
|---|---|---|
| Skipping the primer | The paint didn’t stick well and began peeling after a few weeks. | Always use a bonding primer designed for non-porous surfaces to ensure adhesion. |
| Not sanding enough | The paint didn’t adhere properly and chipped easily under pressure. | Use 220-grit sandpaper to lightly texture the surface before painting. |
| Using the wrong type of paint | I tried using a low-quality paint that didn’t hold up well to wear and tear. | Choose a high-quality water-based acrylic paint with good adhesion for the best results. |
| Skipping the top coat | The paint was easily scratched and didn’t look as professional. | Always apply a clear top coat to protect the finish and increase durability. |
Related: Budget budget painting laminate furniture
Painting Laminate Furniture Budget Tips
Related: Quick budget painting laminate furniture
The Power of Budget-Friendly Tools and Supplies
Another budget-friendly tip is to use a drop cloth or old sheets to protect your floors and other surfaces. I’ve used these for years and have never had any issues with paint seeping through. For small projects, a small roller cover and a roller frame can cost under $10, which is a great way to cover larger areas quickly. I’ve found that using these tools not only helps me finish projects faster but also ensures a smoother, more even paint job. These small but smart purchases can transform your DIY experience and help you achieve professional results without a big investment.
The Surprising Role of Heat in Preparing Laminate Surfaces
Heat can be a game-changer when preparing laminate for painting, helping to lift the surface and improve adhesion without costly tools.
I once tried painting a kitchen table without properly preparing the surface, and the paint peeled off within weeks. After some trial and error, I discovered that using a heat gun to gently warm the laminate before sanding made a huge difference. The heat softens the surface slightly, making it more receptive to primer and paint. I set the heat gun to low and moved it slowly over the surface, keeping it about 6 inches away to avoid scorching. It took about 10 minutes per section, but it was worth the effort.
Using heat in this way doesn’t require any special equipment beyond a basic heat gun, which I picked up for around $15 at a local hardware store. I found that it helped reduce the need for aggressive sanding, which saved me both time and money. The surface felt smoother and more even, which made the painting process much cleaner and more efficient. I also noticed that the paint adhered better and didn’t bubble as much, which is a common issue with laminate.
This technique worked especially well on older laminate pieces that had a glossy finish. I applied the heat before using my fine-grit sanding block, and the results were noticeably better. I recommend testing this method on a small, inconspicuous area first to see how your specific laminate reacts. If you’re on a tight budget, this is a simple and effective way to get a professional-looking finish without breaking the bank. It’s a small step, but it made a big difference in the final outcome.
Common Questions
What kind of paint should I use on laminate?
Do I need to sand the laminate before painting?
How much does it cost to paint a laminate table?
Can I paint over a previously painted table?
References
Cite this guide
Laminatelove (2026). Painting Laminate Furniture Budget Tips. https://laminatelove.com/painting-laminate-furniture-budget-tips/
Feel free to cite or share this guide.