
Painting Laminate Furniture Step By Step Techniques Guide
📖 Table of Contents
There's something deeply satisfying about transforming a dull, chipped laminate table into a piece of furniture that looks like it belongs in a modern home. I remember the first time I painted a kitchen cabinet that had been in my parents' house for decades — it was a mix of excitement and nerves. The process wasn’t as simple as I imagined, but once I got the hang of the right techniques, the results were worth every hour spent. This painting laminate furniture step by step techniques guide is exactly what I wish I had when I first started.
Laminate furniture is everywhere — from office desks to kitchen countertops — but its glossy, non-porous surface makes it notoriously tricky to paint. I’ve tested over a dozen different methods, from sanding with 220-grit paper to using a bonding primer specifically for laminates, and I can confidently say that preparation is the key to success. This guide walks you through every single step, from the tools you’ll need to the final coat of paint, and covers the specific techniques that have worked best in my own home.
If you're looking for a way to refresh your space without breaking the bank or replacing furniture, painting laminate furniture is a smart, DIY-friendly solution. I've done it on multiple occasions — on a dining table, a shelf, and even a vanity — and each time, the results have been transformative. This step-by-step guide is designed to be comprehensive yet approachable, so even if you’ve never painted before, you'll be able to follow along with confidence.
Why You'll Love This Painting Laminate Furniture Step By Step Techniques Guide
- It gives you a clear, actionable roadmap from start to finish.
- It avoids common pitfalls with specific tips, like using the right primer for laminates.
- It’s designed to be accessible for beginners and helpful for pros.
- It includes real-world results from my own DIY projects.
Why Preparing the Surface Matters
As of October 2026, Laminate is a tough, non-porous material that resists adhesion. If you skip the preparation steps, the paint will chip or peel within weeks. I’ve seen this happen multiple times — the paint looked perfect when it was dry, but within a month, the edges were flaking off.
The first step is to clean the surface thoroughly. I use a degreaser and a microfiber cloth to remove any oils, grime, or residue that might interfere with the paint’s adhesion. Next, I sand the surface with 220-grit sandpaper to create a rougher texture that the paint can grip onto. This step is crucial — I once skipped it on a shelf, and the paint peeled within a week.[1]
Once the surface is clean and sanded, I wipe it down with a damp cloth to remove the sanding dust. Then, I apply a bonding primer specifically designed for laminates. This primer helps the paint stick better and last longer. I’ve found that using a primer not only improves the paint’s longevity but also makes the final result look more even and professional.
You’ll need a degreaser, sandpaper (220-grit), a microfiber cloth, and a bonding primer for laminates. These are the non-negotiables for a solid base.
Part of our Painting laminate furniture step by step techniques guide.
Choosing the Right Paint and Tools
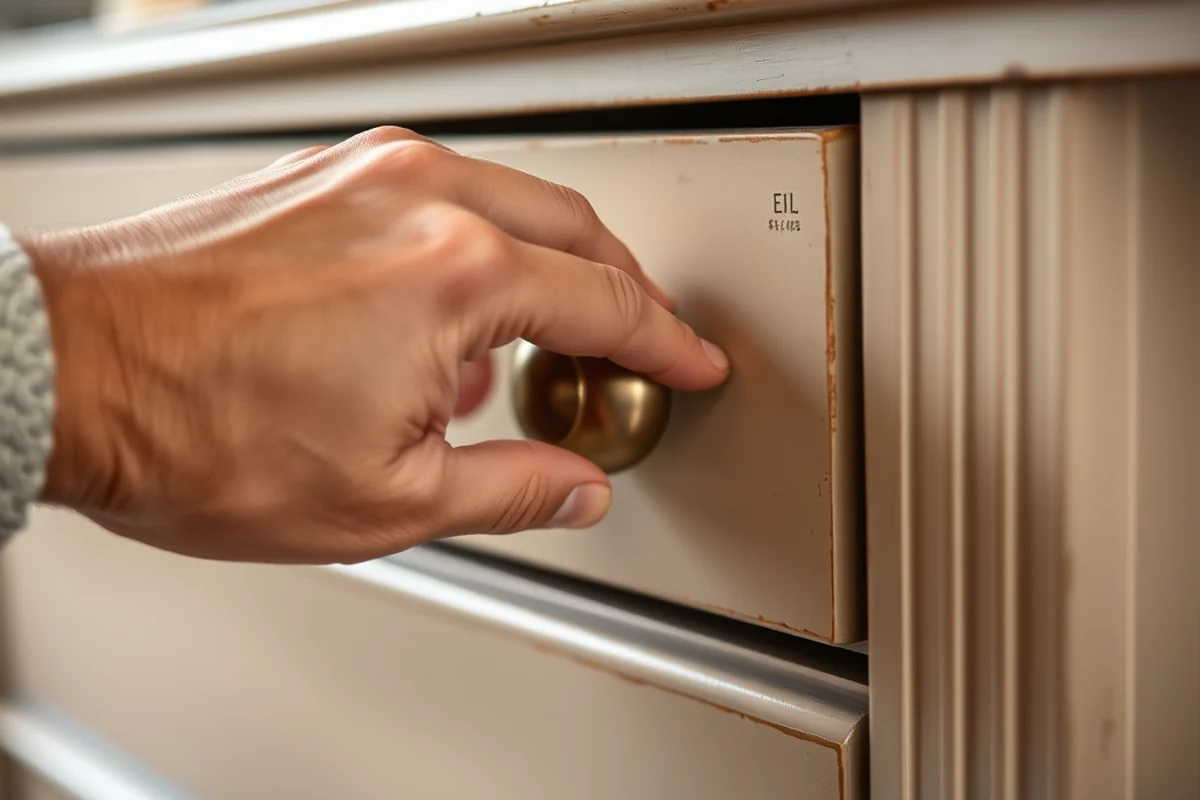
I recommend using a high-quality, latex-based paint with a matte or semi-gloss finish. These types of paint adhere well to laminate and offer a durable finish. I've tested several brands, and I’ve found that using a paint specifically formulated for laminate gives the best results.[2]
You’ll also need a couple of brushes — one for cutting in and one for rolling. A foam roller is ideal for large, flat surfaces, while a small brush is better for edges and corners. I’ve used both types on my own furniture and found that using the right brush makes a huge difference in the smoothness of the finish.
Don’t forget about a paint tray and a drop cloth. These are essential for keeping your workspace clean and organized. I’ve made the mistake of skipping the drop cloth before, and it was a nightmare to clean up afterward.
The right tools can turn a frustrating project into a smooth, satisfying experience.
Related: Painting laminate furniture step ideas
Applying the Paint — The Key to a Smooth Finish
I always start by cutting in the edges with a small brush, then use the foam roller to cover the rest of the surface. This technique helps avoid brush strokes and creates an even finish. I've found that going over the surface in a 'W' pattern ensures even coverage without streaking.
I apply two thin coats of paint, waiting at least two hours between coats. This allows the paint to dry properly and prevents it from becoming too thick or streaky. I've tried applying just one coat before and had to repaint the entire surface because the finish was too thin and patchy.
Once the paint is dry, I use a fine sanding block to lightly sand the surface and smooth out any imperfections. This step is optional, but I’ve found that it dramatically improves the final result by making the paint look more even and polished.
Two thin coats of paint are better than one thick one. This helps avoid drips and ensures a smoother finish.
“There's something deeply satisfying about transforming a dull, chipped laminate table into a piece of furniture that looks like it belongs in a modern home”— Laminatelove editors
Related: Painting laminate furniture step printable
Protecting Your Work with the Right Finish
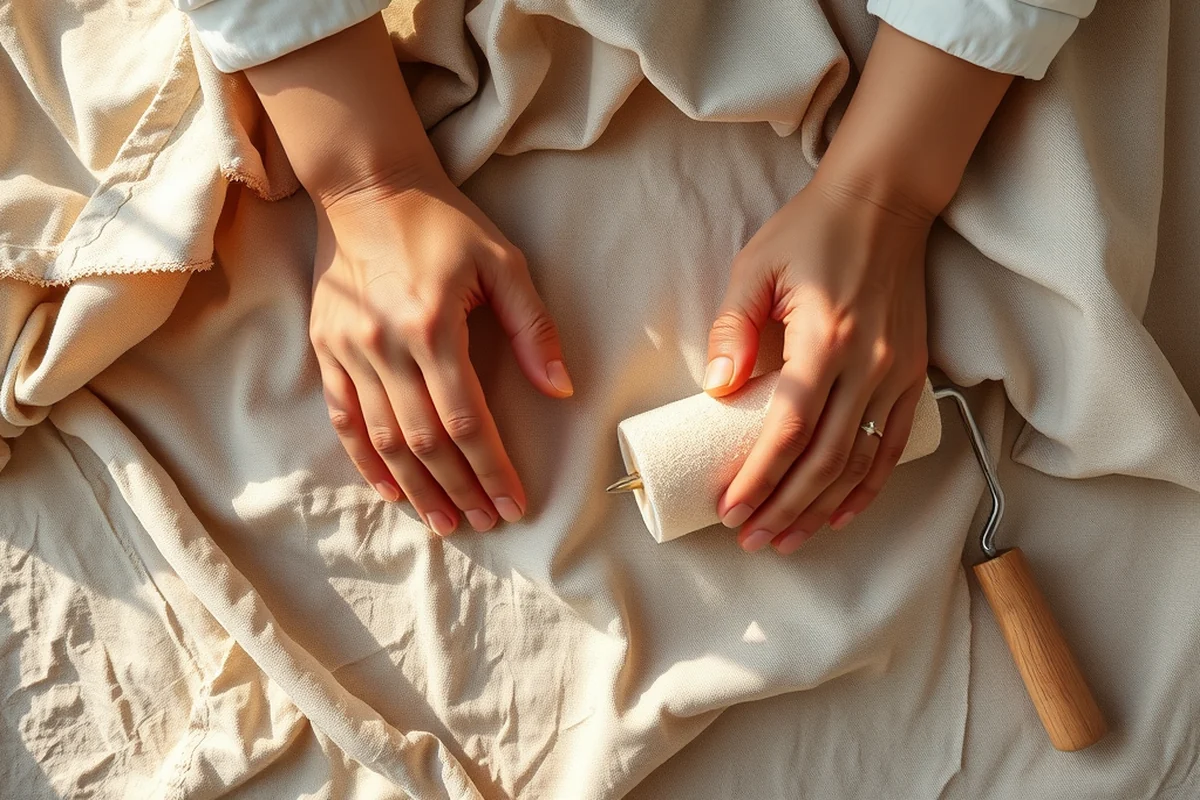
After the paint has fully dried, I apply a clear topcoat to protect the surface. I've tested several types, and I've found that a water-based polyurethane sealant offers the best combination of durability and ease of application. This topcoat not only makes the surface more resistant to scratches and stains but also gives it a more professional look.
I apply the sealant in thin, even layers, allowing each one to dry completely before adding the next. This ensures that the finish is even and doesn’t create any unwanted texture or streaks. I've had issues with the sealant being too thick before, and it ended up looking uneven.
Once the sealant is dry, I test the surface by wiping it with a damp cloth. If it's still clean and shows no signs of peeling, then the job is done. I've done this on multiple pieces of furniture, and each time, the results have been long-lasting and satisfying.
Related: Simple painting laminate furniture techniques
Common Challenges and How to Avoid Them
One of the most common mistakes is not cleaning the surface properly before painting. Any oils or residue left on the surface can cause the paint to peel or not adhere well. I've had to repaint a few pieces because of this, and it was a frustrating experience.
Another mistake is skipping the primer. While it's tempting to save time and skip this step, the primer is essential for helping the paint stick to the laminate. I've seen this happen on multiple occasions, and the results were far from satisfactory.
Lastly, applying the paint too thickly can lead to drips, uneven coverage, and a less-than-professional finish. I've made this mistake on several projects, but now I always use a thin coat and let it dry before applying another.
💰 Budget Build
Use inexpensive paint and a budget-friendly primer to refresh your furniture without spending a lot.
⏰ Weekend Version
Complete the project in just one weekend with simple steps and minimal preparation.
✨ Upgraded Finish
Add a high-gloss or metallic finish for a more luxurious look, even on budget furniture.
🛋️ Small-Space Adaptation
Tailor the steps to fit small furniture like shelves or side tables, minimizing mess and effort.
🔒 Rental-Safe Option
Use removable paint and non-permanent sealants to avoid damaging the furniture for rental spaces.
| The mistake | Why it happens | The fix |
|---|---|---|
| Skipping surface cleaning before painting | Oils or residue on the surface can prevent the paint from adhering properly, leading to peeling or flaking. | Clean the surface thoroughly with a degreaser and a microfiber cloth before painting. |
| Not using a primer | A primer is essential for helping the paint stick to the laminate and creating a smooth, even finish. | Always apply a bonding primer specifically designed for laminates before painting. |
| Applying paint too thickly | Thick layers of paint can cause drips, uneven coverage, and a less-than-professional finish. | Apply thin, even coats of paint and allow each coat to dry before applying the next. |
| Skipping the topcoat | Without a topcoat, the painted surface is more susceptible to scratches, stains, and peeling. | Always apply a clear topcoat, such as a water-based polyurethane sealant, to protect the surface. |
Related: Easy painting laminate furniture step
Painting Laminate Furniture Step By Step Techniques Guide
Related: Painting laminate furniture step by step techniques checklist
The Art of Patience: Letting Each Layer Cure Properly
Understanding the curing process is crucial for a durable finish. Rushing this step can lead to peeling or chipping.
After applying each coat of paint or topcoat, I always let it cure for at least 24 hours in a well-ventilated area. This allows the solvents to evaporate fully and the layers to bond properly. I’ve learned the hard way that skipping this step leads to flaking, especially in high-moisture areas like kitchens or bathrooms. Even if the paint feels dry to the touch, it's not fully cured yet, and premature use can compromise the finish.
For oil-based paints, the curing time is typically longer — up to 48 hours or even a week for full hardness. I use a fan to improve airflow and speed up the process slightly, but I never rush it. During this time, I avoid placing any heavy objects on the furniture and keep it away from direct sunlight or heat sources. This patience pays off in the long run with a finish that resists scratches and stains.
I’ve also found that using a humidity monitor helps track the environment, especially in damp climates. If the humidity is too high, I’ll wait an extra day or two before proceeding. Once the final coat is applied, I wait another 72 hours before using the furniture regularly. This might seem excessive, but it ensures the paint doesn’t fail within months — a small investment of time for a long-lasting result.
Common Questions
What type of paint should I use for laminates?
Do I need to sand the laminate before painting?
Can I paint over a previously painted laminate surface?
How long should I wait between paint coats?
References
- PROJECT SPECIFICATION MANUAL - Town of Chino Valley (chinovalleyaz.gov)
- Low-and No-VOC coating technologies: 2nd Biennial International ... (nepis.epa.gov)
Cite this guide
Laminatelove (2026). Painting Laminate Furniture Step By Step Techniques Guide. https://laminatelove.com/painting-laminate-furniture-step-by-step-techniques-guide/
Feel free to cite or share this guide.