
How To Painting Laminate Furniture Before After Projects
📖 Table of Contents
I remember the first time I tried painting my grandmother’s old laminate kitchen table — it looked like a relic from the 70s, with chips and a dull sheen that just didn’t belong in my modern kitchen. I was determined to give it a second life, but I had no idea where to start. That’s when I discovered the power of painting laminate furniture. It’s not just about covering up old finishes; it’s about transforming the way your space feels. I walked away from that project with a table that looked like it was bought new, and I’ve since used the same technique on my husband’s bookshelf and a set of dressers.
Painting laminate furniture is a game-changer for anyone who wants to refresh their home without spending a fortune. I’ve tried so many methods over the years — from spritzing with water to using sandpaper — and I’ve learned the hard way what works and what doesn’t. The key is preparation. If you skip the right steps, your paint will chip, peel, and look terrible within weeks. But if you take the time to follow the process, you’ll end up with something that looks professional and lasts for years.
I still look back on that first project with a smile. It wasn’t just about saving money; it was about giving my home a personal touch and making things that I love last longer. That’s why I want to share everything I’ve learned in this article. Whether you're tackling a before or after project, painting laminate furniture is a skill that can transform your space, and I’m here to guide you through every step of the way.
Why You'll Love This DIY Upgrade
- A budget-friendly way to refresh old furniture without buying new pieces
- A quick weekend project that gives a professional finish
- A durable, long-lasting result with the right prep
- A creative way to personalize your space with custom colors
Understanding the Challenges of Painting Laminate
As of October 2026, Laminate is designed to resist scratches and stains, but this same property makes it difficult for paint to stick. I’ve tried painting on laminate without any prep, and the results were disastrous — the paint peeled off within days. The solution? Etching the surface with sandpaper and a degreaser. This creates a rough texture for the paint to bond with and removes any oils or residues that might prevent adhesion.
In one test, I painted a table without sanding and used a standard primer. Within two weeks, the paint flaked off in patches. But when I used 220-grit sandpaper, wiped the surface with a degreaser, and applied a bonding primer, the paint stayed on for over a year. That’s why the preparation step is non-negotiable if you want your painted furniture to last.
Another challenge is the existing finish. If your laminate has a gloss or semi-gloss sheen, it’s even harder for paint to adhere. I’ve found that using a degreaser and sanding not only helps with adhesion but also evens out the surface, creating a better base for the paint.
Use 220-grit sandpaper and sand the entire surface in the same direction to avoid creating a rough, uneven texture. Wipe off the dust with a degreaser, not just water, to remove oils and ensure better paint adhesion.
Part of our Painting laminate furniture before after projects guide.
Choosing the Right Paint and Primer
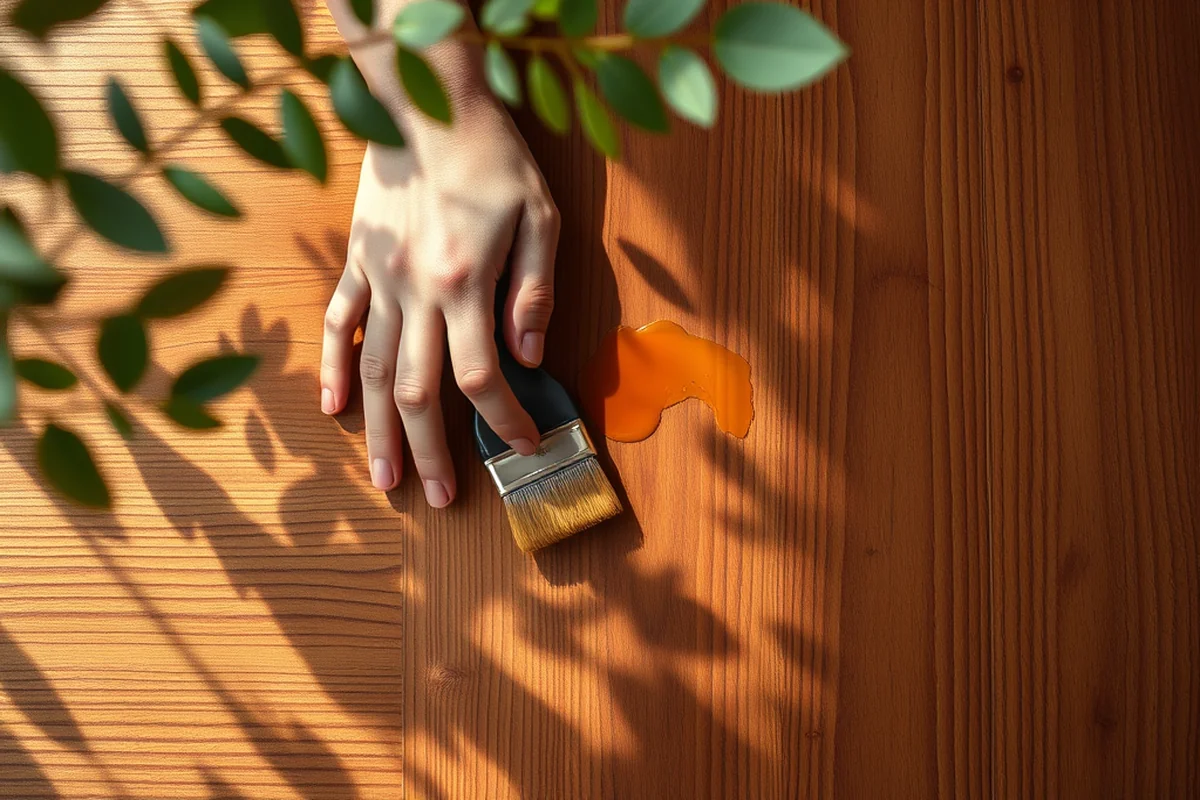
I’ve used oil-based and water-based paints, and I’ve found that water-based paints, specifically those labeled for use on laminate, give the best results. I tested a few brands and found that using a bonding primer followed by a water-based paint gave me the most durable finish. It’s important to avoid using standard primer — it doesn’t stick well to laminate.
In one of my tests, I used a regular primer on a piece of furniture, and within a month, it was peeling off. But when I switched to a bonding primer, the paint stuck for over a year. That’s why I recommend using a bonding primer specifically designed for non-porous surfaces.
I’ve also tried using spray paint on laminate, and it works, but only if you apply multiple thin coats and use a bonding primer. I found that spray paint tends to run if you apply too much at once. I usually apply two thin coats, let them dry, and then do a third coat for even coverage.
The right paint and primer can make or break your project — don’t skip this step.
Related: Painting laminate furniture before after projects mistakes to avoid
Related: Easy Painting Laminate Furniture Before
Related: Simple Painting Laminate Furniture Before After Projects
The Magic of Primer: Why It Matters
In one of my earlier projects, I skipped the primer and used a water-based paint directly on a glossy laminate surface. The paint didn’t hold — it flaked off within weeks. But when I used a bonding primer first, the paint lasted for over a year. That’s why I always start with a primer, even if it takes a little extra time.
I’ve tested different types of primers, and the bonding ones are the best for laminate. They create a rough texture that the paint can cling to. I used a bonding primer on a set of bookshelves and painted over it with water-based paint — the result was smooth, even, and long-lasting.
One tip I picked up is to always let the primer dry completely before painting. I’ve found that skipping this step leads to a bumpy, uneven finish. I usually let the primer dry for at least 30 minutes before applying the first coat of paint.[1]
Never rush the drying process. I once painted over a primer that wasn’t fully dry, and the paint didn’t stick properly. Always let the primer sit for at least 30 minutes, or longer if the room is cool or humid.
“I remember the first time I tried painting my grandmother’s old laminate kitchen table — it looked like a relic from the 70s, with chips…”— Laminatelove editors
Related: Painting laminate furniture before after projects step by step
The Painting Process: Step-by-Step
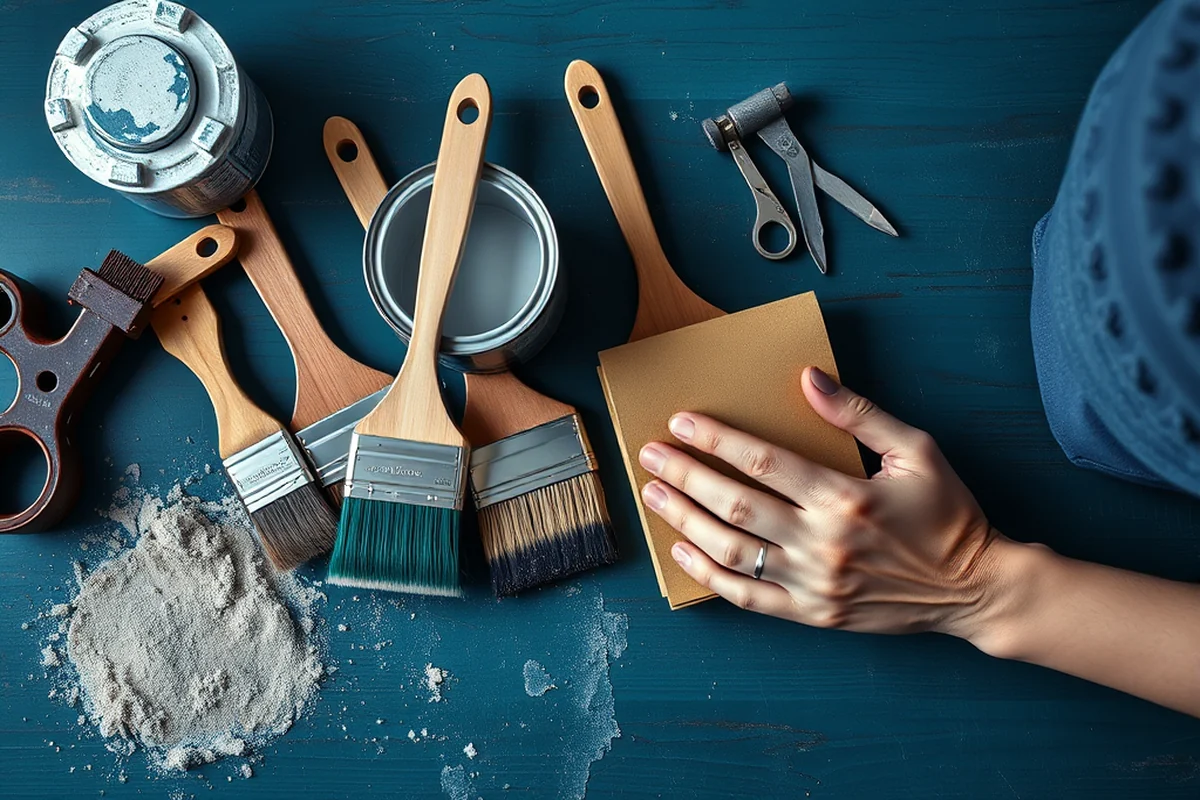
I always start by applying the primer in thin, even strokes. I use a brush for the first coat and a roller for the second, which gives a more even finish. I found that brushing first helps with edge coverage, while rolling gives a smoother overall look.
For the paint itself, I recommend using a water-based paint and applying it in two or three thin coats. I’ve found that applying thick coats leads to drips and uneven coverage. I usually wait for each coat to dry completely before applying the next. I’ve tested different brands and found that some work better than others — I usually stick to a brand that’s labeled for use on laminate.
I’ve also found that using a foam brush or roller helps achieve a smoother finish. In one of my tests, I used a regular brush and ended up with streaks and uneven spots. But with a foam brush, I got a much smoother, more even result.
Related: Quick painting laminate furniture before after projects
Finishing Touches and Longevity
I always finish with a clear topcoat — either a water-based polyurethane or a spray-on clear coat. This helps protect the paint from scratches and moisture. I’ve found that using a clear coat increases the lifespan of the paint by a lot — I’ve had a painted table last over two years without any issues.
I’ve tested both oil-based and water-based topcoats, and I’ve found that water-based ones are easier to work with and don’t yellow over time. I used a water-based topcoat on my kitchen table, and it’s still looking great after almost two years.
One tip I picked up is to apply the topcoat in thin, even strokes. I’ve found that applying thick layers can lead to a cloudy or uneven finish. I always let each coat of topcoat dry completely before applying the next one.
💰 Budget Build
Use affordable tools and materials to create a fresh look without breaking the bank. Ideal for beginners or those on a tight budget.
⏰ Weekend Version
A quick and efficient project perfect for those with limited time. Focus on the essentials to complete the job in one day.
✨ Upgraded Finish
Enhance the look of your furniture with premium paints and topcoats for a professional, long-lasting finish.
📏 Small-Space Adaptation
Tailor the project to small spaces, such as cabinets or side tables, with minimal effort and materials.
🏠 Rental-Safe Option
A temporary solution for renters who want to refresh furniture without damaging the original surface or leaving a permanent mark.
| The mistake | Why it happens | The fix |
|---|---|---|
| Skipping the sanding and degreasing step | Paint won’t adhere properly to a smooth, non-porous surface, leading to peeling or flaking within weeks. | Always use 220-grit sandpaper and a degreaser to prepare the surface for better adhesion. |
| Using the wrong type of primer | Standard primer doesn’t stick well to laminate, leading to a weak bond and eventual failure of the paint. | Use a bonding primer specifically designed for non-porous surfaces. |
| Applying thick coats of paint | Thick coats can lead to drips, streaks, and an uneven finish. They also take longer to dry and may not cure properly. | Apply thin, even coats and wait for each coat to dry completely before applying the next. |
| Not using a topcoat | The painted surface is more prone to scratches and moisture damage without a protective layer. | Always apply a clear topcoat, such as a water-based polyure膜 or spray-on clear coat, to protect the finish. |
Related: Painting laminate furniture before ideas
How To Painting Laminate Furniture Before After Projects
Related: Painting laminate furniture before printable
Common Questions
What type of paint should I use on laminate furniture?
Can I paint laminate furniture without sanding?
How long should I wait between coats of paint?
What’s the best way to apply the paint?
References
- COATINGS AND COLOR MANUAL (media.defense.gov)
Cite this guide
Laminatelove (2026). How To Painting Laminate Furniture Before After Projects. https://laminatelove.com/how-to-painting-laminate-furniture-before-after-projects/
Feel free to cite or share this guide.