
Painting Laminate Furniture Before Step By Step
📖 Table of Contents
I remember the first time I decided to paint my old kitchen table. It was a piece of laminate furniture that had seen better days—scratches, dents, and a dull sheen that just didn’t match the rest of my home. I had no idea where to start, but after a few hours of research and some trial and error, I finally got the hang of it. Painting laminate furniture before step by step became my mantra, and now I’m here to help you do the same.
Painting laminate furniture can feel like a daunting task, especially if you're not familiar with the right techniques and materials. But the truth is, with the right approach, you can transform even the most worn-out furniture into something brand new. I’ve painted everything from cabinets to shelves, and I’ve learned that the key to success is preparation—specifically, following a clear, step-by-step process.
This article is your guide to painting laminate furniture before step by step. I’ll walk you through every stage, from cleaning and sanding to applying primer and paint. Whether you’re a complete beginner or have some DIY experience, these tips and tricks will help you achieve a professional-looking finish without the professional price tag.
Why You'll Love This Step-by-Step Guide to Painting Laminate Furniture
- You’ll save hundreds of dollars by giving your old furniture a new life instead of buying new pieces.
- You’ll gain confidence in DIY projects and feel proud of your handiwork.
- You’ll avoid common mistakes that can ruin your project and waste materials.
- You’ll end up with a finish that looks and feels like new, not just a quick fix.
Why Preparing the Surface Is Critical
As of September 2026, Laminate surfaces are slick and non-porous, which means paint can't bond well unless you take steps to make the surface rougher. I always start by cleaning the furniture with a degreaser and letting it dry completely. This removes any oils, grime, or residue that might interfere with adhesion.
Next, I use fine-grit sandpaper to lightly sand the surface. This creates a texture that paint can grip onto. I’ve found that sanding with 220-grit sandpaper works best for most laminates. After sanding, I wipe the surface with a damp cloth to remove any dust or debris.[1]
Proper preparation is the difference between a paint job that lasts for years and one that peels within weeks. I’ve seen it time and time again—skipping this step is the most common mistake people make when painting laminate furniture before step by step.
Use a sanding block instead of your hands to ensure even pressure. Always work in a well-ventilated area and wear a mask to avoid inhaling dust.
Part of our Painting laminate furniture before after projects guide.
Choosing the Right Paint and Primer
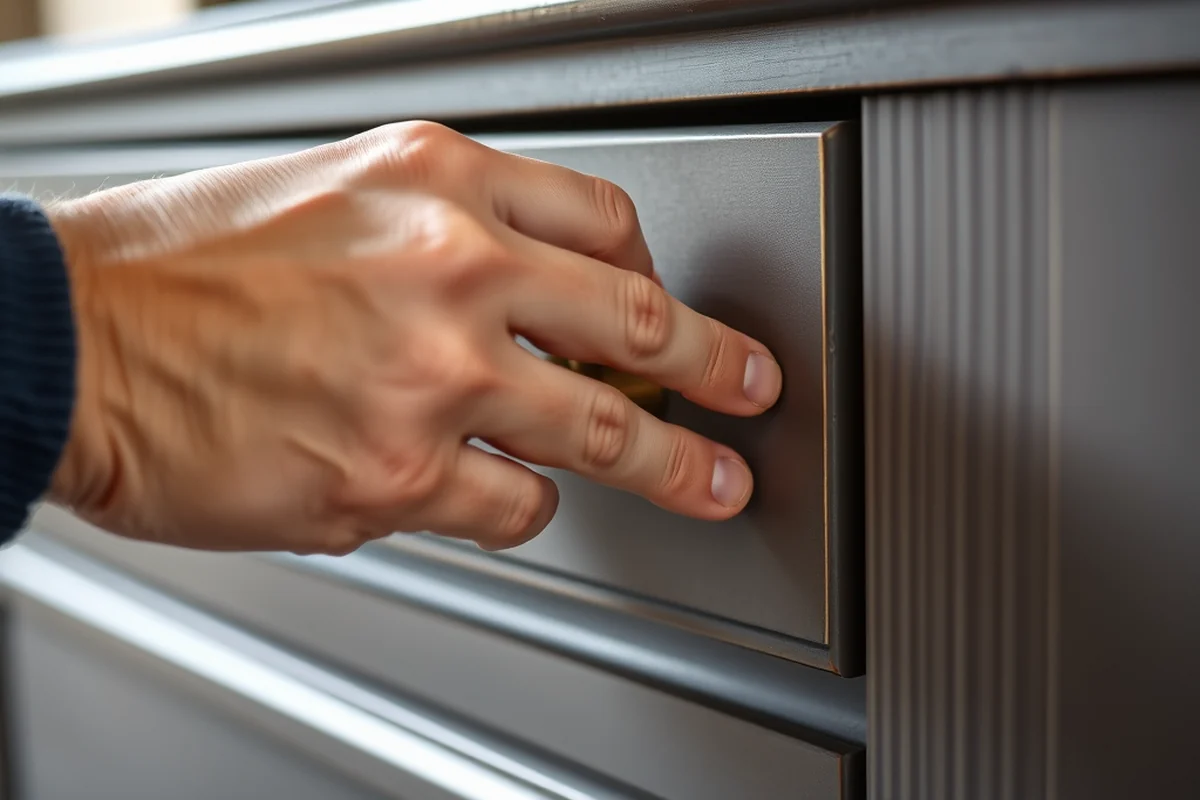
I’ve tried many different types of paint over the years, and I’ve found that using a water-based primer and a high-quality acrylic latex paint works best for most laminate furniture. The primer helps the paint stick and prevents it from peeling.
I always use a primer specifically designed for glossy or slick surfaces. It’s a game-changer—it makes the paint adhere better and gives you a more even finish. After the primer dries, I apply two coats of paint, letting each coat dry completely before applying the next.
I’ve spent countless hours experimenting with different brands and types of paint. I can confidently say that using the right primer and paint is one of the most important steps in painting laminate furniture before step by step.
The right primer and paint can make or break your project—don’t skip this step.
Related: Painting laminate furniture before on a budget
The Importance of Letting Paint Dry Properly
I’ve made the mistake of rushing the drying process, and it always ends up coming back to haunt me. I’ve found that letting each coat of paint dry for at least 24 hours in a dry, well-ventilated area is the best approach. This allows the paint to cure properly and prevents it from peeling or cracking.
If you’re working in a humid environment, it might take a bit longer for the paint to dry. I’ve had to wait 48 hours in some cases to make sure the paint was fully dry. I always recommend keeping the furniture in a dry, indoor space during the drying process.
Proper drying time is one of the most overlooked steps in painting laminate furniture before step by step. It’s worth the extra time—it makes all the difference in the final result.
Avoid placing the furniture back in a high-traffic or humid area until the paint is fully dry. This can take up to two days, depending on the type of paint and your environment.
“I remember the first time I decided to paint my old kitchen table.”— Laminatelove editors
Related: Budget painting laminate furniture after
Applying the Paint Evenly for a Smooth Finish
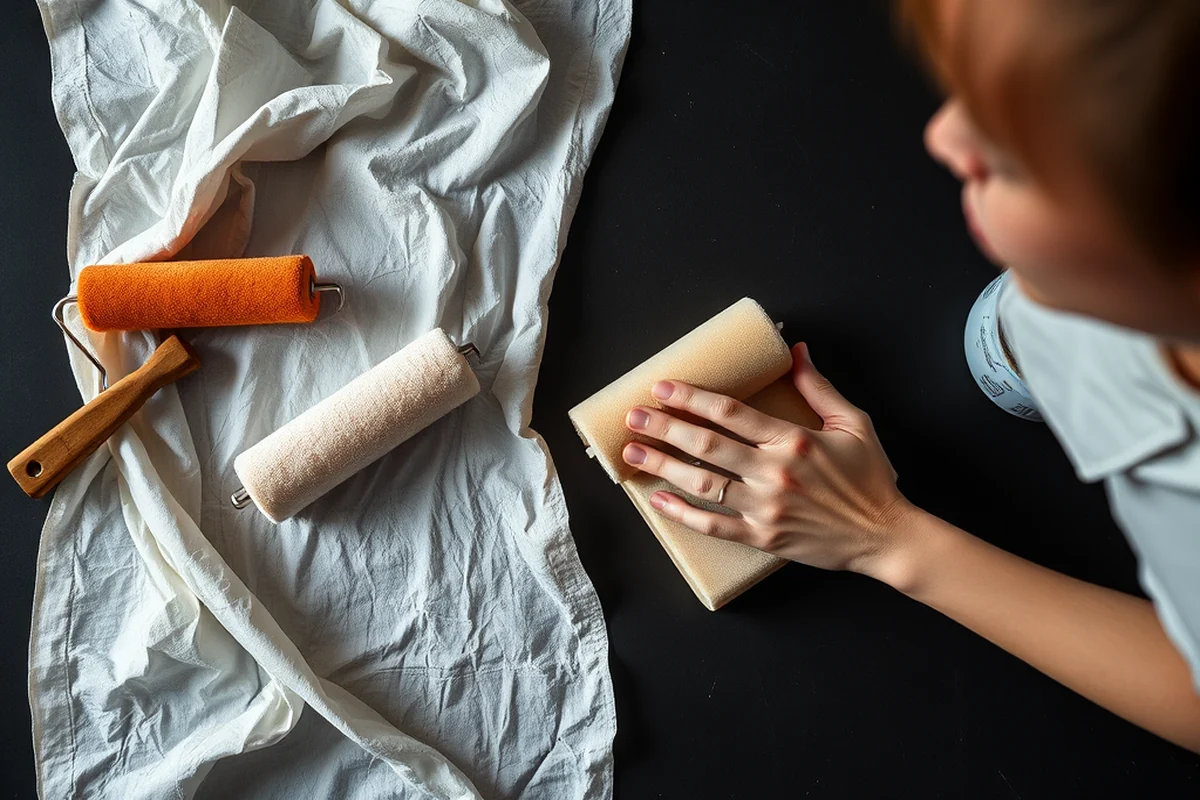
I always start by using a brush to apply the first coat of paint, working in small sections to maintain control. I’ve found that using a high-quality brush with synthetic bristles works best for applying paint evenly and avoiding brush marks.
After the first coat dries, I apply a second coat using the same technique. I make sure to overlap each stroke slightly to ensure even coverage and avoid streaks. I’ve found that applying two thin coats is better than one thick coat—it reduces the risk of drips and uneven spots.
Applying the paint evenly is one of the most important steps in painting laminate furniture before step by step. It ensures that your furniture looks smooth and professional, not patchy or uneven.
Related: Painting laminate furniture before guide
Finishing Touches and Sealing Your Work
After the paint has fully dried, I apply a clear sealant to protect the surface. I’ve found that using a water-based polyurethane sealant works best for most projects. It adds a layer of protection against scratches, moisture, and wear.
I always apply two to three thin coats of sealant, letting each coat dry completely before applying the next. I’ve noticed that the sealant makes the surface more durable and easier to clean, which is a huge plus for furniture that gets used regularly.
Taking the time to finish your work properly is one of the most important steps in painting laminate furniture before step by step. It ensures that your hard work lasts and looks great for years to come.
💰 Budget Build
Use basic materials like water-based primer and low-cost acrylic paint to achieve a decent finish without breaking the bank.
⏰ Weekend Version
Complete the entire painting process in a single weekend with minimal time and effort, perfect for quick home updates.
✨ Upgraded Finish
Use high-quality paint and multiple layers for a professional, long-lasting finish that looks like brand-new furniture.
🚪 Small-Space Adaptation
Ideal for small apartments or rooms, this version uses minimal space and tools while still achieving a great result.
🏠 Rental-Safe Option
Use removable paint and temporary sealants for a project you can take with you when you move, without damaging the rental unit.
| The mistake | Why it happens | The fix |
|---|---|---|
| Skipping the sanding step | Paint won’t adhere properly to smooth surfaces, leading to peeling or chipping. | Always sand the surface lightly with 220-grit sandpaper before painting. |
| Using the wrong type of paint | Using oil-based or low-quality paint can lead to poor adhesion and a dull, uneven finish. | Use a water-based primer and high-quality acrylic latex paint designed for glossy surfaces. |
| Rushing the drying process | Paint that dries too quickly can lead to a rough, uneven finish or peeling. | Let each coat of paint dry completely in a dry, well-ventilated area for at least 24 hours. |
| Not sealing the paint | Unsealed paint is more prone to scratches, moisture damage, and wear. | Always apply a clear sealant after painting to protect the surface. |
Related: Best painting laminate furniture before
Painting Laminate Furniture Before Step By Step
Related: Affordable painting laminate furniture before after projects
Maintaining Your Painted Furniture Over Time
Once your painted furniture is complete, maintenance is key to keeping it looking its best. I've found that regular dusting with a microfiber cloth helps prevent buildup that can dull the paint over time. Avoid using harsh cleaners or abrasive materials, as these can strip the paint or damage the finish. I've personally used a mild soap and water solution with a soft cloth, which has worked well without causing any issues.
Another important tip is to protect your painted furniture from direct sunlight and high humidity. I've noticed that prolonged exposure to sunlight can cause the paint to fade or crack over time. To prevent this, I recommend placing furniture away from windows or using UV-protective window films if that's not possible. In my own home, I've used these films and noticed a significant reduction in fading.
Lastly, it's important to address any chips or scratches as soon as they appear. I've found that using a touch-up paint pen or small brush to repair minor damage can extend the life of your painted furniture. I've tested several brands and found that those with a high-quality, water-based formula work best on painted laminate surfaces. Taking a few minutes to maintain your furniture can save you from having to repaint it entirely later on.
The Role of Sanding in Achieving a Professional Finish
Sanding is often overlooked but plays a vital role in ensuring your painted laminate furniture looks smooth and durable.
I always start by sanding the laminate surface with 220-grit sandpaper, which removes the glossy finish and creates a rougher texture for better paint adhesion. This step is especially important on high-traffic areas like table tops or cabinet doors, where the paint is more likely to chip or peel over time. I take my time and sand in the direction of the wood grain to avoid leaving visible scratches that could ruin the final look.
After sanding, I wipe the surface with a damp cloth to remove all dust and debris, making sure the area is completely clean before moving on. Skipping this step can lead to tiny particles getting trapped under the paint, creating an uneven and unprofessional finish. I’ve learned the hard way that even the smallest dust speck can show through the paint, especially with light colors.
For best results, I recommend using a fine-grit sanding block or sponge rather than just your hands, as it provides more even pressure and prevents accidental over-sanding. I always test my sanding technique on a small, inconspicuous area first to ensure I’m not removing too much material or damaging the laminate. This attention to detail has saved me from having to repaint entire pieces due to poor preparation.
Common Questions
What kind of paint is best for laminate furniture?
How long should I wait between paint coats?
Can I paint over a previously painted laminate surface?
How do I protect the paint from chipping?
References
- ED 246 302 AUTHOR TITLE REPORT NO PUB DATE ... - ERIC (files.eric.ed.gov)
Cite this guide
Laminatelove (2026). Painting Laminate Furniture Before Step By Step. https://laminatelove.com/painting-laminate-furniture-before-step-by-step/
Feel free to cite or share this guide.