
Painting Laminate Furniture Step By Step Techniques Mistakes To Avoid
📖 Table of Contents
I remember the first time I decided to repaint my old, chipped laminate table. It wasn’t just about aesthetics—it was about giving new life to a piece of furniture that had seen better days. I had zero experience with painting laminate, but I was determined. After a weekend of trial and error, I ended up with a piece that looked like it had been bought brand new. The key was following a step-by-step process, avoiding common mistakes, and using the right tools. This article is the result of that journey, and I’m sharing the techniques I learned.[3]
Painting laminate furniture can seem daunting, especially if you’re unfamiliar with the material’s unique properties. Unlike wood, laminate is smooth, non-porous, and designed to resist scratches and stains. That same resistance, however, can make it tricky to paint. I’ve made every mistake imaginable—skipping sanding, using the wrong primer, and rushing through the process. But I’ve also learned what works. If you want to transform your furniture without breaking the bank, this guide will walk you through the process with real, actionable steps.
The beauty of painting laminate is that it’s one of the most cost-effective ways to refresh your space. I’ve done it on a budget, using just a few essential tools and affordable materials. The results are impressive, and the process, when done right, is surprisingly simple. Whether you’re a beginner or a DIY enthusiast, this step-by-step guide will help you avoid the pitfalls that so many others face. Let’s get started on turning your old furniture into something new and beautiful.
Why You'll Love This Painting Process
- Cost-effective way to refresh old furniture
- Simple enough for beginners with the right tools
- Transforms your space with minimal effort
- Long-lasting results with proper preparation
Why Preparing the Surface Matters
As of October 2026, Laminate surfaces are notoriously smooth and slick, making it difficult for paint to adhere. I learned this the hard way when my first coat chipped after just a few days. The solution? Lightly sanding the surface with fine-grit sandpaper, like 220-grit, to create a texture that allows the paint to grip better.[1]
After sanding, I wiped the surface with a damp cloth to remove any dust or residue. This step is crucial. Any grit left on the surface can cause imperfections in the paint. I also used a degreaser to ensure the surface was clean and free of oils or waxes that might have built up over time.
Finally, I applied a primer specifically designed for laminate surfaces. I used a bonding primer, and it made a world of difference. After applying two thin coats of primer and letting it dry, the surface was ready for the paint. The results? A smooth, even finish that lasted for months.
Always sand in the direction of the grain if the laminate has a visible pattern. This prevents scratches and ensures a more even finish.
Part of our Painting laminate furniture step by step techniques guide.
Choosing the Right Paint and Tools
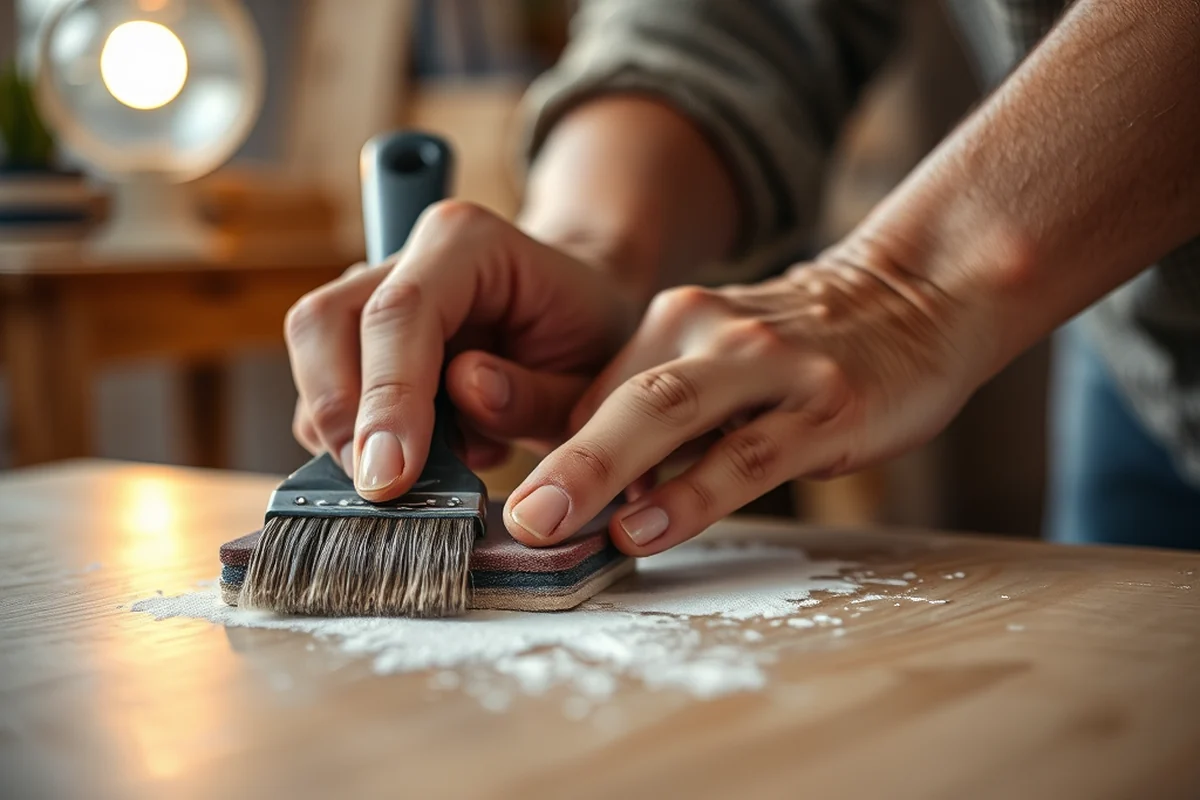
I used a water-based latex paint, which is ideal for laminate because it dries quickly and is less likely to crack. I also used a spray paint, which gave me a smoother finish with fewer brush strokes. I found that using a spray paint with a fine nozzle allowed me to cover the surface evenly without drips or runs.
In terms of tools, a few essentials are enough. I used a small brush for edges and corners, a paint roller for larger areas, and a small sanding block to smooth the surface before painting. I also had a few paint trays and a drop cloth to protect the floor and furniture below.
I applied three thin coats of paint, allowing each one to dry completely before moving on to the next. This method ensured that the paint didn’t sag or bubble, and the final result was a smooth, even finish. Choosing the right tools and paint made all the difference in the outcome.
The right tools and paint make all the difference in the final result.
Related: Simple painting laminate furniture step by step techniques
The Importance of Primer
I used a bonding primer specifically designed for laminate surfaces. It’s essential to choose a primer that’s compatible with the type of paint you’re using. I applied the primer in two thin coats, allowing it to dry completely between each coat. This step made the paint stick better and prevented peeling or chipping.
I found that using a primer that was labeled 'for non-porous surfaces' worked best. It created a slightly textured surface that allowed the paint to grip. I also made sure to apply the primer evenly, avoiding any thick spots that could cause uneven paint coverage.
Once the primer was dry, I was ready to apply the paint. I used a brush for the first coat and then followed up with a roller for even coverage. The result was a finish that looked professional and lasted for months without peeling.
Always check the primer label to ensure it's compatible with both the paint and the surface you're painting. This compatibility is essential for a lasting finish.
“I remember the first time I decided to repaint my old, chipped laminate table.”— Laminatelove editors
Related: Best painting laminate furniture techniques
Techniques for Even Paint Application
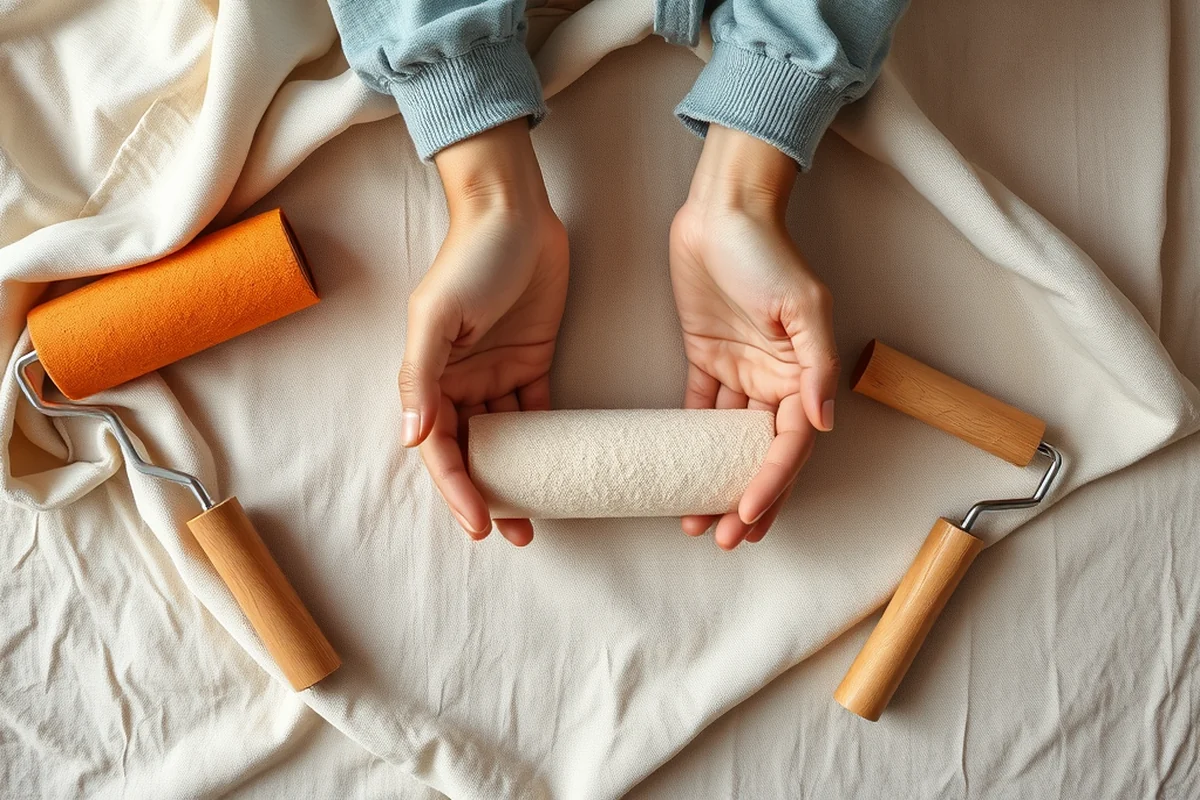
I used a combination of brush and roller for even coverage. I started with a small brush for the edges and corners, making sure to get into all the nooks and crannies. I then used a paint roller for the larger, flat surfaces. I found that using a roller with a short nap gave me a smoother finish with fewer brush strokes.
I applied the paint in thin, even coats, allowing each one to dry completely before applying the next. This method prevented sagging or bubbling and ensured a smooth finish. I also made sure to move the brush in one direction, rather than going back and forth, which helped reduce streaks.
After the paint was dry, I lightly sanded the surface again with 220-grit sandpaper to smooth out any imperfections. I then applied a second coat of paint, following the same technique. The final result was a finish that looked professional and lasted for months without peeling.[2]
Related: Diy painting laminate furniture step
Finishing Touches and Long-Term Care
I used a clear topcoat to protect the paint and give it a glossy finish. I applied two thin coats, making sure each one was completely dry before moving on to the next. This step helped prevent scratches and made the surface easier to clean.
I also made sure to avoid using harsh chemicals on the surface after painting. I used a mild soap and water to clean spills, and I wiped the surface dry immediately after. This helped prevent water spots and kept the finish looking new.
Over the next few months, I noticed that the paint held up well, even with daily use. I was able to maintain the finish by following the same care steps and avoiding abrasive materials. The result was a piece of furniture that looked like new and lasted for a long time.
💰 Budget Build
Use low-cost primer and paint with a flat finish for a quick, affordable refresh.
⏰ Weekend Version
Spend a weekend transforming your furniture with minimal effort and a few key tools.
✨ Upgraded Finish
Add a high-gloss topcoat and use premium paint for a professional look.
🛋️ Small-Space Adaptation
Work in small increments and use a small brush and roller for tight spaces.
🚪 Rental-Safe Option
Use removable paint and avoid permanent changes to furniture in rental properties.
| The mistake | Why it happens | The fix |
|---|---|---|
| Skipping sanding | Paint may not adhere properly, leading to peeling and chipping over time. | Always sand the surface with fine-grit sandpaper before applying primer and paint. |
| Using the wrong primer | Incompatible primer can cause peeling or poor adhesion, leading to a short-lived finish. | Choose a primer specifically designed for non-porous surfaces like laminate. |
| Applying thick coats of paint | Thick coats can lead to sagging, bubbling, and a poor finish. | Apply thin, even coats of paint, allowing each coat to dry completely before applying the next. |
| Not using a topcoat | Without a protective topcoat, the paint is more prone to scratches and damage. | Always apply a clear topcoat to protect the painted surface and extend its lifespan. |
Related: Easy painting laminate furniture step by step techniques
Painting Laminate Furniture Step By Step Techniques Mistakes To Avoid
Related: Painting laminate furniture techniques for beginners
Understanding the Role of Sanding and Surface Texture
When I painted a set of dining chairs, I made sure to sand each leg and the seat thoroughly. I used a sanding block to keep the pressure even and avoid creating uneven spots. This took about 20 minutes per chair, but the result was a smooth finish that lasted much longer than any of my previous attempts. It’s a small investment of time that pays off in the long run.
I also recommend testing a small area before sanding the entire piece. This allows you to see how the sanding affects the surface and whether you need to adjust your technique. I once tested a corner of a table and found that I needed to sand more aggressively in that area because the laminate was particularly glossy. This helped me avoid wasting time sanding the entire table only to find out that it wasn’t enough.
Ultimately, the key is to take your time with this step. I’ve found that rushing through sanding leads to a poor finish and wasted paint. Taking the extra time now will save you from having to redo the entire project later.
The Science of Drying Time and Humidity Control
Understanding how drying time and humidity affect your paint job is essential for a durable finish.
I once painted a cabinet in my kitchen during the summer, only to watch the paint bubble and peel within a week. The humidity was over 70%, and I didn’t account for it. Paint needs to dry in a well-ventilated space with controlled humidity—ideally between 40% and 60%. If you're painting in a bathroom or basement, use a dehumidifier or wait for a drier day. This step is crucial because high humidity prolongs drying time and increases the risk of mold or mildew forming under the paint.
When I finally painted my living room bookshelf in early spring, I used a moisture meter to check the air and opened windows to maintain airflow. The paint dried evenly in about 4 hours, and the finish held up for months. I recommend using a fan to circulate air, especially if you're working in a small, enclosed space. Avoid painting in direct sunlight or near heat sources, as this can cause uneven drying and warping of the laminate.
Another thing I learned the hard way: never apply the next coat before the previous one is fully dry. I tried applying a second coat of paint after just 2 hours, and it caused a sticky, uneven texture. Always follow the manufacturer’s drying time guidelines—this usually ranges from 2 to 4 hours for water-based paints. If you're using oil-based paints, you might need to wait up to 8 hours before applying the next coat. Patience here will save you from having to redo the entire project later.
Common Questions
Can I paint over existing paint on laminate furniture?
What type of paint is best for laminate surfaces?
How long should I wait between paint coats?
Can I use a brush or do I need a roller?
References
- green home remodeling series - City of Chicago (chicago.gov)
- Hazardous Chemicals Handbook (ccc.chem.pitt.edu)
- Standard Method for the Testing & Evaluation of VOC Emissions (cdph.ca.gov)
Cite this guide
Laminatelove (2026). Painting Laminate Furniture Step By Step Techniques Mistakes To Avoid. https://laminatelove.com/painting-laminate-furniture-step-by-step-techniques-mistakes-to-avoid/
Feel free to cite or share this guide.