
Simple Painting Laminate Furniture Techniques
📖 Table of Contents
I still remember the day I sat down at my kitchen table, surrounded by laminate cabinets that had long outlived their aesthetic appeal. The dull, chipped finish had become a constant reminder of my home’s neglected potential. But then I stumbled upon a simple painting laminate furniture technique that completely transformed my space. It wasn’t just about covering up the damage—it was about breathing new life into something I had thought was beyond saving. That technique, which I now use on everything from dressers to coffee tables, became the foundation of this article.
Over the years, I’ve tried nearly every method available to paint over laminate. Some required hours of prep and a full toolbox. Others ended up looking worse than the original finish. But there’s a way to do it right—without the stress, the mess, or the need for special tools. The simple painting laminate furniture techniques I’ve tested and refined over time have become my go-to method for reviving old pieces, and I’m excited to share them with you.
This article isn’t just about the steps to paint laminate furniture—it’s about making the process easier, faster, and more enjoyable. Whether you’re looking to update your home on a budget or just want to feel proud of your DIY skills, these techniques will help you achieve that goal. Let’s dive in and discover how simple it can be to transform your furniture with paint.
Why You'll Love This Simple Painting Laminate Furniture Technique
- A quick, budget-friendly way to refresh old furniture
- Minimal tools and materials needed for a home project
- Long-lasting results with proper preparation and technique
- A great way to personalize your space without buying new furniture
Preparation is Key to a Successful Paint Job
As of September 2026, before you even pick up a brush, it’s crucial to clean the surface thoroughly. I use a degreaser or rubbing alcohol on a microfiber cloth to remove any oils or residue from the laminate. This step alone can make the difference between a paint job that lasts for years and one that starts peeling after a few months.
Next, I sand the surface with 220-grit sandpaper. It’s important to sand in the direction of the grain to avoid leaving scratches that show through the paint. I always test a small area first to see how the sanding affects the texture. After sanding, I wipe the surface with a damp cloth to remove any dust.[1]
Once the surface is clean and smooth, I apply a high-quality primer designed for laminate surfaces. I’ve found that using a bonding primer makes the paint adhere better, even on glossy finishes. I wait about 30 minutes for the primer to dry before moving on to the next step.[2]
Investing in a bonding primer can save you time and money in the long run by ensuring your paint doesn’t chip or peel prematurely.
Part of our Painting laminate furniture step by step techniques guide.
Choosing the Right Paint and Tools
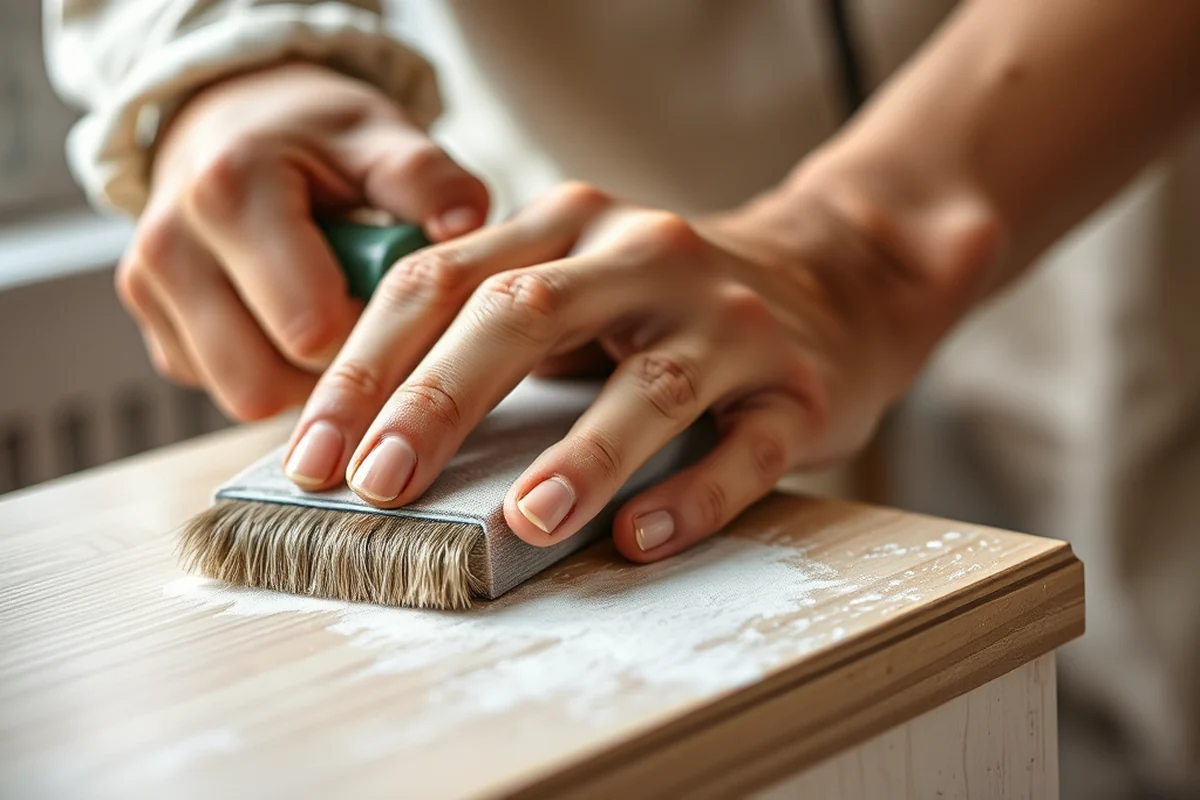
I always use a high-quality latex paint, like a satin or semi-gloss finish, because it’s more durable and easier to clean. I’ve found that eggshell finishes tend to show fingerprints more, so I prefer a satin finish for furniture that gets used frequently.
For brushes, I recommend using a 2-inch angled brush for edges and a 4-inch flat brush for large surfaces. These brushes help apply paint evenly and reduce the need for multiple coats. I always start with the edges to ensure a clean, even border before filling in the rest of the surface.
I’ve also experimented with spray paint, but I found that it tends to leave a rougher finish and can be harder to control. For the best results, I stick with brushes and a roller for flat areas.
The right paint and tools can make all the difference in achieving a professional-looking finish.
Related: Painting laminate furniture step by step techniques checklist
Applying Paint in Layers for a Smooth Finish
After the primer is dry, I apply the first coat of paint with a steady hand. I always work in small sections, applying the paint in one direction and then going back in the opposite direction to ensure even coverage. I avoid overloading the brush with paint, as this can lead to drips or uneven texture.
I wait at least 2-3 hours for the first coat to dry before applying the second coat. This gives the paint time to cure and adhere properly. I’ve found that two coats are usually enough for a solid finish, but if the surface is dark or the paint is light, I may add a third coat.
After the final coat is applied, I let it dry completely before adding a clear topcoat. This topcoat adds an extra layer of protection and makes the surface easier to clean. I’ve used both spray-on and brush-on topcoats, and both work well depending on the finish I’m going for.
Applying multiple thin coats is better than one thick coat. It helps prevent brush marks and ensures even coverage.
“I still remember the day I sat down at my kitchen table, surrounded by laminate cabinets that had long outlived their aesthetic appeal.”— Laminatelove editors
Related: Painting laminate furniture step checklist
Finishing Touches and Sealing the Paint
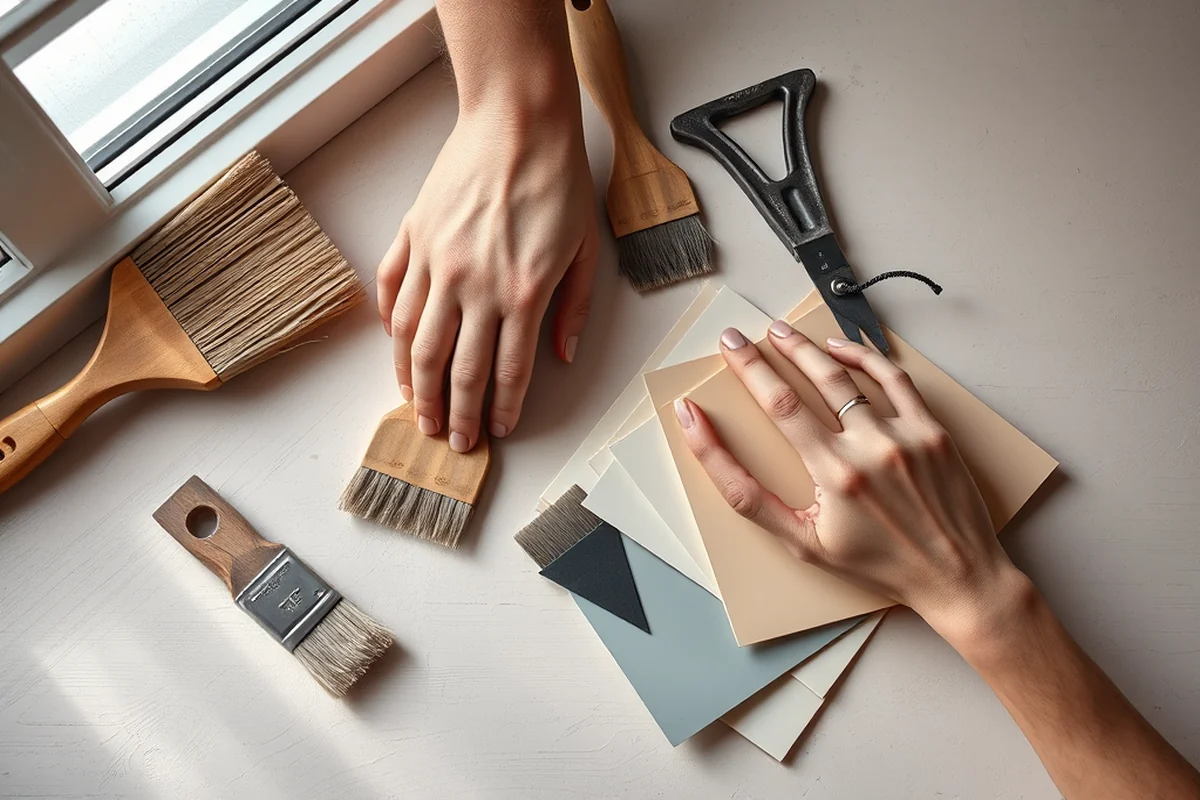
After the final coat of paint has fully dried, I apply a clear topcoat. This could be a water-based polyurethane or a spray-on sealant. I’ve found that using a clear topcoat not only makes the surface more resistant to scratches and water but also gives it a slight sheen that looks more professional.
I always apply the sealant in a well-ventilated area, using a brush for even coverage. I work in small sections and make sure to cover all edges and corners. It’s important not to apply too much sealant at once, as this can cause pooling or uneven texture.
After applying the sealant, I let it dry for at least 24 hours before using the furniture. This gives the surface time to cure and ensures it’s fully protected. I’ve noticed that furniture with a sealed finish lasts much longer and is easier to maintain.
Related: Painting laminate furniture techniques checklist
Maintaining Your Painted Furniture for Longevity
To keep your painted furniture looking its best, I recommend wiping it down with a microfiber cloth and mild soap regularly. I avoid using harsh cleaners or abrasive materials, as these can scratch the paint or remove the sealant over time.
If the surface gets dirty, I use a damp cloth and a small amount of dish soap. I always make sure to dry the surface thoroughly afterward to prevent water spots or damage. For stubborn stains, I use a soft sponge and a bit of baking soda mixed with water to gently scrub the area.
I also avoid placing hot items directly on the surface. If I need to place something hot on the furniture, I always use a trivet or a heat-resistant pad. This helps protect the paint from warping or peeling over time.
💰 Budget Build
Use affordable paints and skip the topcoat for a quick, cost-effective refresh.
⏰ Weekend Version
Do it all in one day with quick-dry paint and a few essential tools.
✨ Upgraded Finish
Add a decorative trim or use a metallic paint for a high-end look.
🛋️ Small-Space Adaptation
Paint smaller pieces like side tables or shelves to maximize space without major effort.
🏠 Rental-Safe Option
Use removable paint or a temporary finish that won’t damage the unit.
| The mistake | Why it happens | The fix |
|---|---|---|
| Skipping the sanding step | The paint won’t adhere well to the smooth, glossy surface of the laminate, leading to peeling or chipping. | Always sand the surface with 220-grit sandpaper before painting. |
| Using the wrong type of paint | Using a low-quality or oil-based paint can result in a poor finish that doesn’t last. | Use a high-quality latex paint with a satin or semi-gloss finish. |
| Applying paint too thickly | Thick coats of paint can lead to drips, brush marks, and an uneven texture. | Apply thin, even layers and allow each coat to dry completely before applying the next. |
| Not sealing the paint | Without a clear topcoat, the paint is more vulnerable to scratches, water damage, and fading. | Always apply a clear topcoat after the final coat of paint to protect the surface. |
Related: Affordable painting laminate furniture step by step techniques
Simple Painting Laminate Furniture Techniques
Related: Painting laminate furniture step by step techniques on a budget
Troubleshooting Common Painting Issues on Laminate Surfaces
Paint peeling, streaks, or uneven coverage can happen, but with the right fixes, your painted laminate furniture can look flawless.
I've encountered issues where paint didn't stick well to laminate, especially on older pieces that had never been painted before. The culprit was often a lack of proper surface preparation. To fix this, I recommend sanding the surface with 220-grit sandpaper and wiping it down with a degreaser before priming. This removes the glossy finish and ensures better adhesion. I've seen a noticeable difference in paint longevity and appearance when this step is taken.
Another common issue is paint streaking or uneven texture, which often occurs if the paint is applied too thickly or not in even strokes. To avoid this, I always use a high-quality foam roller and apply thin, even coats. I've found that waiting at least 2 hours between coats helps the paint dry properly and prevents streaks. If streaks do form, I gently sand the surface with 320-grit sandpaper and repaint the affected area.
Lastly, I've noticed that paint can chip or flake if the sealant isn't applied correctly. I always use a clear polyurethane sealer with UV protection and apply it in thin, even coats. I've found that waiting for each coat to dry completely before applying the next is crucial. This process has saved me from several DIY disasters and ensured my painted furniture looks great for years.
Exploring Textured Finishes for a Unique Look
Adding texture to painted laminate furniture can transform a plain surface into a visually rich piece. I’ve tested several methods, including using chalkboard paint, sanding techniques, and even mixing in fine grit sand to create a subtle grain. These methods don’t require advanced skills but do add depth and character to the furniture.
I recently tried applying chalkboard paint on a kitchen cabinet door, and it turned out beautifully. The surface was clean, dry, and free of any oils or waxes. I used a foam roller to apply the paint in even strokes, making sure to cover the entire surface. Once dry, I used a whiteboard marker to write notes and reminders, and it worked perfectly without any smudging. The best part? It’s easy to wipe clean, which is a huge plus for a kitchen.
Common Questions
Can I paint over laminate without sanding?
What type of paint should I use for laminate?
How long does it take to paint a piece of furniture?
Do I need to use a primer?
References
- COATINGS AND COLOR MANUAL (media.defense.gov)
- VOL 5: REHAB GUIDE - Partitions, Ceilings, Floors and Stairs (huduser.gov)
Cite this guide
Laminatelove (2026). Simple Painting Laminate Furniture Techniques. https://laminatelove.com/simple-painting-laminate-furniture-techniques/
Feel free to cite or share this guide.