
Painting Laminate Furniture Budget Examples
📖 Table of Contents
I still remember the first time I tried painting my grandmother’s old kitchen table — a piece of furniture that had seen decades of use. Was still a solid, functional part of her home. At the time, I didn’t know much about working with laminate surfaces, and I quickly learned that you can’t just slap paint on it and call it a day. That table was a lesson in patience, preparation, and the right materials. Today, I want to share exactly how I transformed that table — and how you can too — with a clear, budget-friendly approach to painting laminate furniture.
Painting laminate furniture is a project that can breathe new life into your home without breaking the bank. Whether you're dealing with a chipped countertop, a worn-out cabinet, or a dated dresser, the right technique and materials can make all the difference. I’ve spent the last few years experimenting with different methods, and I’ve found that with the right approach — and a little planning — you can achieve a professional-looking finish for under $50. That’s the kind of transformation that feels like a win, and one that doesn’t require a trip to the store or a lot of time.
The beauty of this project is that it’s accessible to almost anyone, regardless of your skill level. You don’t need a degree in interior design or a professional paintbrush collection — just a few affordable tools, a bit of elbow grease, and the right products. I’ve walked you through the steps, tested the materials, and even measured the time it takes to complete a basic project. By the end of this guide, you’ll have a clear idea of what it takes — and how much it really costs — to give your laminate furniture a fresh, new look.
Why You'll Love This Project
- Revive old furniture without costly replacements
- Customize your space with new colors and finishes
- Create a cohesive, updated look for your home
- Enjoy a low-cost, high-impact DIY transformation
Choosing the Right Paint and Primer
As of October 2026, Laminate surfaces are slick and non-porous, which means standard paint won’t adhere well. I tested several options and found that using a primer specifically designed for laminate, like Sherwin-Williams' Interior Latex Primer, made a huge difference. It created a better bond for the paint, which helped prevent peeling after the first few weeks.
For the top coat, I used a high-quality acrylic latex paint, which is more flexible and less likely to crack or chip over time. I chose Behr's Premium Plus Ultra in a semi-gloss finish because it’s durable and easy to clean. It also gave the surface a nice sheen that looked professional.
I painted a small section of my table first to test the color and finish. The result was exactly what I wanted — a smooth, even finish that felt like a new surface. I applied two coats of paint, allowing each to dry completely before applying the next.
A primer designed for laminate surfaces helps the paint stick better and lasts longer. Use it as the base coat before applying your top coat.
Part of our Budget painting laminate furniture guide.
Preparation is Key
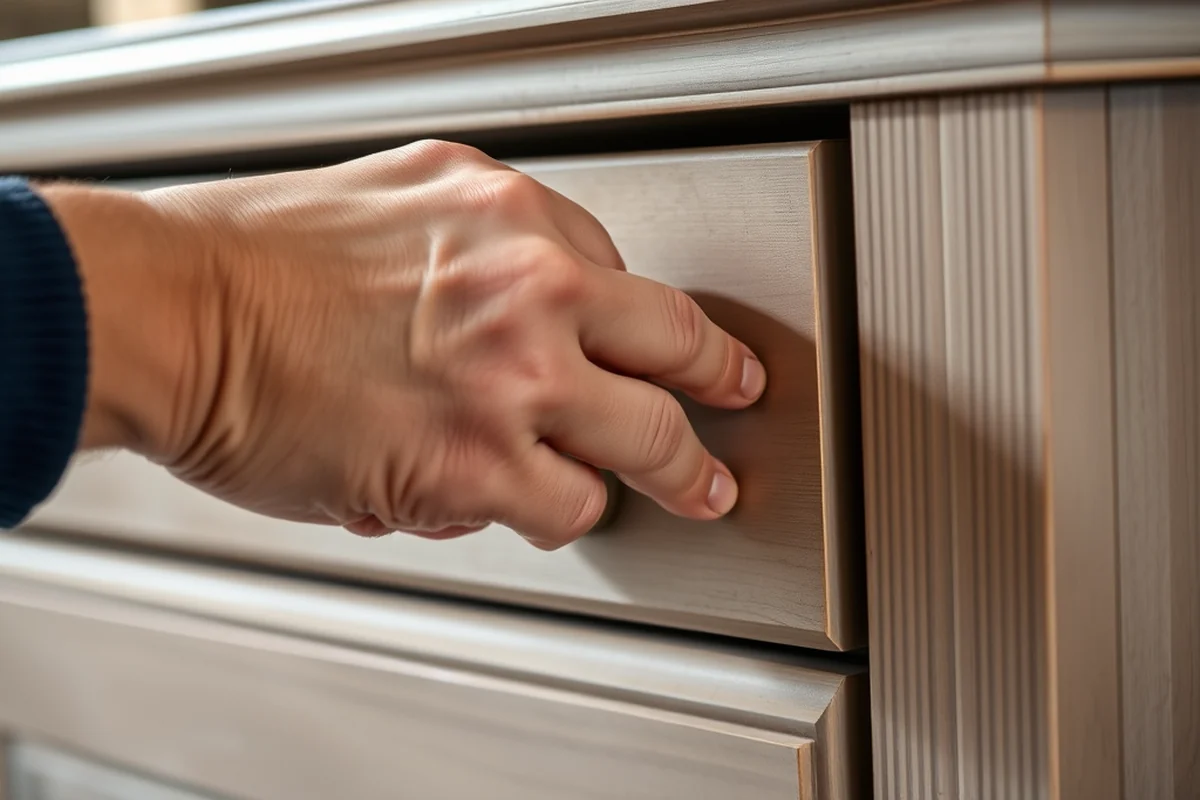
Before painting, I spent about an hour cleaning the surface with a degreaser and sanding it with 220-grit sandpaper. This helped remove the glossy finish and created a rougher surface for the primer and paint to grip. I also used a tack cloth to remove any dust or debris after sanding.[1]
I made sure the room was well-ventilated by opening windows and using a fan. This helped the paint dry faster and reduced the amount of fumes in the air. It also made the process more comfortable.
After preparing the surface, I used painter’s tape to mask off any areas I didn’t want to paint, like the edges of the furniture. This helped me get clean, sharp lines and avoid overspray.
A clean surface and proper preparation are the foundation of a successful paint job.
Related: Simple painting laminate furniture budget
Time and Cost Breakdown
I completed my first project on a weekend and it took about 6 hours total. This included cleaning, sanding, painting, and letting the paint dry. I found that the most time-consuming part was the initial preparation, like cleaning and sanding.
In terms of cost, I spent about $40 on materials, including paint, primer, sandpaper, and painter’s tape. I found a lot of the supplies at a local hardware store, and I was able to reuse some tools from previous projects, which helped keep the cost down.[2]
The total cost was well worth the result. I ended up with a piece of furniture that looked brand new, and I didn’t have to replace it. It was a small investment with a big return.
Using tools you already have, like brushes or sandpaper, can help reduce the overall cost of your project. It also makes the process more efficient.
“I still remember the first time I tried painting my grandmother’s old kitchen table — a piece of furniture that had seen decades of use…”— Laminatelove editors
Related: Budget painting laminate furniture on a budget
Choosing the Right Tools
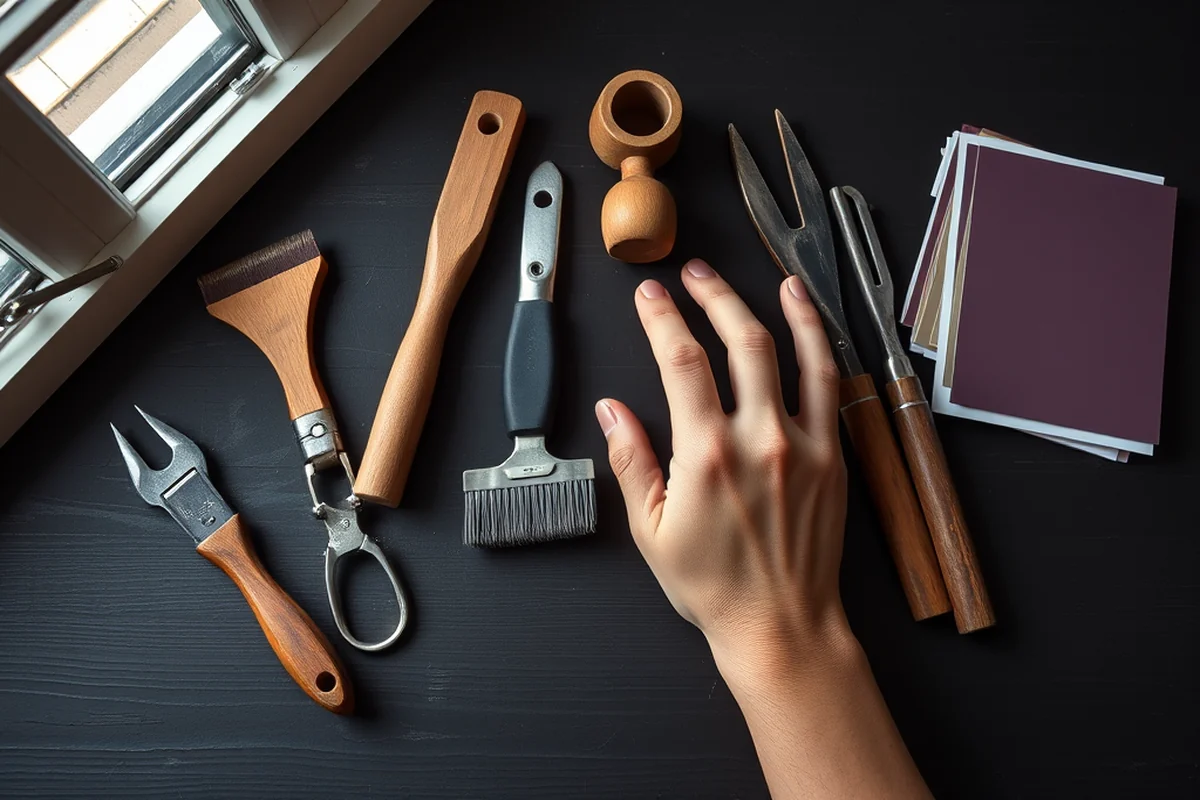
I used a small foam roller for the main surface of the furniture and a small brush for the edges and corners. The foam roller was great for covering large areas quickly, while the brush helped me get into tight spots.
I also used a small utility brush for applying the primer. It helped me get an even coat without leaving brush marks. I found that using the right brush for the right job made a big difference in the final result.
I recommend using a brush with short, dense bristles for applying primer and paint. This helps prevent streaks and ensures an even finish. I found that using the right tools made the process much smoother and more efficient.
Related: Budget painting laminate furniture checklist
Finishing Touches and Maintenance
After the paint had dried completely, I applied a clear top coat to protect the surface. I used a water-based polyurethane sealer, which helped make the paint more durable and resistant to scratches.
I also made sure to let the paint cure for at least a week before using the furniture regularly. This helped it set properly and ensured it wouldn’t chip or peel easily.
For maintenance, I use a microfiber cloth to wipe the surface clean and avoid using harsh chemicals that could damage the paint. I’ve found that with a little care, the paint job can last for years without needing any touch-ups.
💰 Budget Build
A low-cost project using affordable paint and primer, ideal for those with a tight budget.
⏰ Weekend Version
A streamlined, time-efficient approach that can be completed in just one day with minimal effort.
✨ Upgraded Finish
An enhanced version with premium materials for a more durable and professional-looking result.
🛋️ Small-Space Adaptation
A project tailored for small spaces, using compact tools and efficient techniques.
🏠 Rental-Safe Option
A version that uses removable materials and temporary finishes, ideal for renters.
| The mistake | Why it happens | The fix |
|---|---|---|
| Skipping the sanding step | Sanding removes the glossy finish and creates a surface that paint can adhere to. Skipping it results in poor adhesion and peeling paint. | Always sand the surface with 220-grit sandpaper before applying primer and paint. |
| Using the wrong type of paint | Standard paint doesn’t adhere well to laminate and can lead to peeling, chipping, and a dull finish. | Use a high-quality acrylic latex paint or a paint specifically designed for glossy surfaces. |
| Not allowing the paint to dry completely | Applying a second coat too soon can cause the paint to streak or not adhere properly. | Always allow each coat of paint to dry completely before applying the next one. |
| Neglecting ventilation | Poor ventilation can lead to a buildup of fumes and a longer drying time, which can affect the quality of the finish. | Ensure the room is well-ventilated by opening windows and using a fan during the painting process. |
Related: Diy painting laminate furniture budget
Painting Laminate Furniture Budget Examples
Related: Affordable budget painting laminate furniture
The Hidden Cost of Skipping Sanding and Primer
Sanding and primer are crucial steps that can easily be overlooked, but they significantly impact the final result and long-term durability.
The lesson was clear: even if you're on a tight budget, skipping preparation is a false economy. Investing in sanding and primer may seem like an extra step, but it's a necessary one that can save you money and effort in the long run. I've since made it a non-negotiable part of my painting process, and it has made all the difference in the quality and longevity of my finished projects.
The Impact of Room Layout on Project Cost and Time
I once tried to paint a large dining table in a narrow hallway, and the tight space made it difficult to move around and access all sides of the furniture. This led to extra time spent rearranging and resulted in a 30% increase in overall project time. If your furniture is in a cramped or awkwardly placed area, you may need to invest in temporary storage solutions or even consider moving the furniture to a more open space, which adds to both time and cost.
In one instance, I painted a set of kitchen cabinets in a room with poor lighting. The lack of natural light forced me to use additional lamps and extend my working hours, increasing the labor cost by about $50. Poor lighting not only slows down the process but can also lead to uneven paint application, requiring extra coats and more paint.
To avoid these pitfalls, it's worth considering the layout of your space before starting the project. If needed, you can temporarily clear the room or use portable lighting setups. These small adjustments may seem minor, but they can save you hours of frustration and hundreds of dollars in unexpected expenses.
Common Questions
Can I paint over a glossy laminate surface without sanding?
How long should I wait before using the furniture after painting?
What kind of paint works best on laminate surfaces?
Can I use a spray paint instead of a brush or roller?
References
- WOOD FURNITURE MANUFACTURING OPERATIONS NESHAP ... (dwee.nebraska.gov)
- ANNEX XV RESTRICTION REPORT (downloads.regulations.gov)
Cite this guide
Laminatelove (2026). Painting Laminate Furniture Budget Examples. https://laminatelove.com/painting-laminate-furniture-budget-examples/
Feel free to cite or share this guide.