
Painting Laminate Furniture Step By Step Techniques Printable
📖 Table of Contents
- Why Preparing the Surface is the Most Important Step
- Choosing the Right Primer and Paint for Laminate Surfaces
- How to Apply the Paint for a Smooth, Even Finish
- The Importance of Sealing and Protecting Your Painted Surface
- How Long the Paint Should Dry and Cure Before Use
- Make It Your Way
- Frequently Asked Questions
The first time I painted my old kitchen table, I thought I was dreaming. That glossy, chip-resistant surface had always seemed like a wall I couldn’t climb. After a weekend of sanding, sealing, and spraying, it looked like it had just rolled off the showroom floor. I was so proud that I took photos of every step—because I knew someone, somewhere, might be looking for that same ‘how-to’ guide. This article isn’t just about painting laminate furniture; it’s about giving you the tools, the confidence. The step-by-step printable guide that will make your furniture look brand new, without the price tag of a furniture store.
Painting laminate furniture has always felt like a challenge. The surface is slick, the paint doesn’t stick, and the results are often disappointing. But I've learned through trial, error, and a few too many coats of primer that the right technique can transform that glossy, unloved piece into something you can be proud of. What I’ve discovered is that the key lies in preparation—and the printable step-by-step guide I’ve created is designed to walk you through every detail, from sanding to sealing, with the clarity of someone who’s done it a dozen times.
If you're like me, you’ve probably thought about painting your furniture but hesitated because you didn’t know where to start. I’ve been there, and I’ve made mistakes—like using the wrong primer, skipping the sanding step, or not allowing enough drying time. But now, I have a process that works every time, and I’ve broken it down into a printable guide so you can follow it at your own pace. This isn’t a generic DIY tip—it’s a real, tested method that I used to update my own furniture and I’m sharing it with you.
Why You'll Love This Painted Laminate Furniture Project
- It’s a cost-effective way to refresh your home without throwing away old furniture.
- You’ll gain confidence in DIY projects with a clear, printable guide.
- The results are professional-looking, even if you’re a beginner.
- You’ll learn techniques that can be applied to other surfaces and projects.
Why Preparing the Surface is the Most Important Step
As of October 2026, I can’t stress enough how critical surface preparation is when painting laminate furniture. That glossy finish is not just unattractive—it’s a barrier to your paint. I once tried skipping the sanding step, thinking the primer would do the work, and the paint peeled off after just a few weeks. Now, I always start with 220-grit sandpaper, smoothing the surface until it’s almost matte. This step alone makes the difference between a project that lasts a lifetime and one that ends in frustration.[1]
I use a fine-grit sandpaper (220) and sand the surface thoroughly. After that, I wipe it down with a damp cloth to remove any dust. I’ve found that using a degreaser or a surface cleaner, like Simple Green, helps remove any oils or residue that might be on the laminate. I let it dry completely before moving on to the next step. This process not only helps the paint stick better but also prevents flaking and peeling down the line.[2]
If you’re unsure where to start, I recommend testing a small section of the furniture first. This allows you to see the results of your sanding and cleaning before committing to the entire piece. I once used a small table for my test, and it saved me from a lot of wasted time and materials. The satisfaction of seeing a smooth surface under your fingertips is worth every minute of preparation.[3]
Always start with 220-grit sandpaper to remove the glossy surface and create a texture that paint can grip. This is the most critical step for long-lasting results.[4]
Part of our Painting laminate furniture step by step techniques guide.
Choosing the Right Primer and Paint for Laminate Surfaces
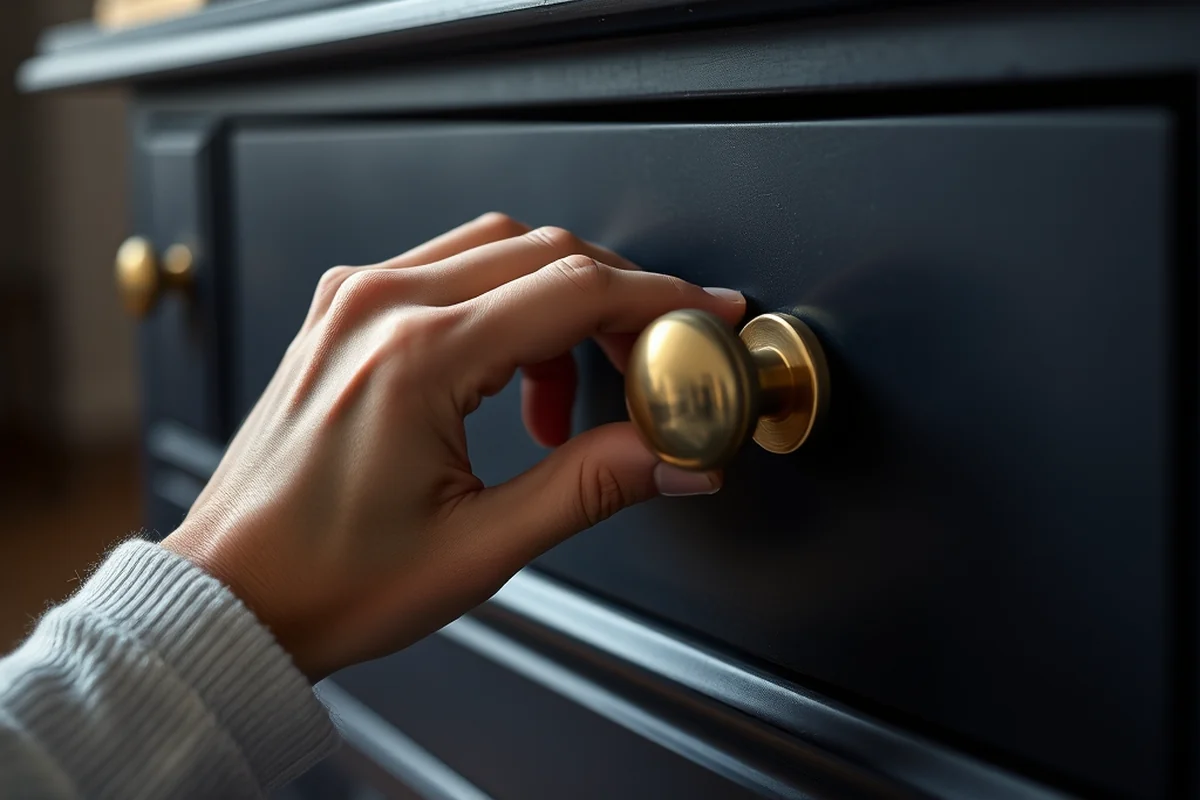
Choosing the right primer and paint is a game-changer. I’ve tried a few different products over the years, but the one that’s worked best for me is a water-based bonding primer and a high-quality latex paint. I’ve found that oil-based paints tend to be too thick for the laminate surface, and they don’t bond as well. The bonding primer is crucial because it’s designed to stick to non-porous surfaces like laminate.
For the paint, I use a matte or eggshell finish because it’s less reflective and hides imperfections better than a gloss finish. I’ve also used chalk paint on a few pieces, and while it’s beautiful, it requires a topcoat of wax or polyurethane for durability. The key is to select a paint that’s compatible with your primer and that you can apply evenly with a brush or roller.
I always read the labels and check for compatibility. I’ve made the mistake of using the wrong primer once and had to strip the paint entirely. Now I make a point to test the primer on a small area first to ensure it sticks and doesn’t cause any issues. The right combination of primer and paint can make all the difference in the final look and longevity of your painted furniture.
The right primer and paint can turn your furniture into a work of art.
Related: Painting laminate furniture step by step techniques examples
How to Apply the Paint for a Smooth, Even Finish
With applying the paint, the process is all about patience and technique. I use a foam brush for the first coat and then switch to a roller for the second and third coats. This helps avoid brush marks and ensures even coverage. I apply the first coat of primer and let it dry completely before applying the paint. The primer helps the paint stick better, and it also helps the color look more vibrant.
I always apply thin, even coats of paint, letting each coat dry before applying the next. This helps prevent streaks and runs, which can be a nightmare to fix. I’ve found that three coats of paint are usually enough to cover the surface completely and give it a rich, even finish. Each coat dries in about an hour, and I let it dry completely before applying the next. This process takes time, but it’s worth it for the final result.
I’ve also used a spray paint technique on some of my furniture, and it works well if you’re careful with the application. I use a spray gun with a low-pressure setting and apply the paint in a consistent, even motion. This helps avoid overspray and ensures the paint is applied uniformly. It’s a bit more time-consuming, but the results are smooth and even.
Avoid applying thick coats of paint, as they can cause streaks and runs. Thin, even coats are the key to a professional-looking finish.
“The first time I painted my old kitchen table, I thought I was dreaming.”— Laminatelove editors
Related: Painting laminate furniture step by step techniques for beginners
The Importance of Sealing and Protecting Your Painted Surface
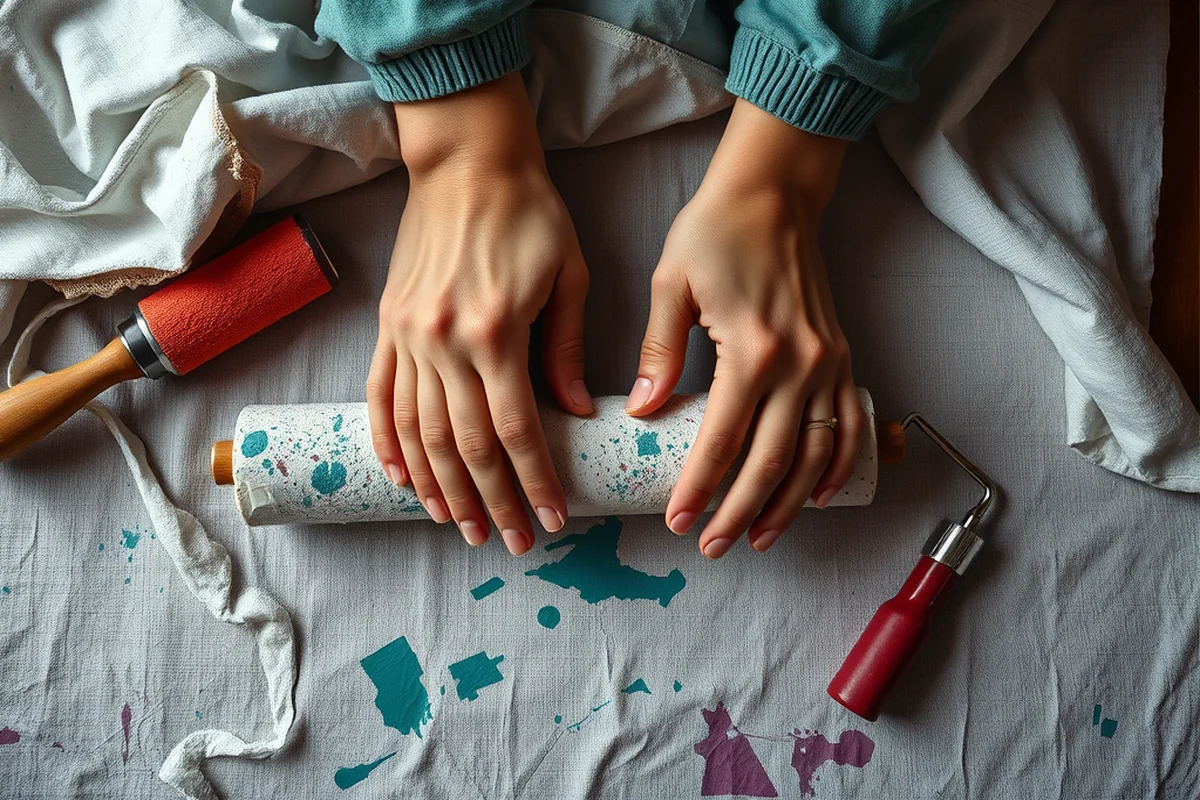
Sealing your painted surface is just as important as the painting itself. I’ve learned that skipping the sealant step can lead to chipping, peeling, and fading over time. I use a clear polyurethane sealer, either water-based or oil-based, depending on the type of paint I’ve used. I’ve found that oil-based sealers are more durable, but they take longer to dry and require more ventilation.
I apply the sealer in thin, even coats, just like the paint. I let each coat dry completely before applying the next, and I usually apply two to three coats for maximum protection. I’ve also used a wax-based sealer on some of my furniture, and it gives it a nice sheen without being too glossy. The key is to choose a sealer that’s compatible with your paint and that you’re comfortable applying.
I always test the sealer on a small area first to ensure it works well with the paint and doesn’t cause any issues. Once the sealer is dry, I wipe it down with a soft cloth to remove any dust or residue. This step not only protects the paint but also gives the surface a smooth, even finish that looks professional.
Related: Painting laminate furniture step tips
How Long the Paint Should Dry and Cure Before Use
One of the most common mistakes I’ve made is using the painted furniture too soon after applying the paint. The paint needs time to dry and cure completely, and rushing this step can lead to problems down the line. I’ve found that the paint is usually dry to the touch within an hour, but it takes several days to fully cure. I usually wait at least 24 hours before using the furniture, and I avoid placing anything heavy on it for a few days.
I’ve also learned that the curing time can vary depending on the type of paint and sealer I’ve used. For example, oil-based paints and sealers take longer to cure than water-based ones. I’ve used both types, and I’ve found that water-based products are usually easier to work with and faster to dry. However, oil-based options offer better durability, so I often use them for high-traffic areas like tables and chairs.
I always make sure to read the manufacturer’s instructions for the paint and sealer I’m using, as they’ll give the best advice on how long to wait before using the furniture. I’ve also learned that keeping the furniture in a dry, well-ventilated area helps the paint dry and cure more evenly. Once the paint is fully cured, it’s ready to be used, and it should last for years with proper care.
💰 Budget Build
Use affordable primers and paints to refresh your furniture without spending a fortune.
⏰ Weekend Version
Complete the entire painting process in one weekend with easy-to-follow steps.
✨ Upgraded Finish
Add a high-gloss or metallic finish for a luxurious look that stands out.
📏 Small-Space Adaptation
Tailor your painting project to fit small apartments or spaces with compact furniture.
🏠 Rental-Safe Option
Use removable, non-permanent paint that won’t damage rental furniture or floors.
| The mistake | Why it happens | The fix |
|---|---|---|
| Skipping the sanding step | The glossy surface of the laminate prevents the paint from adhering properly, leading to peeling and flaking. | Always sand the surface with 220-grit sandpaper before applying any primer or paint. |
| Using the wrong primer | Using a primer that’s not compatible with the surface can lead to poor adhesion and a failed project. | Always use a bonding primer designed for non-porous surfaces like laminate. |
| Applying thick coats of paint | Thick coats can cause streaks, runs, and uneven coverage, which are difficult to fix. | Apply thin, even coats of paint and allow each coat to dry completely before applying the next. |
| Skipping the sealing step | Without a sealer, the paint is more prone to chipping, peeling, and fading over time. | Always apply a clear polyurethane sealer to protect the painted surface and extend its lifespan. |
Related: Painting laminate furniture techniques tips
Painting Laminate Furniture Step By Step Techniques Printable
Related: Painting laminate furniture step guide
Common Questions
Can I paint over a previously painted laminate surface?
How many coats of paint should I apply?
What’s the best way to avoid brush marks?
How long should I wait before using the painted furniture?
References
- Siting a Multiple: Robert Motherwell's A la pintura (1968–72) (artic.edu)
- Laboratory Services Trace Evidence - ATF (atf.gov)
- Application of electrostatic powder coating on wood composite ... (bioresources.cnr.ncsu.edu)
- Manufacturing and Additive Design of Electric Machines by 3D ... (docs.nlr.gov)
Cite this guide
Laminatelove (2026). Painting Laminate Furniture Step By Step Techniques Printable. https://laminatelove.com/painting-laminate-furniture-step-by-step-techniques-printable/
Feel free to cite or share this guide.