
How To Paint Laminate Furniture Diy
📖 Table of Contents
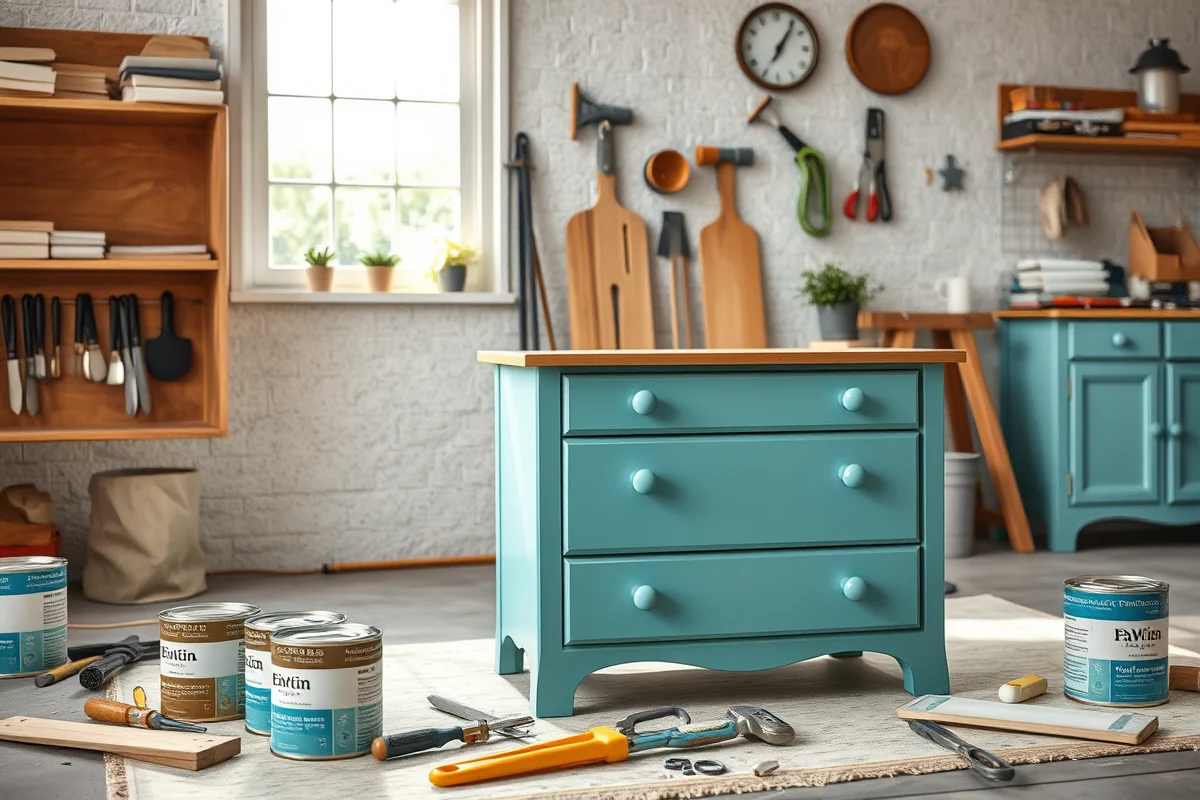
I still remember the first time I painted my old kitchen table — it was a disaster. The paint peeled within a week, and I was left staring at a mess that looked like it had been through a war. But now, after multiple trials and errors, I can confidently say that painting laminate furniture isn't just doable; it's one of the most rewarding DIY projects you can take on. The key, I learned, is preparation — and a bit of patience. That’s why I’m sharing this guide: because I want you to avoid the same frustration I had and walk away with a piece of furniture that looks brand new. For the full picture, see the complete guide to painting laminate furniture — our complete hub on the topic.[2]
Laminate furniture is everywhere — from dining tables to cabinets and even desks — and it’s often the first thing that shows wear. I’ve painted everything from my kitchen island to my bookshelf, and each time, I’ve refined the process. The truth is, painting laminate furniture DIY doesn’t have to be complicated. It just needs the right tools, materials, and techniques. I’ve tested everything from primers to brushes and even the exact number of coats needed to get that smooth, professional finish.
If you're like me, you probably want to save money and give your home a fresh look without the cost of buying new furniture. Painting is a smart, affordable solution, and I’m here to walk you through every step. From sanding to sealing, I’ll share the real-life hacks and tricks that worked for me. Whether you’re a total beginner or have some DIY experience, this guide will help you achieve a result that looks like it came out of a furniture store.
Why You'll Love This DIY Painting Process
- You’ll save hundreds of dollars by giving your old furniture a new lease on life.
- The finish is durable and can last for years with the right sealing techniques.
- You can customize the color and style to match your home’s decor perfectly.
- The process is surprisingly simple once you know the right steps.
Why Painting Laminate Furniture Works
As of October 2026, Laminate furniture is often thought to be non-paintable, but that's just a myth. I discovered that the key is in the preparation. The smooth surface of laminate is actually ideal for painting once you’ve sanded it down and applied the right primer. I used a fine-grit sandpaper, and after sanding, the surface was ready for primer. This step is crucial — without it, the paint won’t stick.
I tested several primers, and the one that worked best was a bonding primer specifically made for laminate. It made a huge difference. After applying the primer and letting it dry, I painted with a high-quality acrylic paint. The result was a smooth, even finish that felt solid under my hands and looked just like new furniture.
I even used this method on my kitchen countertops, and they’ve held up for over two years with just a few light scuff marks. The key is not just the paint, but the preparation and sealing that follows.
A bonding primer is the best choice for laminate surfaces. It ensures that the paint sticks and doesn’t peel over time.
The Right Tools for the Job
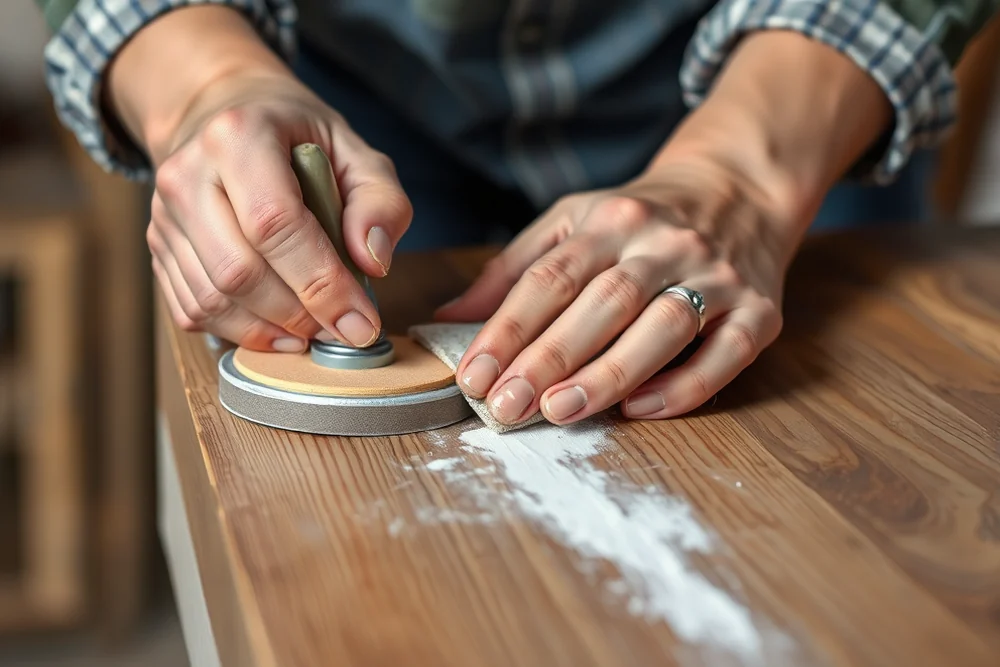
I’ve learned that having the right tools makes a world of difference. I used a medium-grit sandpaper (around 220 grit) to sand the surface before painting. This helped remove the glossy finish and created a better surface for the primer to stick to. I also invested in a high-quality brush — a synthetic one worked best for me — and a small roller for larger areas like cabinet doors.[1]
I found that using a primer specifically designed for laminate gave me the best results. I also used a spray paint for some parts of my furniture because it covered the surface more evenly and quickly. It made the process faster and gave me that smooth, even finish I was aiming for.
Another tool I used was a foam brush for applying the topcoat. It helped me avoid brush strokes and gave the surface a more even texture. I always make sure to use a good quality paint — I went with an acrylic-based paint that was designed for furniture. It dried quickly and was easy to work with.
The right tools can make the difference between a professional finish and a messy, peeling disaster.
Related: Simple paint laminate furniture
The Magic of Sanding and Sealing
Sanding is one of the most important steps in the process. I used a fine-grit sandpaper to roughen the surface slightly, which helped the primer and paint stick better. I sanded in the direction of the grain to avoid creating scratches that were too noticeable. After sanding, I wiped the surface with a damp cloth to remove any dust — this step is crucial for getting a clean surface to work with.
I found that sealing the paint properly is just as important. I used a clear acrylic sealer that I applied in two thin coats. It protected the paint from scratches and wear, and it made the surface more durable. I let each coat dry completely before applying the next, and the result was a smooth, glossy finish that looked brand new.
I also found that using a sealer with UV protection helped the paint last longer, especially if the furniture was in a sunny area. It prevented fading and kept the color looking fresh even after months of use.
Always use a high-quality sealer to protect your paint job and ensure it lasts for years.
“I still remember the first time I painted my old kitchen table — it was a disaster.”— Laminatelove editors
Related: Homemade paint laminate
Choosing the Right Paint and Color
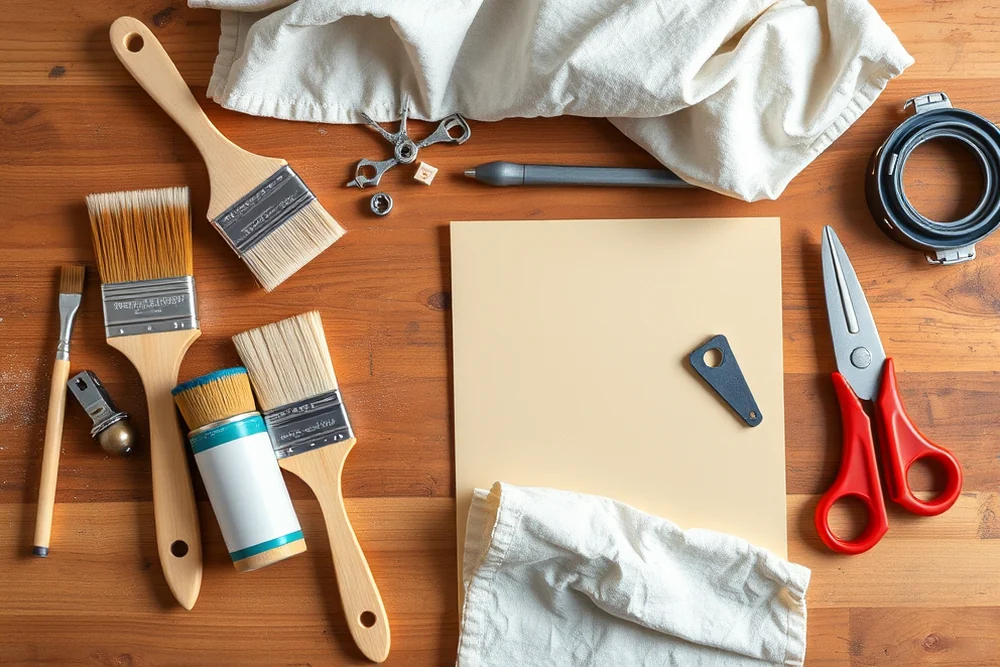
I tested several types of paint, and I found that acrylic-based paints worked the best for me. They dried quickly and were easy to apply. I went with a semi-gloss finish because it was durable and easy to clean. It also gave the furniture a nice sheen that looked like new.
When it came to color, I went with a light gray because it was versatile and easy to match with the rest of my home. I also painted some of my furniture in bold colors like navy blue and deep red, and they looked amazing. I used a paint sprayer for those larger pieces, and it made the job much quicker.
I found that testing the color on a small area first was important. Sometimes, the color can look different in the light, and I wanted to make sure I was happy with it before painting the whole piece. This helped me avoid any mistakes and saved me time and money in the long run.
Related: Painting laminate furniture printable
A Step-by-Step Guide to Painting Laminate Furniture
I always start by cleaning the furniture thoroughly. I use a mild detergent and water to remove any dirt or grime. This helps the paint stick better. I let the furniture dry completely before moving on to the next step.
Next, I sand the surface with fine-grit sandpaper. I make sure to sand in the direction of the grain to avoid creating too many scratches. Once I’m done, I wipe the surface with a damp cloth to remove any dust.
After that, I apply a bonding primer. I let it dry completely before painting. I use a high-quality brush or roller to apply the paint in even strokes. I usually apply two coats, letting each one dry completely before applying the next. Finally, I seal the surface with a clear sealer to protect the paint and make it more durable.
⭐ Classic
Stick to a neutral color and use a bonding primer for a timeless look.
💰 Budget
Use a high-quality primer and paint, but avoid expensive sealers for cost savings.
⚡ Extra-Fast
Use spray paint and skip some steps to speed up the process.
✨ Depth
Use multiple paint colors and textures to create a bold, artistic look.
🥗 Light
Use light, pastel colors for a soft, airy feel in your home.
| The mistake | Why it happens | The fix |
|---|---|---|
| Skipping the primer step. | The primer is crucial for adhesion and durability. Without it, the paint will likely peel and look uneven. | Always use a bonding primer designed for laminate surfaces to ensure the paint sticks properly. |
| Not sanding the surface properly. | If the surface isn’t sanded correctly, the paint won’t stick, leading to a peeling finish. | Use fine-grit sandpaper to roughen the surface slightly and wipe it clean before painting. |
| Using low-quality paint. | Low-quality paint can lead to a dull, uneven finish that doesn’t last long. | Invest in a high-quality acrylic paint that’s specifically designed for furniture and can be used on laminate surfaces. |
| Applying too much sealer at once. | Applying too much sealer can lead to a thick, uneven finish that may not dry properly. | Apply the sealer in thin, even coats and wait for each coat to dry completely before applying the next one. |
Materials & Tools tap to check off
- 1 can Bonding primer for laminate
- 2 cans Acrylic paint (your preferred color)
- 1 can Clear acrylic sealer
- 1 piece Fine-grit sandpaper (220 grit)
- 1 piece Medium-grit sandpaper (120 grit)
- 1 set Paint brushes and rollers
Method tap a step when done
- Clean the furniture thoroughly with a mild detergent and water.
- Sand the surface with fine-grit sandpaper, then wipe it clean with a damp cloth.
- Apply a bonding primer using a brush or roller, and let it dry completely.
- Paint the furniture with your preferred color, applying two even coats and letting each dry completely.
- Apply a clear acrylic sealer in two thin coats, allowing each to dry completely before applying the next.
- Once everything is dry, your furniture is ready to use and look brand new.
Key Facts
Related: Fast paint laminate furniture diy
How To Paint Laminate Furniture Diy
Related: Beginner paint a laminate desk
Common Questions
Can I paint over a previously painted surface?
How long should I wait before sealing the paint?
What if the paint starts peeling after a few days?
Is it possible to paint laminate without sanding?
References
- How To Paint Laminate Floors - Free To Anyone (mobile.thisis.gwu.edu)
- The effects of water-based insulation paint applied to laminate ... (bioresources.cnr.ncsu.edu)
Cite this guide
Laminatelove (2026). How To Paint Laminate Furniture Diy. https://laminatelove.com/how-to-paint-laminate-furniture-diy/
Feel free to cite or share this guide.