
Painting Laminate Furniture Step By Step Techniques Ideas
📖 Table of Contents
I still remember the day I decided to paint my old kitchen table instead of tossing it into the dumpster. It was a tired, dented piece of laminate that had seen better days, and the idea of spending hundreds on a new one was unthinkable. I had no experience with DIY, but I knew I wanted a fresh start — and that meant making the most of what I had.
The process wasn’t easy. I fumbled with sanding, used the wrong primer, and ended up with a patchy finish. But I didn’t give up. I spent the next few days researching, experimenting, and learning the hard way. Eventually, I found a method that worked — and the results were worth every drop of sweat and frustration.
Now, that same table sits in my kitchen, gleaming with a fresh coat of paint. Every time I see it, I’m reminded of how much can be accomplished with a little patience and the right techniques. Painting laminate furniture is a DIY project that’s totally doable, even for beginners — and this article will walk you through every step of the way.
Why You'll Love This Painting Process
- Revive old furniture with a fresh, custom look
- Save money by avoiding costly replacements
- Create a cohesive, personalized space
- Boost the value of your home with a new finish
Understanding Laminate and Why It’s a Challenge
As of October 2026, Laminate surfaces are often glossy or have a protective finish that can repel paint. This is why many DIYers end up with peeling or bubbling paint — the adhesion just isn’t there. I learned this the hard way when my first coat of paint peeled off within a week.
To fix this, you need to roughen the surface so the paint has something to grip. I used 120-grit sandpaper, and it made all the difference. I also recommend using a degreaser like Simple Green to remove any oils or residue that might be on the surface.[1]
After sanding and cleaning, I applied a primer specifically designed for glossy surfaces, like Zinsser Bulls Eye 1-2-3. This primer is a game-changer — it creates a bond between the laminate and the paint, ensuring it lasts.
Don’t skip the primer — it’s the key to long-lasting paint on laminate surfaces.
Part of our Painting laminate furniture step by step techniques guide.
Choosing the Right Paint and Techniques
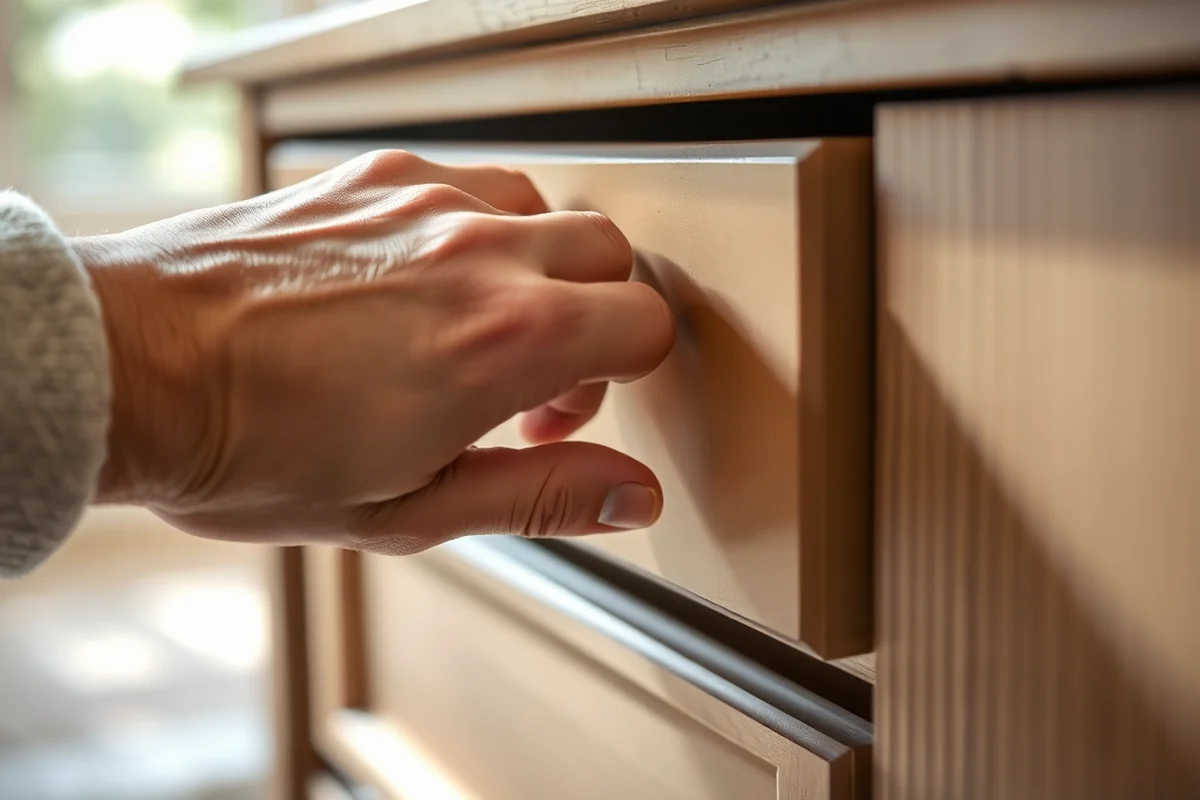
I used an acrylic latex paint because it’s easy to work with and dries quickly. I mixed in a small amount of water to thin it out — this helped the paint flow better and reduced the risk of brush strokes.
I applied two coats of paint, waiting about 4 hours between coats. I used a high-quality brush, and I made sure to work in small sections, always brushing in the same direction to avoid streaks or unevenness.
After the paint was dry, I applied a clear topcoat for extra durability. I used a water-based polyurethane, which is easy to apply and dries to a matte finish. This step made the surface more resistant to scratches and water.
The right paint and technique can make all the difference in the final look.
Related: Painting laminate furniture step by step techniques checklist
The Power of Sanding and Prep Work
Sanding is the first step in the process. I used 120-grit sandpaper to roughen the surface, and then I wiped it down with a damp cloth to remove any dust or debris. This step is crucial because it helps the primer and paint adhere better.[2]
After sanding, I used a degreaser to clean the surface. I let it sit for a few minutes, then rinsed it with water and dried it thoroughly. This ensured there was no oil or residue left behind that could interfere with the paint.
I also filled in any scratches or dents with wood filler, sanded them smooth, and then cleaned the surface again. This step gave the furniture a more even look and helped prevent the paint from peeling later on.
Take the time to sand and clean thoroughly — this is where the magic happens.
“I still remember the day I decided to paint my old kitchen table instead of tossing it into the dumpster.”— Laminatelove editors
Related: Painting laminate furniture step checklist
The Benefits of a Matte Finish
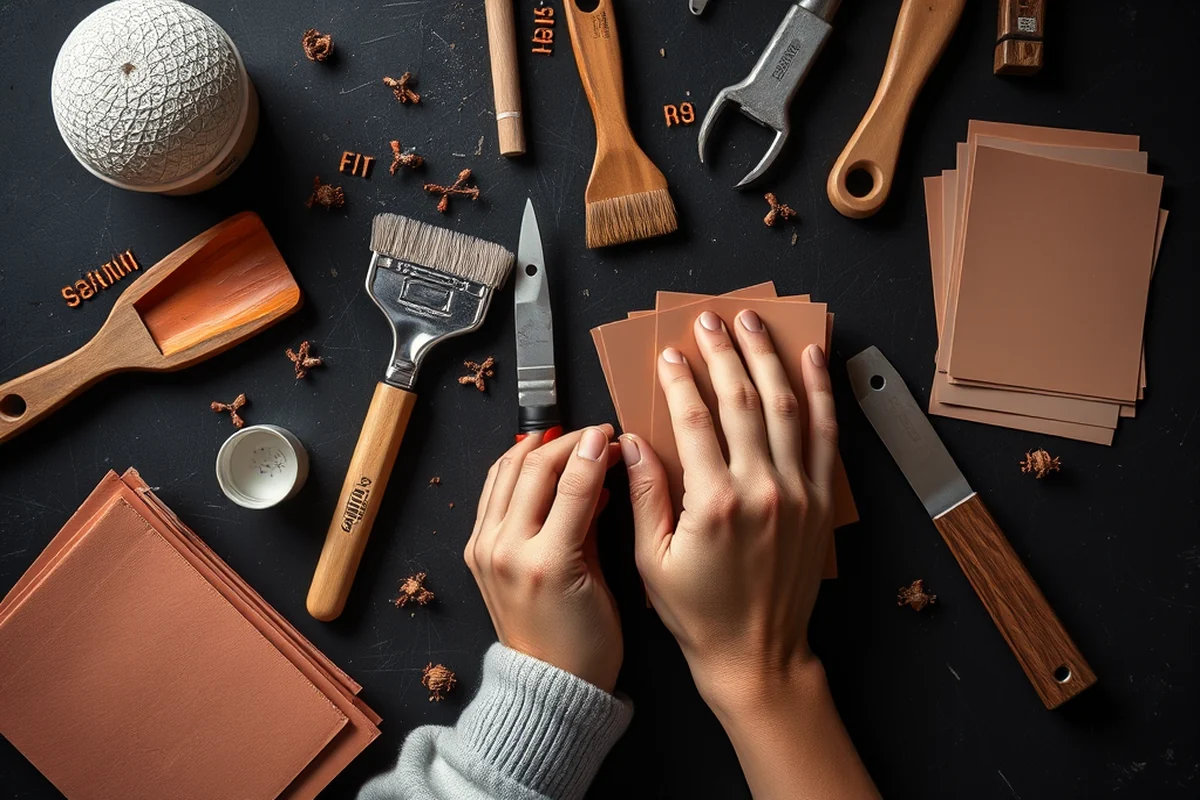
I was hesitant about using a matte finish at first — I thought it would look too dull. But once I applied the water-based polyurethane, I was amazed by the result. It gave the table a clean, soft look that blended well with the rest of my kitchen.
A matte finish also hides imperfections better than a glossy one. I noticed that the slight imperfections in the wood grain were less visible, which made the table look more polished.
Another benefit of a matte finish is that it’s easier to clean. I didn’t have to worry about streaks or reflections, which made it more practical for daily use. It was a small decision that made a big difference in the final look.
Related: Painting laminate furniture techniques checklist
Finishing Touches and Long-Term Care
After applying the topcoat, I let the furniture dry completely — about 24 hours. I kept it in a dry area, away from direct sunlight, to avoid any warping or discoloration.[3]
Once the paint was fully cured, I used a microfiber cloth to wipe it down one last time. This removed any dust or residue and gave it a smooth, even finish.
I also made sure to avoid using harsh chemicals or abrasive cleaners on the painted surface. I stick to mild soap and water, which has kept the table looking fresh for months now.
💰 Budget Build
A no-frills version using affordable materials and minimal tools for a quick transformation.
⏰ Weekend Version
A fast-paced, all-day project that fits into a short timeframe without sacrificing quality.
✨ Upgraded Finish
Add a custom design or texture with stencils or metallic paints for a more sophisticated look.
🛋️ Small-Space Adaptation
Ideal for small furniture pieces or cabinets with limited space for working.
🏠 Rental-Safe Option
Use removable paint or temporary solutions that don’t damage the furniture and are easy to remove.
| The mistake | Why it happens | The fix |
|---|---|---|
| Skipping the primer step | Without primer, the paint is likely to peel or bubble due to lack of adhesion. | Always apply a primer designed for glossy surfaces before painting. |
| Using the wrong type of paint | Using oil-based paint on a glossy surface can lead to peeling or poor adhesion. | Stick to acrylic latex or water-based paints for best results. |
| Not sanding the surface properly | A smooth, un-sanded surface can lead to paint that doesn’t stick well. | Use 120-grit sandpaper and sand thoroughly before cleaning. |
| Applying thick paint coats | Thick coats can lead to drips, bubbles, and uneven drying. | Apply thin, even coats and wait for each coat to dry before applying the next. |
Related: Affordable painting laminate furniture step by step techniques
Painting Laminate Furniture Step By Step Techniques Ideas
Related: Painting laminate furniture step by step techniques on a budget
Troubleshooting Common Paint Problems and Fixes
Even the most careful painter can run into issues, but knowing how to fix them is key to a successful project.
I've encountered a few common issues when painting laminate furniture, like paint peeling, streaking, and uneven coverage. One time, I didn't prime properly, and the paint started peeling within a few weeks. The fix was simple — I stripped the paint off and started over with the right primer. It's frustrating, but better to address it early than to deal with a bigger problem later.
Another issue I've seen is streaking, which usually happens if the paint is applied too thickly or if the surface isn't clean. I've found that thin, even coats work best, and letting each coat dry completely before applying the next is essential. I also use a microfiber cloth to wipe down the surface before painting, removing any dust or oils that might cause streaks. This small step can make a big difference in the final result.
I've also had trouble with paint not adhering properly to glossy surfaces. The fix was to sand the laminate with 220-grit sandpaper and wipe it down with a degreaser before painting. This creates a better surface for the paint to stick to. If you're dealing with a similar issue, try this method — it's been a lifesaver for me in the past. Taking the time to troubleshoot these problems can save you a lot of hassle in the long run.
Maximizing Space with Painted Storage Solutions
Learn how to use painted laminate furniture to create functional and stylish storage solutions in small spaces.
In small homes or apartments, painted laminate furniture can be a game-changer when it comes to storage. I recently painted a set of shallow, narrow cabinets in a soft lavender color and used them as a room divider in my living space. This not only added a pop of color but also created a hidden storage area for books, magazines, and other items. The cabinets were easy to paint because the laminate surface was smooth, and I used a primer to ensure the paint stuck properly. After painting, I sealed them with a water-based polyurethane to protect the surface from moisture and wear.
Another way to maximize space is by repurposing old laminate furniture into storage units. I took an old, chipped laminate bookshelf and painted it in a bold navy color. I then added small, labeled baskets inside each shelf to organize my craft supplies and office essentials. This not only made the space more functional but also gave the room a cohesive, modern look. I used a spray primer to speed up the process, and then applied two coats of a high-quality acrylic paint for even coverage.
For those with limited floor space, painted laminate furniture can also be used as wall-mounted storage. I painted a long, narrow laminate shelf in a pale gray and mounted it above my desk. This gave me extra storage for office supplies and decorative items without taking up any floor space. The paint job was simple — I used a brush to apply two coats of paint, and then sealed it with a clear topcoat. This not only made the shelf look fresh but also made it more durable. These painted storage solutions are affordable, customizable, and perfect for making the most of small spaces.
Common Questions
What type of paint is best for laminate surfaces?
How long should I wait between paint coats?
Can I paint over a previously painted laminate surface?
What should I do if the paint starts to peel?
References
- SECTION 12700 - SYSTEMS FURNITURE - CSUSM (csusm.edu)
- G95-1247 Selecting Case Goods--Woods - UNL Digital Commons (digitalcommons.unl.edu)
- UTD DGCS 12-00-00 Furnishings (facilities.utdallas.edu)
Cite this guide
Laminatelove (2026). Painting Laminate Furniture Step By Step Techniques Ideas. https://laminatelove.com/painting-laminate-furniture-step-by-step-techniques-ideas/
Feel free to cite or share this guide.