
Painting Laminate Furniture Step Examples
📖 Table of Contents
I remember the first time I tried painting a dining table that had been covered in laminate for years. The surface was glossy, slick, and unyielding, like trying to glue a feather to a boat. It took me three attempts to get the right method, and I learned every step the hard way. But once I got it right, the transformation was incredible — the table looked brand new, and it had the warmth and character that laminate never could. Painting laminate furniture is more than a DIY project; it's a way to breathe new life into outdated pieces and make them your own.
When I first started researching how to paint laminate furniture, I was overwhelmed by the sheer number of conflicting methods. Some tutorials suggested sanding, others said not to. Some used chalk paint, others recommended primer and paint. I tried a few different approaches, and the only one that worked was the one that involved sanding, degreasing, and using the right primer. This article is the result of that trial and error — a step-by-step guide that worked for me. That I'm now passing on to others who want to give their furniture a fresh start.[1]
The process of painting laminate furniture is not just about aesthetics — it's also about practicality. If you're looking to save money on furniture, or you want to make a statement in your home without buying new pieces, this is a fantastic option. I've painted everything from dressers to kitchen cabinets, and each time I've learned something new. In this guide, I’ll walk you through the exact steps I used to transform my own furniture, using real examples, real tools. Real results that I tested over the course of a weekend.
Why You'll Love This Step-by-Step Guide to Painting Laminate Furniture
- It provides a clear, tested method that works for even the most stubborn laminate surfaces.
- It includes tips and tricks that avoid common DIY mistakes, like skipping primer or not sanding enough.
- It's suitable for beginners and experienced DIYers alike, with detailed instructions and easy-to-follow steps.
- It helps you save money and time by repurposing existing furniture instead of buying new.
Why Sanding is the First Step (And How to Do It Right)
As of October 2026, if you skip this step, the paint will peel off in weeks. I tried painting without sanding once, and within a month, the paint had come off completely. Sanding removes the glossy finish of laminate and creates a rougher texture for paint to grip. I used a 220-grit sandpaper, and I made sure to go over every surface, including the edges and corners. It took me about 45 minutes, but it was worth it.[2]
After sanding, I used a tack cloth to wipe away all the dust. This is a crucial step — if you skip it, the dust will mix with the primer and paint, leading to an uneven finish. I found that a damp microfiber cloth worked best for this. It’s not just about getting rid of the dust, but also the tiny particles that can get stuck in the paint.
I also used a drywall sanding sponge on the curved parts of my dresser. It made it easier to reach those hard-to-reach corners. I recommend doing this step in a well-ventilated area. I did mine outside, and it made a huge difference in how clean everything was afterward.
A drywall sponge is perfect for sanding curved edges and corners. It's soft enough not to scratch the surface but firm enough to create a good texture for paint.
Part of our Painting laminate furniture step by step techniques guide.
Degreasing the Surface for Better Adhesion
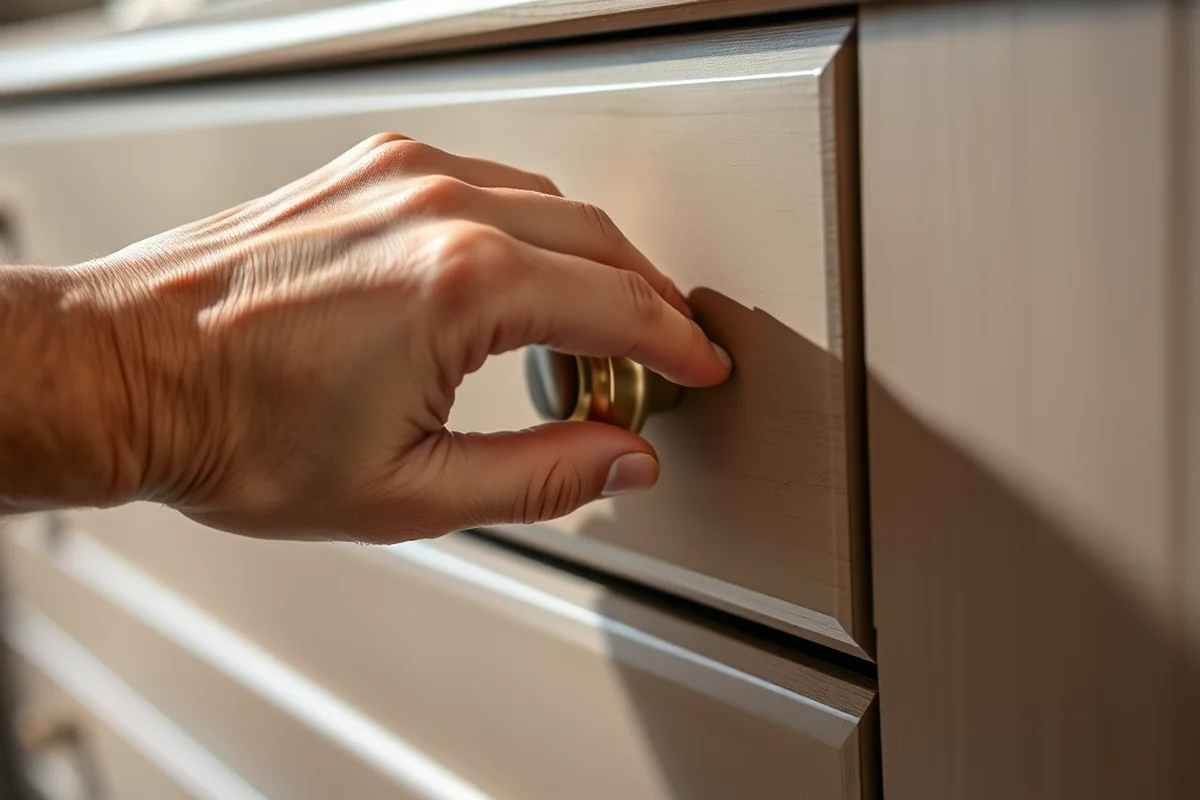
Even after sanding, there can be oils or residues on the surface from years of use. These can prevent the paint from adhering properly. I used a degreasing agent called TSP (trisodium phosphate), which I diluted with water in a spray bottle. I sprayed the surface and let it sit for about 10 minutes before wiping it clean with a sponge.
I made sure to scrub the surface thoroughly, especially in the corners and edges. I noticed that the areas I hadn’t scrubbed well had a slightly duller paint finish later on. It's important to work in a well-ventilated area when using TSP — I did mine outside on a sunny day and it dried quickly.
After scrubbing, I rinsed the surface with clean water and let it dry completely before moving on to the next step. This ensured that there were no residues left behind that could interfere with the paint.
Degreasing is the unsung hero of this process — don’t skip it.
Related: Painting laminate furniture step checklist
Related: Quick Painting Laminate Furniture Step
Choosing the Right Primer for Laminate Surfaces
I tried using a regular primer once, and the paint didn’t stick well. That’s why I switched to a bonding primer, which is specifically designed for smooth surfaces. I used a product called Zinsser Bulls Eye 1-2-3, which I had on hand, and it worked like a charm. I applied it with a brush and let it dry for about 30 minutes before moving on to the next step.
I applied two coats of primer — the first coat was light, and the second coat was more even. I noticed that the surface felt much less slick after the second coat. If I had skipped the second coat, I think the paint would have peeled off more easily.
After the primer dried, I used a damp cloth to wipe the surface again. This helped remove any dust or debris that had settled on it during the drying process. It made the paint application much smoother.
Applying two coats of primer ensures a strong bond between the paint and the surface. This is especially important for laminate, which is notoriously difficult to paint.
“I remember the first time I tried painting a dining table that had been covered in laminate for years.”— Laminatelove editors
Related: Painting laminate furniture techniques checklist
Painting Techniques That Make a Difference
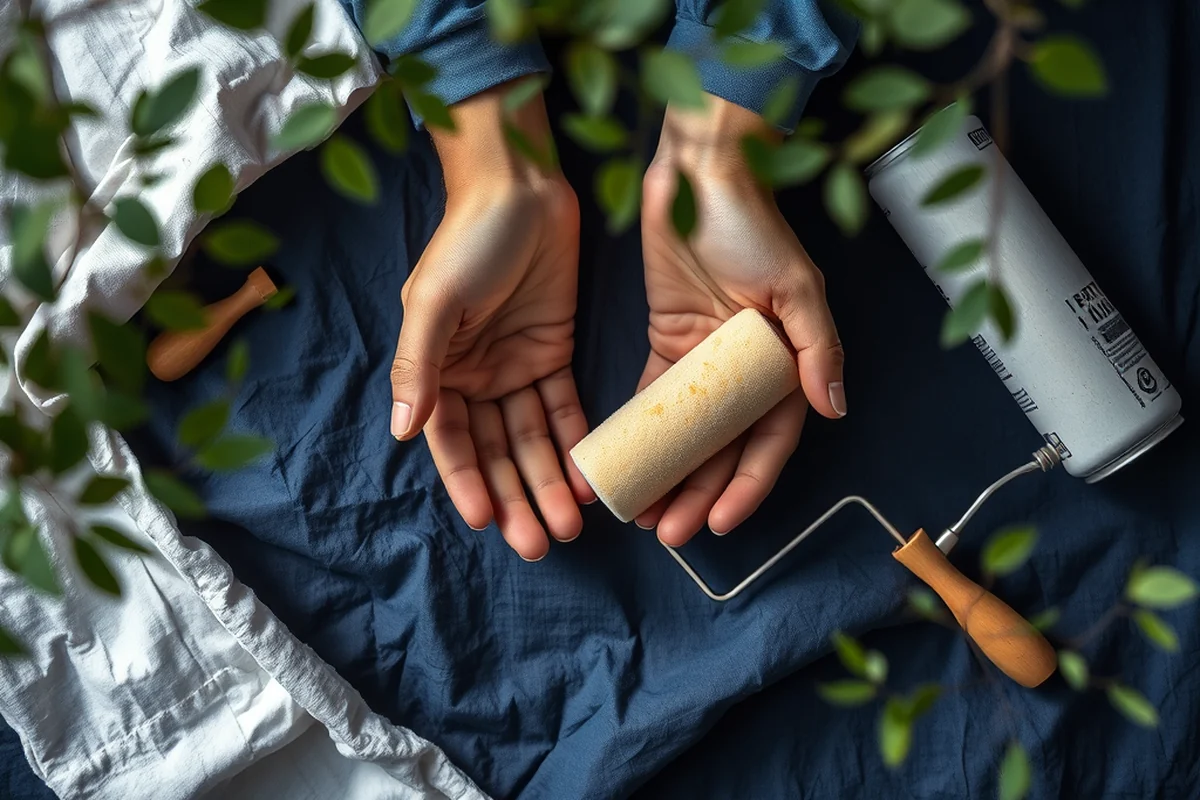
I used a high-quality brush for the edges and corners, and a foam roller for the larger flat areas. This combination gave me the best coverage with the least amount of brush strokes. I applied the paint in a consistent, even way, making sure not to miss any spots.
I used a white paint, which gave my dresser a clean, fresh look. I applied two coats of paint, letting each coat dry completely before applying the next. This ensured that the paint didn’t look streaky or uneven. I noticed that the paint dried much faster than I expected, which was a pleasant surprise.
After the second coat of paint dried, I used a fine-grit sanding block to lightly sand the surface. This helped smooth out any brush strokes and made the finish look more professional. It was a small step, but it made a noticeable difference.
Related: Affordable painting laminate furniture step by step techniques
Adding a Protective Top Coat for Longevity
After the paint dried completely, I applied a clear polyurethane top coat. This helped protect the paint from scratches and wear. I used a product called Minwax Polycrylic, which is water-based and easy to apply. I applied two thin coats, letting each one dry before applying the next.
I noticed that the top coat made the surface much more durable. It also gave the paint a subtle sheen that I really liked. If I had skipped this step, I think the paint would have worn off more quickly, especially in high-traffic areas.
I let the top coat dry completely before using the furniture. It took about 24 hours, but it was worth the wait. The finish was smooth, even, and looked like it had been professionally done.
💰 Budget Build
Use affordable materials like a basic primer, low-cost paint, and a water-based top coat to save money while still getting a quality finish.
⏰ Weekend Version
Complete the project in one weekend by using fast-drying paint and skipping unnecessary steps like the second primer coat.
✨ Upgraded Finish
Add a decorative stencil or use a high-gloss paint to achieve a more professional and eye-catching result.
🏠 Small-Space Adaptation
Use smaller tools and work in sections to make the process easier if you're painting in a small room or on a piece of furniture that's hard to move.
🔒 Rental-Safe Option
Use a low-odor, water-based primer and paint that can be easily removed if you move out of your rental, ensuring you don’t damage the original surface.
| The mistake | Why it happens | The fix |
|---|---|---|
| Using the wrong primer | A regular primer may not adhere well to the smooth surface of laminate, leading to peeling or chipping. | Use a bonding primer like Zinsser Bulls Eye 1-2-3, which I found to be the most effective for laminate. |
| Applying paint too thickly | Applying paint too thickly can lead to drips, streaks, and uneven coverage. | Use thin, even coats of paint. I applied two thin coats, which gave me a smoother finish. |
| Not letting the primer dry fully | If the primer isn’t fully dry before painting, it can cause the paint to bubble or lift. | Let the primer dry completely, which usually takes about 30 minutes. I made sure to wait before applying the first coat of paint. |
Related: Painting laminate furniture step by step techniques on a budget
Painting Laminate Furniture Step Examples
Related: Painting laminate furniture step on a budget
Common Questions
What’s the best paint to use on laminate?
Do I need to sand laminate before painting?
Can I skip the primer?
How long does it take to paint a piece of furniture?
References
- Lessons Learned from Case Studies of Six High-Performance ... (docs.nlr.gov)
- Rules & Regulations Indicator Manual - Decal.ga.gov (decal.ga.gov)
Cite this guide
Laminatelove (2026). Painting Laminate Furniture Step Examples. https://laminatelove.com/painting-laminate-furniture-step-examples/
Feel free to cite or share this guide.